Grass Valley Xmedia Server Vertigo Suite v.5.0 User Manual
Page 202
XMS Configuration Guide
18-5
Propagating assets to other Xmedia Servers
N
OTE
Before starting to configure the Xmedia Servers for propagation, please be sure that all
servers involved can see each other on the network via their IP addresses. Also make sure
that they can talk to each other via the standard XMS port (by default 14050) and the
background port (14051).
Adding a recipient server’s location on the propagation server:
1.
Ensure that all servers involved can see each other on the network via their
IP addresses. Also make sure that they can talk to each other via the standard XMS
port (by default 14050) and the background port (14051).
2.
Open the Xmedia Server Control Panel on the propagation server and select the
Propagation tab.
3.
In the Propagation options drop-down list, select P
ROPAGATION
L
OCATIONS
.
4.
Click the N
EW
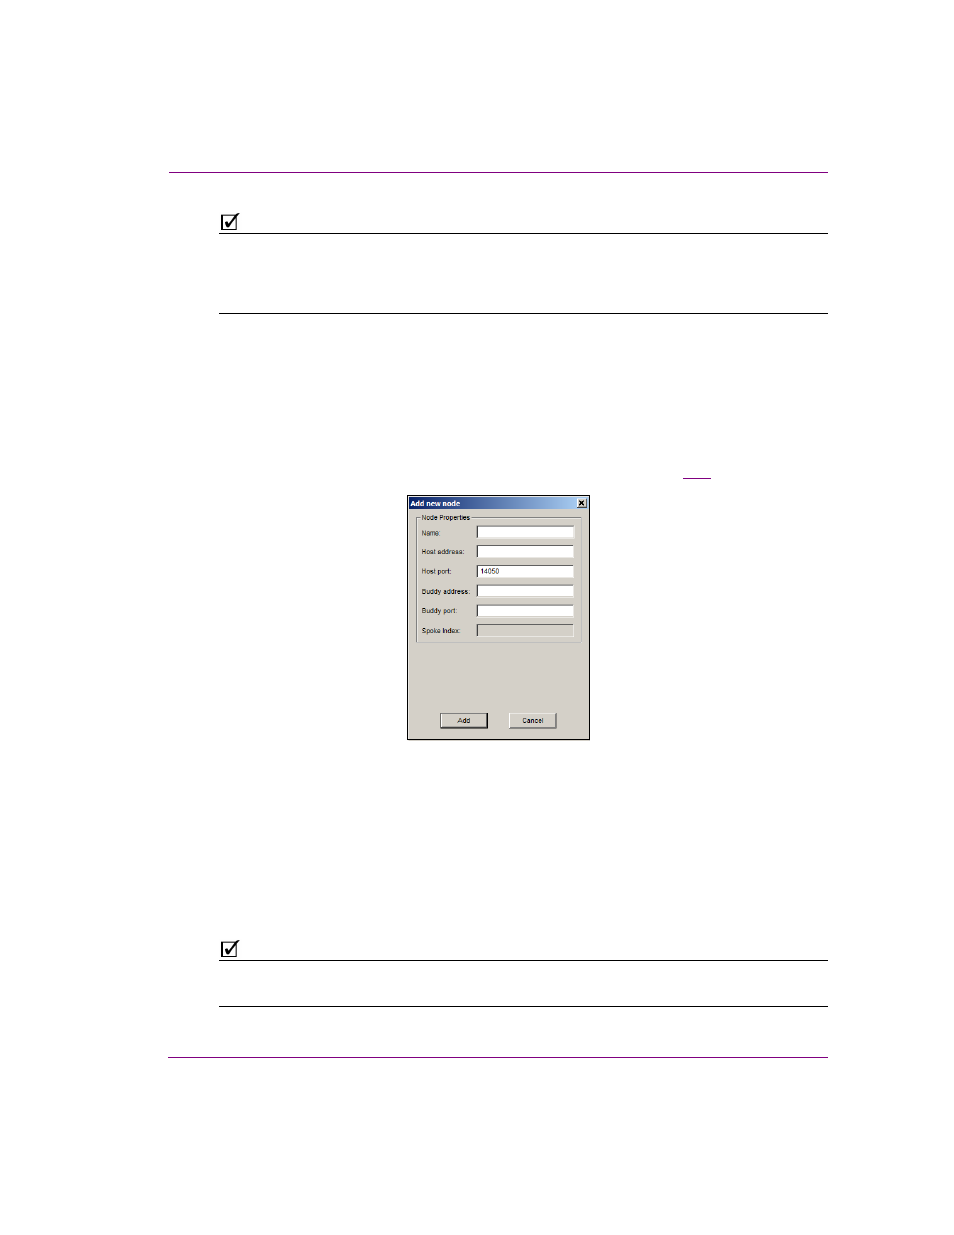
button, which opens the Add new node window (figure
).
Figure 18-3. Add a new recipient server (node) to the propagation server’s Propagation Locations table
5.
Specify the name and IP address of the recipient server in the N
AME
and H
OST
ADDRESS
fields.
6.
Ensure that the H
OST
P
ORT
field is set to the Xmedia Server’s 14050 port (default).
7.
Optional: If the recipient server has a backup server associated with it, specify the IP
address and port of the backup server in the B
UDDY
ADDRESS
and B
UDDY
PORT
fields.
8.
Click A
DD
to close the Add new node window. The recipient server is immediately
added to the propagation server’s Propagation Locations table.
N
OTE
Use the E
DIT
or D
ELETE
buttons to edit the properties or delete a recipient server’s
propagation location from the propagation server’s Propagation Locations table.