Grass Valley Xmedia Server Vertigo Suite v.5.0 User Manual
Page 154
XMS Configuration Guide
10-25
Work Order workflow configuration
Editing an existing role’s properties and permissions
To edit an existing role’s properties and/or permissions:
1.
Open the Xmedia Server Control Panel and select R
OLES
from the W
ORKFLOW
OPTION
drop-down list.
2.
Select the role that is to be edited from the A
VAILABLE
ROLES
list.
3.
Click the P
ROPERTIES
button in the lower-left corner of the Workflow page, or double
click on the role in the A
VAILABLE
ROLES
list.
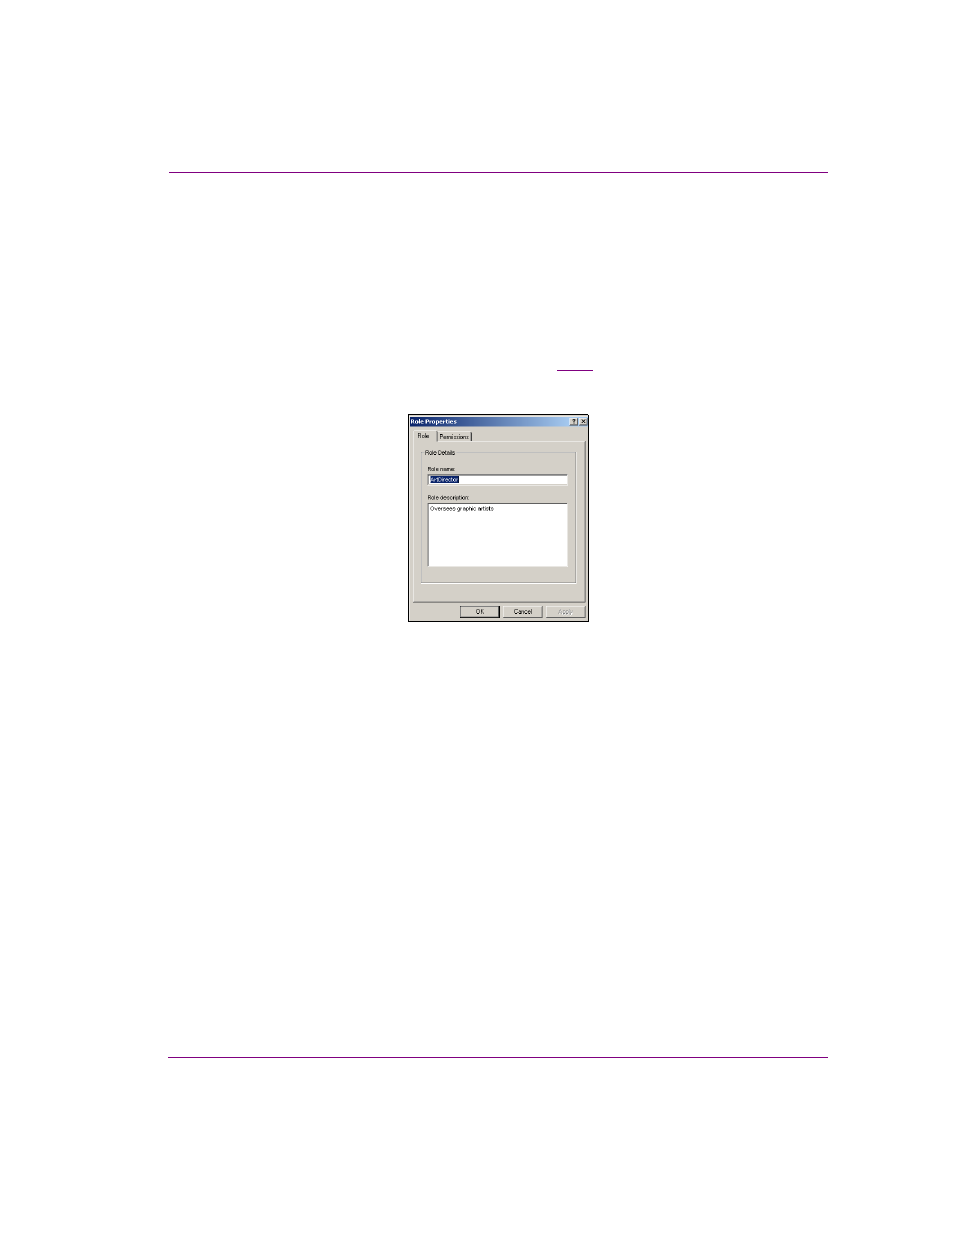
The R
OLE
P
ROPERTIES
dialog box appears (figure
), which displays the role’s
settings and permissions on the two tabs: R
OLE
and P
ERMISSIONS
.
Figure 10-10. The Role Properties dialog box
4.
Optional: Edit the R
OLE
NAME
and/or R
OLE
DESCRIPTION
settings on the R
OLE
tab and
then click A
PPLY
.
5.
Optional: Add additional permissions to the role.
a.
Select the P
ERMISSIONS
tab.
b.
Click A
DD
.
The A
DD
PERMISSIONS
TO
ROLE
dialog box appears
c.
Select the permission(s) that are to be added to the role. To select multiple
permissions, press the SHIFT key as you click on each item for consecutive
selections, or press the CTRL key to select a grouping of non-consecutive
permissions.
d.
Click A
DD
and the selected permissions are added immediately to the role’s
properties.
6.
Optional: Remove permissions from the role.
a.
Select the permission(s) that are to be removed from the role. To select multiple
permissions, press the SHIFT key as you click on each item for consecutive
selections, or press the CTRL key to select a grouping of non-consecutive
permissions.
b.
Click R
EMOVE
.
The permissions are removed immediately from the role’s Permissions tab.
7.
Click OK to apply the edits and close the R
OLE
P
ROPERTIES
dialog box.