Customizing a blank safety autosequence, Test record header – Fluke Biomedical medTester 5000C User Manual
Page 95
Biomedical Test System
Customize Your medTester
6
6-3
You can press
Esc
to move out of view and back to the previous menu
choices, or you can print the autosequence. If you have the medTester 5000C
RS-232/Printer module installed with a printer connected to your medTester,
do the following to print this autosequence:
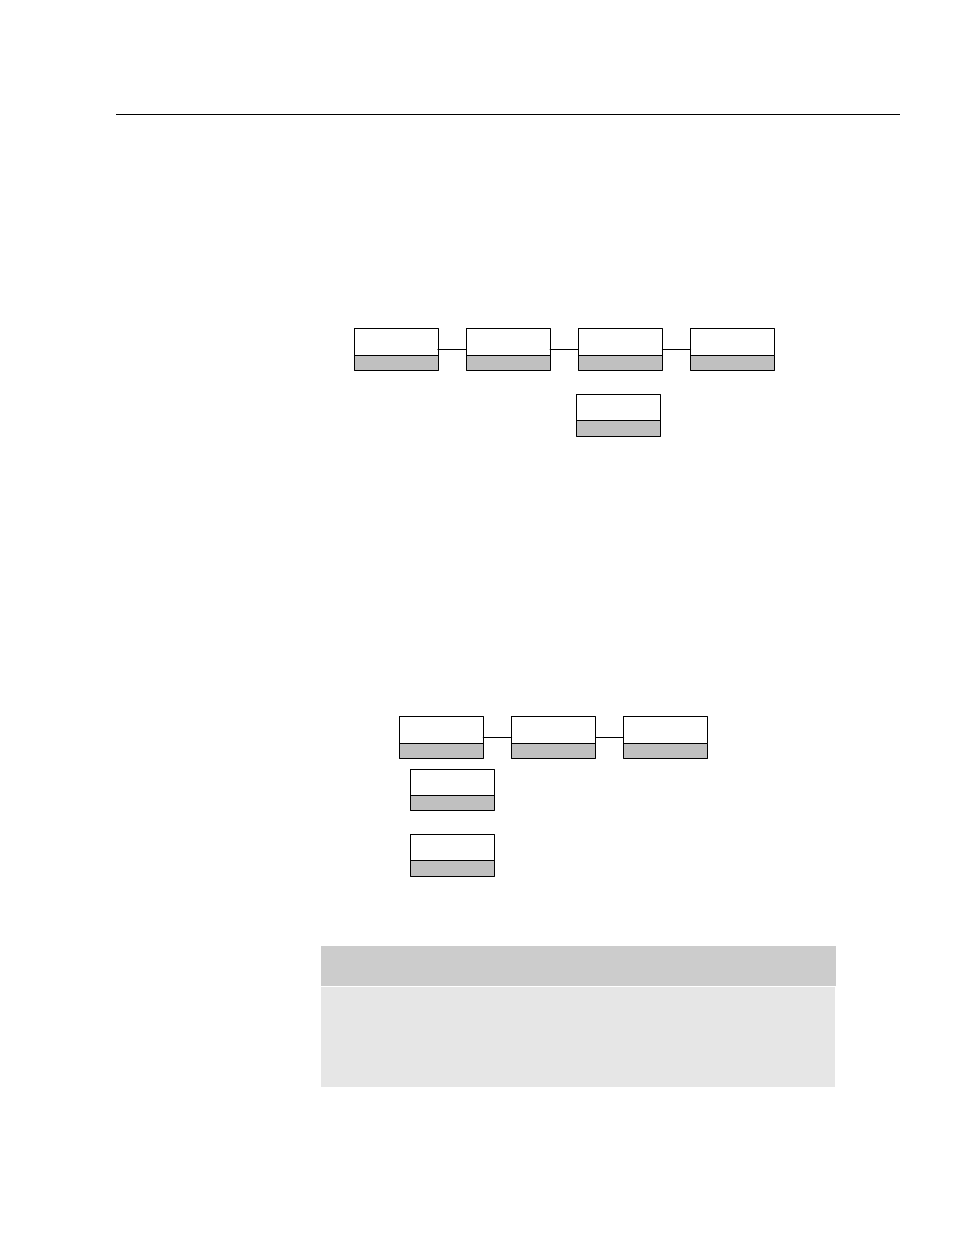
1.
From the main menu,
MENU1
, press the right arrow to access
MENU2.
2.
Enter the menu commands:
F3
SAFETY
F1
CUSTOM
F3
AUTOSEQ
F1
3.
From the
menu, select:
10LD X
F1
As your autosequence prints out, compare the sequence to what you viewed
to confirm that the two are identical.
Now you can build upon this knowledge, by customizing A1.
How to Customize
When you customize a safety autosequence, the medTester 5000C prompts
you for information you may or may not want to appear in the sequence
when it runs. We can see all of these prompts as we begin to customize
autosequence A1.
Customizing A1
1.
From
SAFETY
F1
AUTOSEQ
F1
CUSTOM
F3
select
MAKE
F1
2.
Press
10LD X
F1
to select safety autosequence
10LD X
, the
sequence we’re customizing. Remember, this has a remote
command of A1.
Note
Return to factory default setting by either re-initializing (see the
Initialization section in Chapter 2) or reset Autosequences (see the
Resetting Autosequences to Default Settings last in this chapter).