Xerox 4595 con Xerox FreeFlow DocuSP Print Controller-15553 User Manual
Page 70
Xerox 4595 Copier/Printer System Administration Guide
3-22
3. Using CentreWare Internet Services
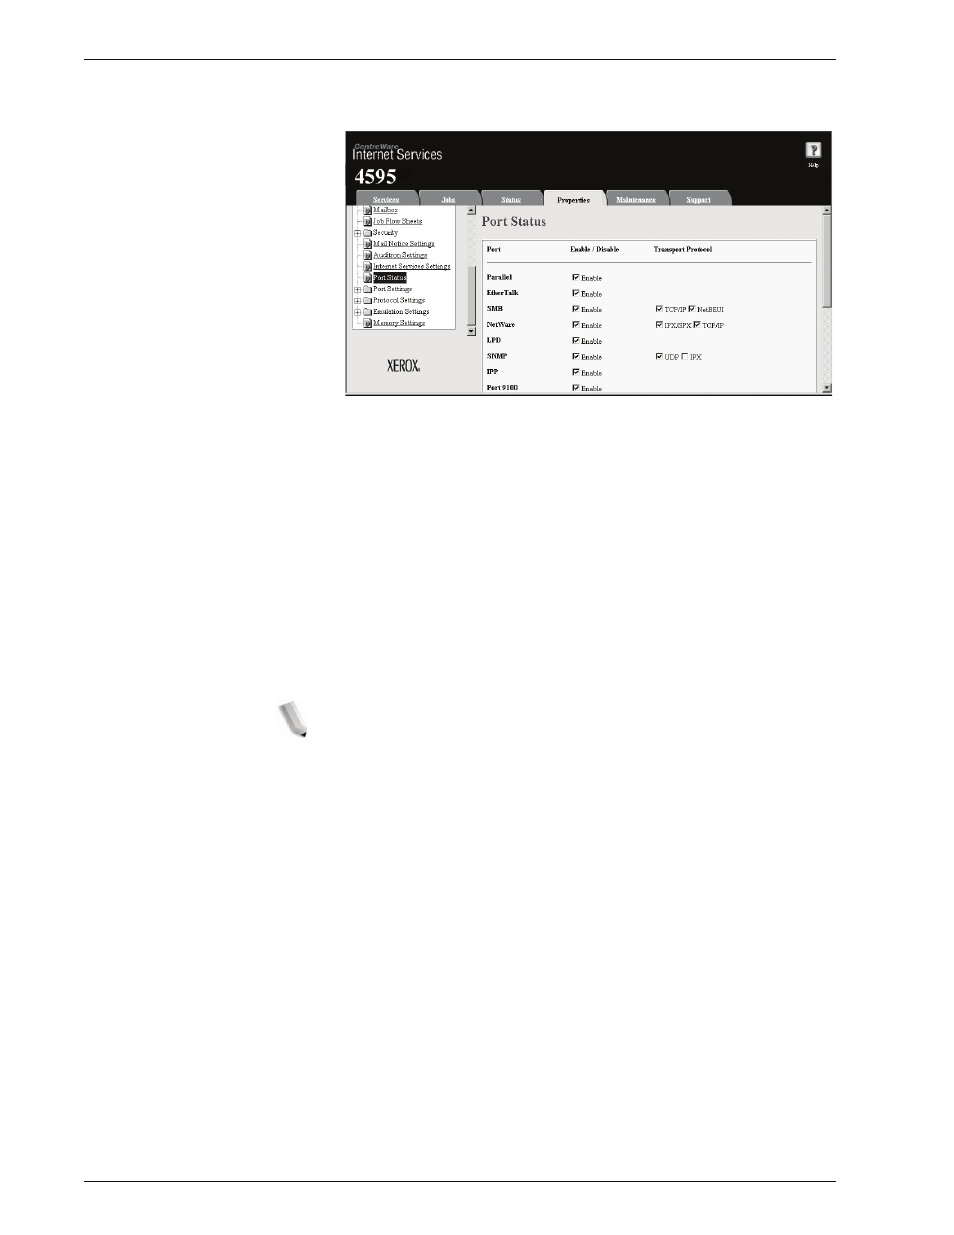
4.
Click
Port Status
from the
Properties
area of the web
browser page.
5.
Enable the ports which are used for the e-mail feature.
a. Select the
Enable
check box for
Receive E-Mail
when
using the mail print feature.
b. Select the
Enable
check box for
Mail Notice Service
when using the mail notice or job completion notice
feature.
6.
Reflect the values as the machine’s setting values.
a. Click the
Apply New Settings
. A screen to enter the user
name and password will be displayed.
b. Enter the System Administrator UserID and password into
User Name
and
Password
, and then click
OK
.
NOTE: The default User ID value is 11111 and password is
x-admin.
c. The right frame on the web browser will change to the
machine reboot display.
d. Click
Reboot
. The machine will reboot and the setting
value will be reflected.
- 4595 con Xerox FreeFlow DocuSP Print Controller-14450 4595 con integrated Copy-Print Server-15547 4595 con Xerox FreeFlow DocuSP Print Controller-15870 4595 con integrated Copy-Print Server-15243 4595 con integrated Copy-Print Server-14444 4595 con integrated Copy-Print Server-15864 4595 con Xerox FreeFlow DocuSP Print Controller-15249 4595 mit integrated Copy-Print Server-9394 4595 mit integrated Copy-Print Server-10919 4595 mit Xerox FreeFlow DocuSP Print Controller-10926 4595 mit Xerox FreeFlow DocuSP Print Controller-9700 4595 mit integrated Copy-Print Server-10082 4595 mit Xerox FreeFlow DocuSP Print Controller-9401 4595 mit integrated Copy-Print Server-9693 4595 mit Xerox FreeFlow DocuSP Print Controller-10089 4595 con Xerox FreeFlow DocuSP Print Controller-17520 4595 con Xerox FreeFlow DocuSP Print Controller-18220 4595 con integrated Copy-Print Server-18213 4595 con integrated Copy-Print Server-17819 4595 con Xerox FreeFlow DocuSP Print Controller-17826 4595 con integrated Copy-Print Server-17513