Xerox 4595 con Xerox FreeFlow DocuSP Print Controller-15553 User Manual
Page 132
Xerox 4595 Copier/Printer System Administration Guide
6-16
6. Computer Operations
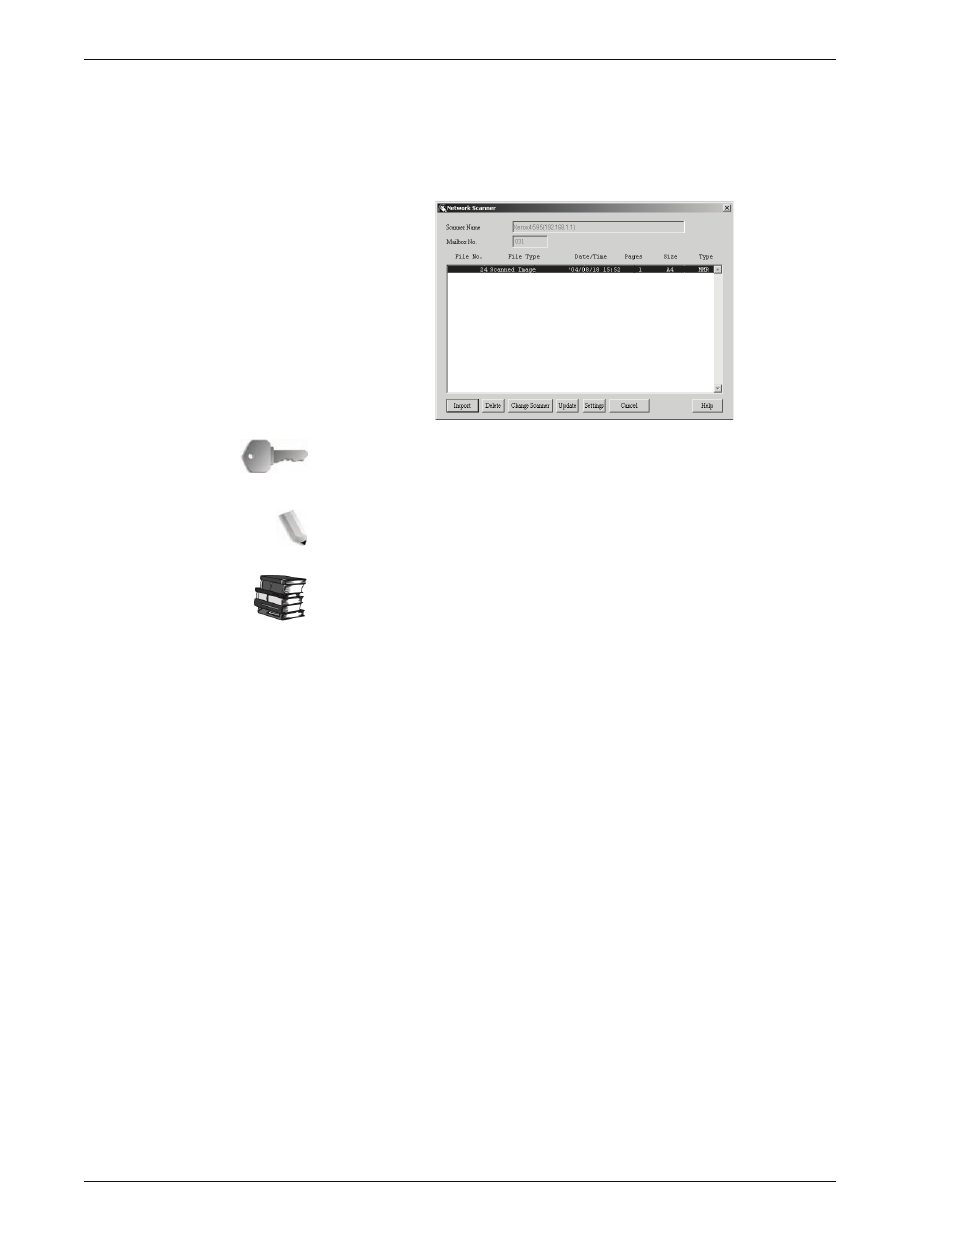
NOTE 2: Clicking Change Scanner returns to step 2, where
you can reselect a scanner.
4.
Click
Open Mailbox
.
5.
Click
Import
.
KEY POINT:
Mailbox Viewer2 does not support importing one
document at a time. All documents stored on the selected
mailbox are imported when you click on
Import
.
NOTE: To import documents, the Auto Import check box must be
checked in Mailbox Viewer2.
For information about Mailbox Viewer2 settings, refer to
“Configure the import method for scanned documents” on page 6-
17.
6.
Clicking on the
Import
button removes all stored documents
from the mailbox, and saves them in the specified directory.
This manual is related to the following products:
- 4595 con Xerox FreeFlow DocuSP Print Controller-14450 4595 con integrated Copy-Print Server-15547 4595 con Xerox FreeFlow DocuSP Print Controller-15870 4595 con integrated Copy-Print Server-15243 4595 con integrated Copy-Print Server-14444 4595 con integrated Copy-Print Server-15864 4595 con Xerox FreeFlow DocuSP Print Controller-15249 4595 mit integrated Copy-Print Server-9394 4595 mit integrated Copy-Print Server-10919 4595 mit Xerox FreeFlow DocuSP Print Controller-10926 4595 mit Xerox FreeFlow DocuSP Print Controller-9700 4595 mit integrated Copy-Print Server-10082 4595 mit Xerox FreeFlow DocuSP Print Controller-9401 4595 mit integrated Copy-Print Server-9693 4595 mit Xerox FreeFlow DocuSP Print Controller-10089 4595 con Xerox FreeFlow DocuSP Print Controller-17520 4595 con Xerox FreeFlow DocuSP Print Controller-18220 4595 con integrated Copy-Print Server-18213 4595 con integrated Copy-Print Server-17819 4595 con Xerox FreeFlow DocuSP Print Controller-17826 4595 con integrated Copy-Print Server-17513