Configuring static routes – Brocade Virtual ADX Graphical User Interface Guide (Supporting ADX v03.1.00) User Manual
Page 72
60
Brocade Virtual ADX Graphical User Interface Guide
53-1003242-01
Configuring static routes
6
•
Passive OSPF: Select this check box to disable the use of this interface address for OSFP
adjacency. This check box appears only when Primary and Secondary is selected.
•
Gateway IP: Enter the gateway address for the standby interface. This field appears only
when Standby is selected.
6. Click Add to save the configuration.
The configured IP address details are displayed in the table.
NOTE
To delete an IP address entry, select an IP address entry from the table and click Delete.
For more information on the IP addresses configuration, refer to the Brocade Virtual ADX Switch
and Router Guide.
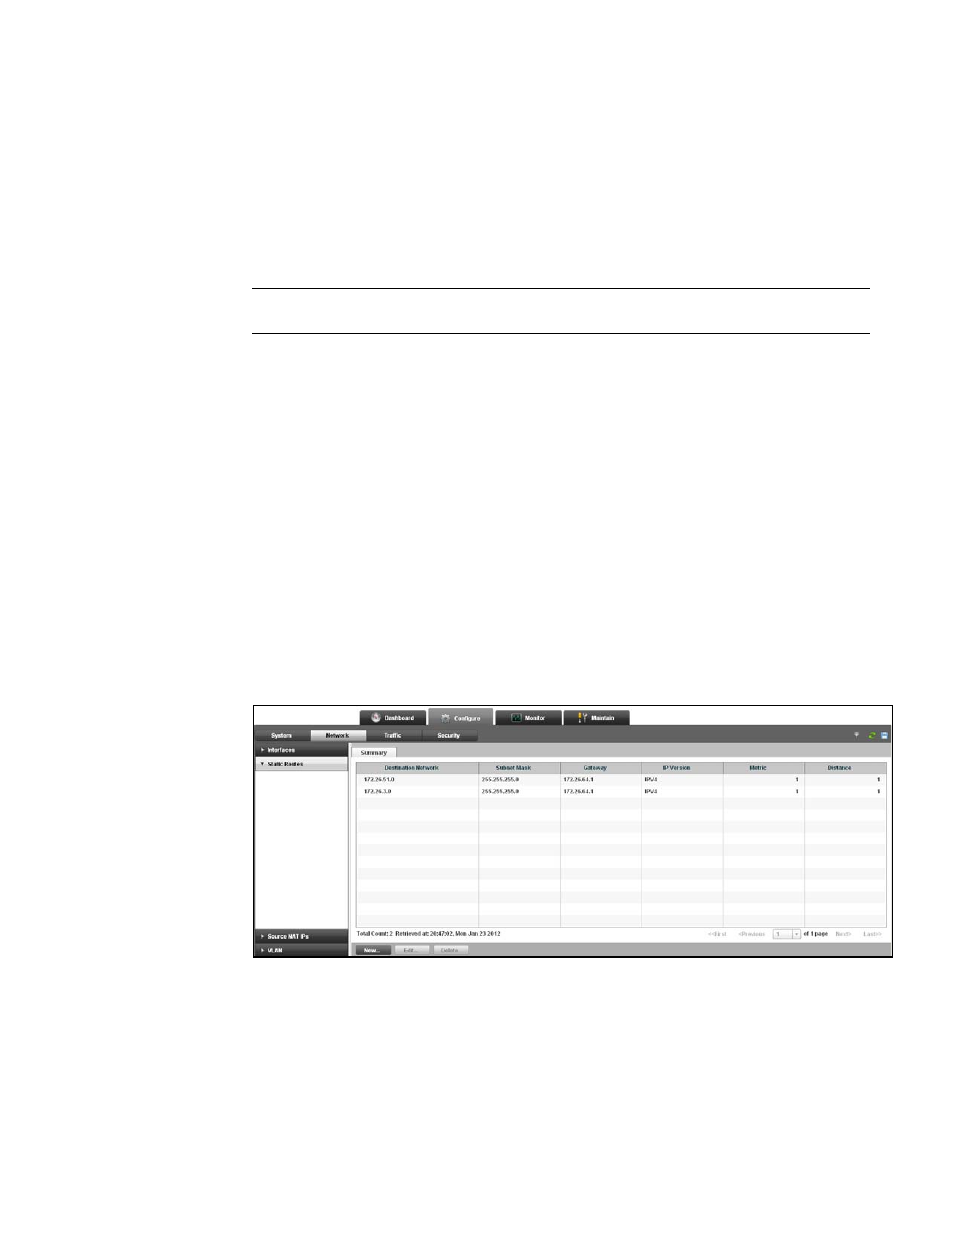
Configuring static routes
The Brocade Virtual ADX uses static routes, when it does not have a route or cannot determine a
route to a destination. You can configure multiple static routes for load balancing and path
redundancy.
To add a static route on the Brocade Virtual ADX, perform the following steps within the Configure
tab.
1. Click Network on the menu bar.
2. From the sidebar, select Static Routes.
The Summary tab is displayed. See
.
FIGURE 48
Static routes summary tab
The Summary page displays the list of configured static routes. Each entry in the list includes
the destination network, subnet mask, gateway, metric, and distance information.