Configuring gslb advanced settings – Brocade Virtual ADX Graphical User Interface Guide (Supporting ADX v03.1.00) User Manual
Page 144
132
Brocade Virtual ADX Graphical User Interface Guide
53-1003242-01
GSLB Site
8
•
Max VIP List Port: Specify the maximum number of ports per VIP address in a VIP address
list message. By default, each site Brocade Virtual ADX can send up to 10 ports for each
VIP address. You can configure the site Brocade Virtual ADX to send health status from 5
to 30 ports per VIP address in a VIP address list message.
•
Don’t Send VIP List: Select the Enable check box to globally stop the sending of the VIP list.
If you change this setting, apply the change, save the configuration and reboot the
Brocade Virtual ADX.
•
Disable TCP Nagle Algorithm: Select the Enable check box to disable the TCP Nagle
algorithm for GSLB communications.
4. Click Apply to save your entries. Click Reset to revert the configuration to the previous
configured values.
Configuring GSLB Advanced Settings
To configure the GSLB advanced settings on the Brocade Virtual ADX, perform the following steps
within the Configure tab.
1. Click GSLB on the menu bar.
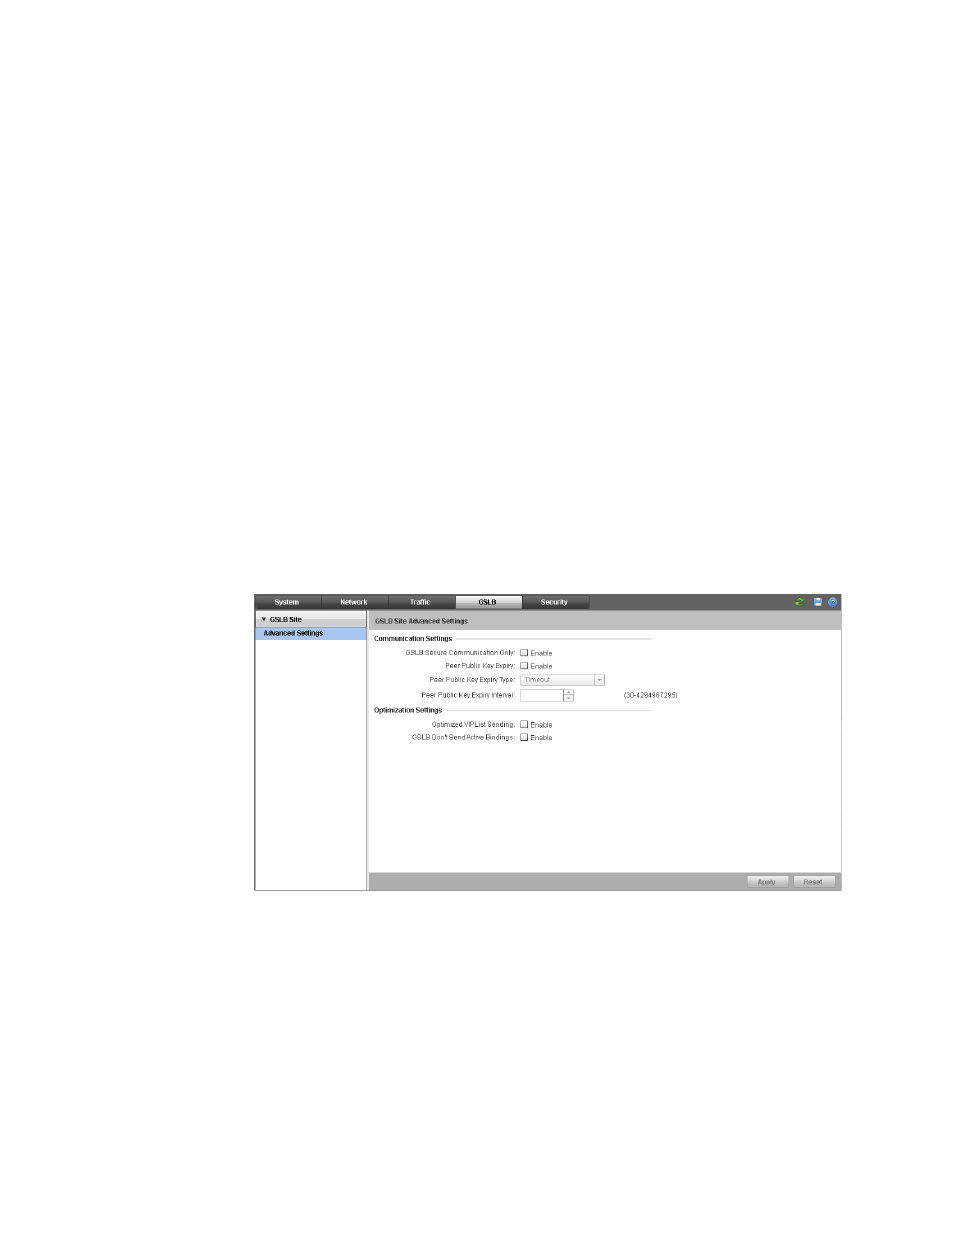
2. From the sidebar, select Advanced Settings under GSLB Site. The GSLB Site Advanced Settings
page is displayed, as shown in
.
FIGURE 105
GSLB Site Advanced Settings page
3. Provide the following Communication Setting information:
•
GSLB Secure Communication Only: Select the Enable check box to enable the Brocade
Virtual ADX to communicate only with the controller that is Secure GSLB enabled. By
default, the setting is disabled. If you change this setting, apply the change, save the
configuration and reboot the Brocade Virtual ADX.
•
Peer Public Key Expiry: Select the Enable check box to enable the peer public key expiry.
By default, it is disabled.
•
Peer Public Key Expiry Type: Choose the peer public key expiry type when Peer Public Key
Expiry is enabled.