Maple Systems 5000HD Series User Manual
Page 166
160
EZwarePlus Programming Manual
1010-1015, Rev. 03
Editing data registers using a keypad:
1. Save and compile the new project, then test the operation of the keypad by either running in Simulation
mode or by downloading the project to the HMI.
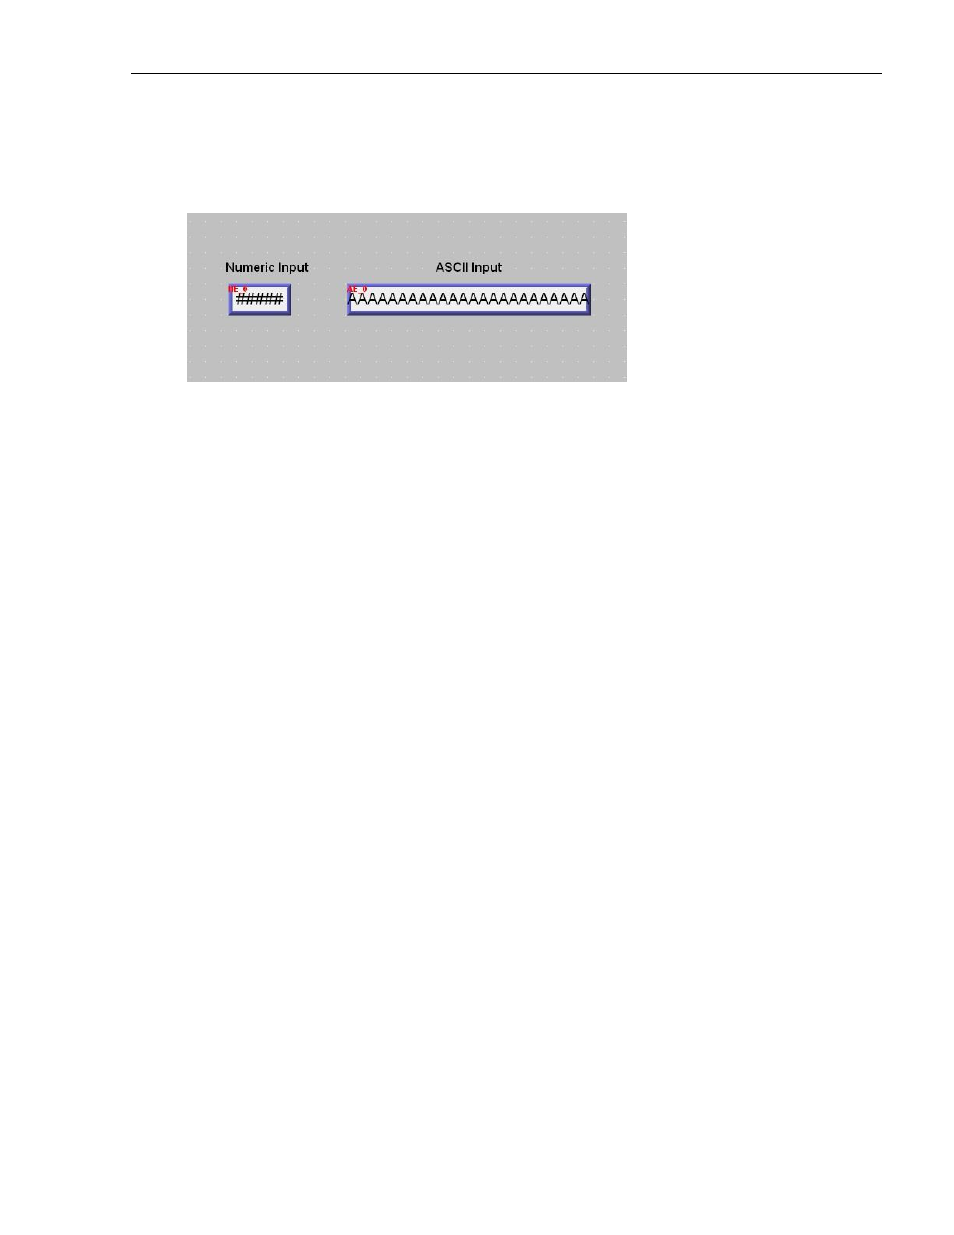
2. The following screen will appear:
3. Change the value of the Numeric Input register. Touch the Numeric Input Object to activate the edit mode.
The keypad will pop up.
4. Using the keypad, enter digits 1, 2, 3, 4, and 5. As you enter the digits, each one should appear in the
Numeric Input Object box.
5. Press the Backspace key to delete digit 5.
6. Try pressing any of the alpha characters (A-Z). Notice that alpha characters are not accepted into a Numeric
Input Object register.
7. Press the Clear key. Notice that the entire register is cleared to 0.
8. Enter digits 5, 4, 3, 2, 1, and then press the Enter key. The keypad closes but the value was not accepted.
This indicates that the value entered is out-of-range. Touch the numeric input object again. Press the Clear
key and enter 32767. Press the Enter key. Notice that this value is accepted and blinking stops.
9. Touch the Numeric Input Object register again to activate editing mode. Enter five more digits then press the
Esc key. Notice that the entry is cancelled and the previous number 32767 is restored.
10. Change the value of the ASCII Input register. Touch the ASCII Input Object to activate the edit mode.
11. Using the keypad, enter the character string “HELLO WORLD”. As you enter the characters, each one should
appear in the ASCII Input Object box. Press the Enter key to send the characters to the HMI internal data
register.
The above example uses a popup keypad that can be moved onscreen by touching the title bar and dragging it
around. You can create a fixed keypad without a title bar by selecting Hide title bar in the Numeric Input or ASCII
Input object’s Data Entry tab.
To create a fixed keypad on a window instead of using a popup keypad or Direct Window:
1. In the above sample project, create a new Numeric Input Object and deselect Use popup keypad on the
Data Entry tab. Click OK to close the Properties window.
2. Copy your custom keypad into the window, or open Window 50 and copy the keypad over to Window 10.
3. You must click or touch the Numeric Input Object first to activate it, enter a number using the keypad, then
press Enter on the keypad to write the value to the register.