Moving plug-ins within the plug-in list, Moving plug-ins across sounds and groups – Native Instruments MASCHINE MK3 Groove Production Studio (Black) User Manual
Page 347
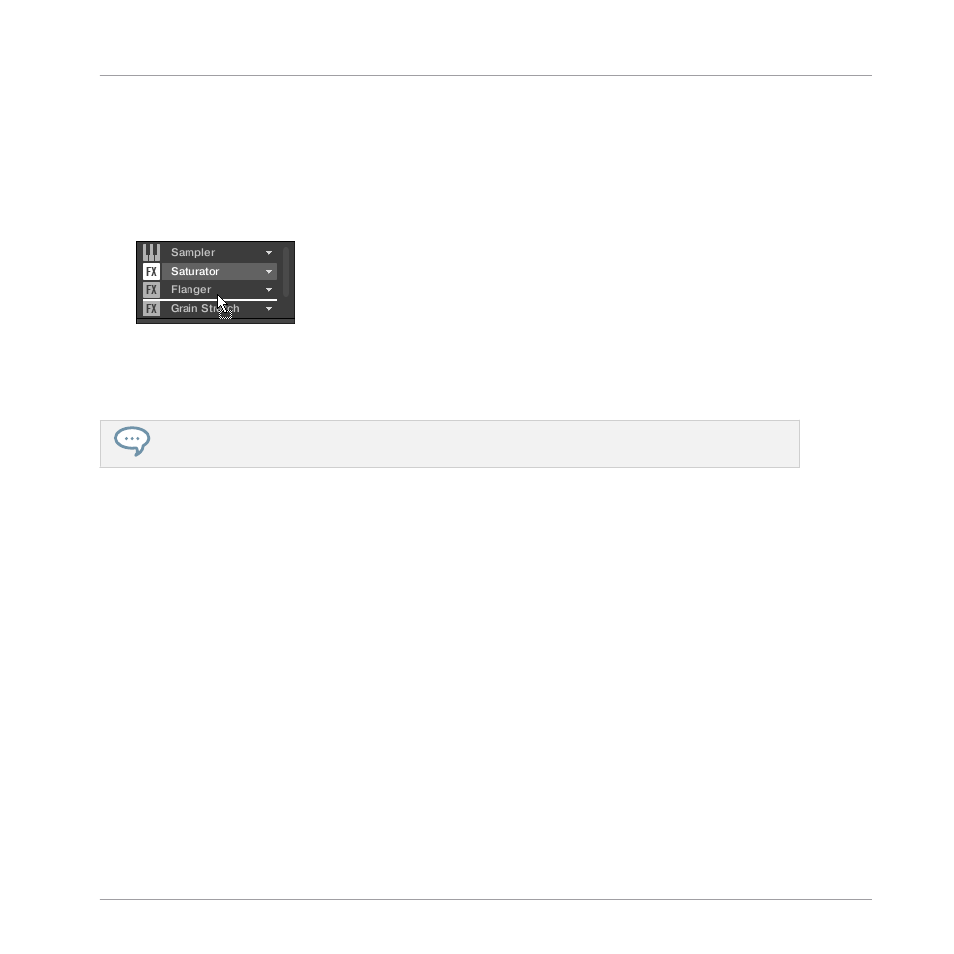
Moving Plug-ins Within the Plug-in List
►
To move a Plug-in in the Plug-in List, click its name and drag your mouse vertically. While
you are holding the mouse button, an insertion line appears at the place in the Plug-in
List where the Plug-in would land if dropped. Drag your mouse until the insertion line is
at the desired location, then release the mouse button to drop the Plug-in onto this new
location.
→
The Plug-in takes its new place between the existing Plug-ins while keeping the exact
same settings. All other Plug-ins sitting between its old and new location are shifted one
slot upwards/downwards to fill the gap.
Dragging Plug-ins can be very useful if you want to quickly change the effects’ processing order in
the channel.
Moving Plug-ins Across Sounds and Groups
Moving Plug-ins is not only possible within the same Sound but also across Sounds, across
Groups, across levels (e.g., from a Sound to a Group) or across Sounds in different Groups!
To move a Plug-in to another Sound, Group or the Master, do the following:
1.
Click the down-pointing arrow of the slot containing the Plug-in that you want to move.
2.
In the Plug-in menu that opens, select
Cut
.
3.
Select the Sound, Group or the Master where you want to move the Plug-in (see section
3.3.7, Focusing on a Group or a Sound
4.
Click the down-pointing arrow of the target slot (the slot where you want to move the Plug-
in to).
5.
In the Plug-in menu that opens, select
Paste
.
→
The Plug-in with all its parameters has now been moved from its original location to its
target location.
Working with Plug-ins
Plug-in Overview
MASCHINE - Manual - 347