NewTek TriCaster Advanced Edition User Guide User Manual
Page 45
Page | 33
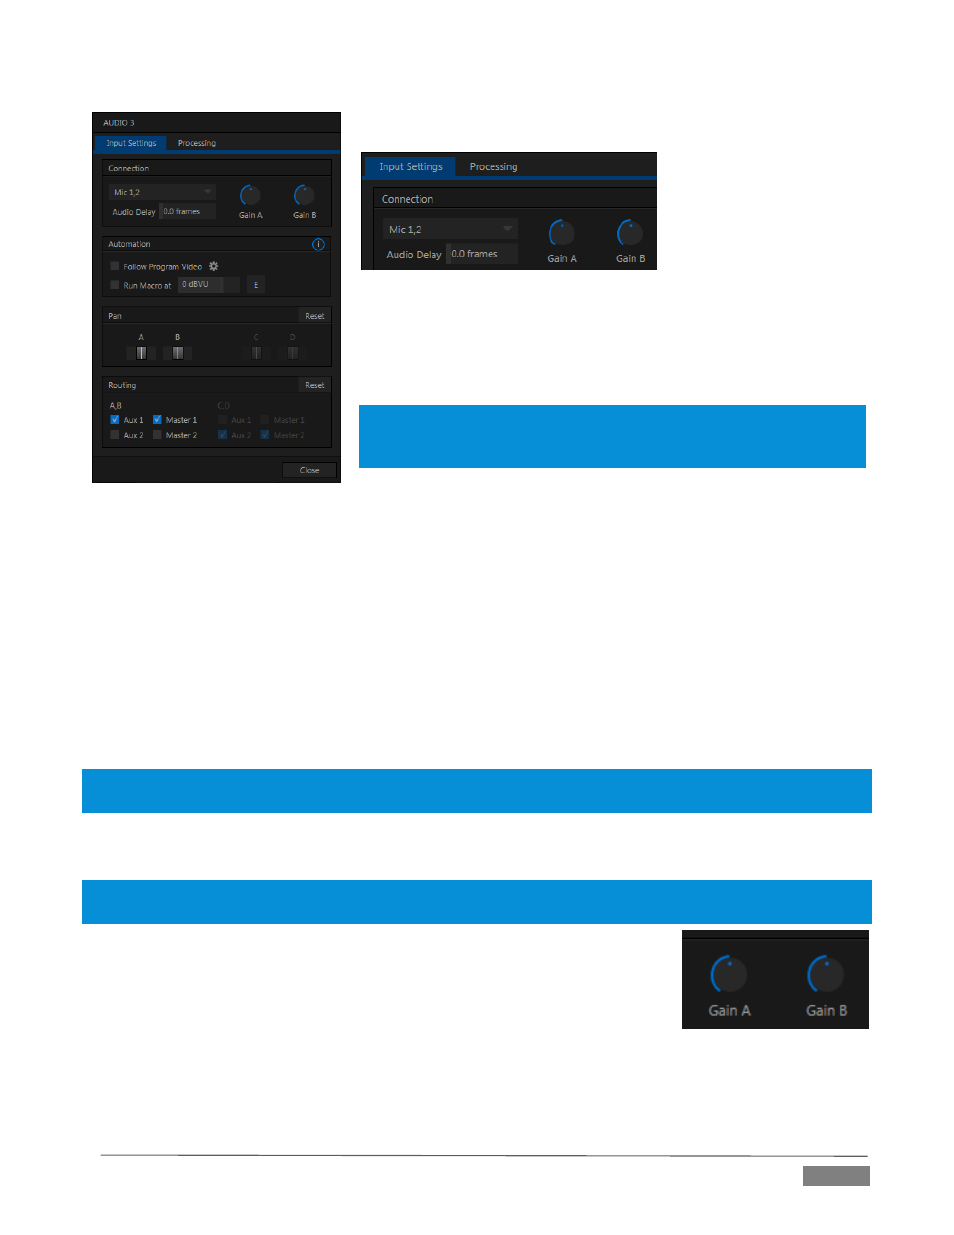
FIGURE 27
FIGURE 28
A source Type selector drop-down at the top of the Configuration
panel (Figure 28) lists the Connection Type options available for the
corresponding input. Options may include Mic 1, 2 (with and without
phantom power), Line, AES/EBU, and SDI Embedded.
Note: TriCaster Mini omits this menu for inputs that support HDMI audio
only. Likewise, Phantom power is not supported by TriCaster Mini’s
analog audio inputs.
This panel holds advanced audio features as well as basic setup controls. After you connect audio sources to
the input connectors (see also Section 3.4.1), the first thing to do is set the correct Connection Type using the
drop-down menu:
Select Mic 1, 2 for professional grade microphones or similar sources. On supporting models, use the
Phantom option for condenser type microphones requiring supplementary power.
Choose Line for most other device connections (including consumer devices such as a CD player,
computer audio output or VCR).
For 8-input models only, select AES/EBU for digital audio from an AES/EBU (AES3) output.
SDI Embedded or HDMI provide digital audio from the associated video connection.
Note: Analog audio levels conform to SMPTE RP-155. The maximum input/output level is +24 dBu, nominal Mic
input level +4 dBu (-20dBFS), and the sample rate is 96 kHz.
The Volume sliders (below the VU meters) default to their lowest settings on first launch. After adding audio
sources, slowly bring these sliders up to pass their signals through the system.
Hint: Most numeric controls in TriCaster can be reset to their defaults using Shift + double-click on the control knob.
The default value for Gain sliders is 0dBVU.
Some variation exists as respects signal levels from individual sources, even
within the same type. For Mic (and Mic + Phantom) connections, Gain (a.k.a.,
Trim) controls are provided to allow fine tuning of the input level.
To access these controls, open the Advanced Audio Configuration panel, by
clicking the Configuration button (gear) in the titlebar for an input control group.
Use the Gain knobs (Figure 29) to bring the levels for microphones and similar sources into a useful range
on the VU meter.
FIGURE 29