Dr. Livingstone, I Presume WELDWISE 2400 User Manual
Page 53
0433-INS-400
Rev.
E
6-7
• Zoom Button
Expands the graph in the horizontal direction. When the graph is selected in zoom view, it can be
scrolled left or right using the arrow buttons. The Beginning Segment (Beg Sg) defines which
segment the cursor (arrow) is in. The second
Weld Halfcycle Count (WHC) shows which
halfcycle the cursor is on (see figure 6-9). If
you are working in zoom view and a new weld
is made, the screen will not automatically
update.
• Weld Number Select / Display
Use the arrow buttons
to select a weld. If the
graph is selected, the most recent weld is
displayed, and the graph screen updates
automatically.
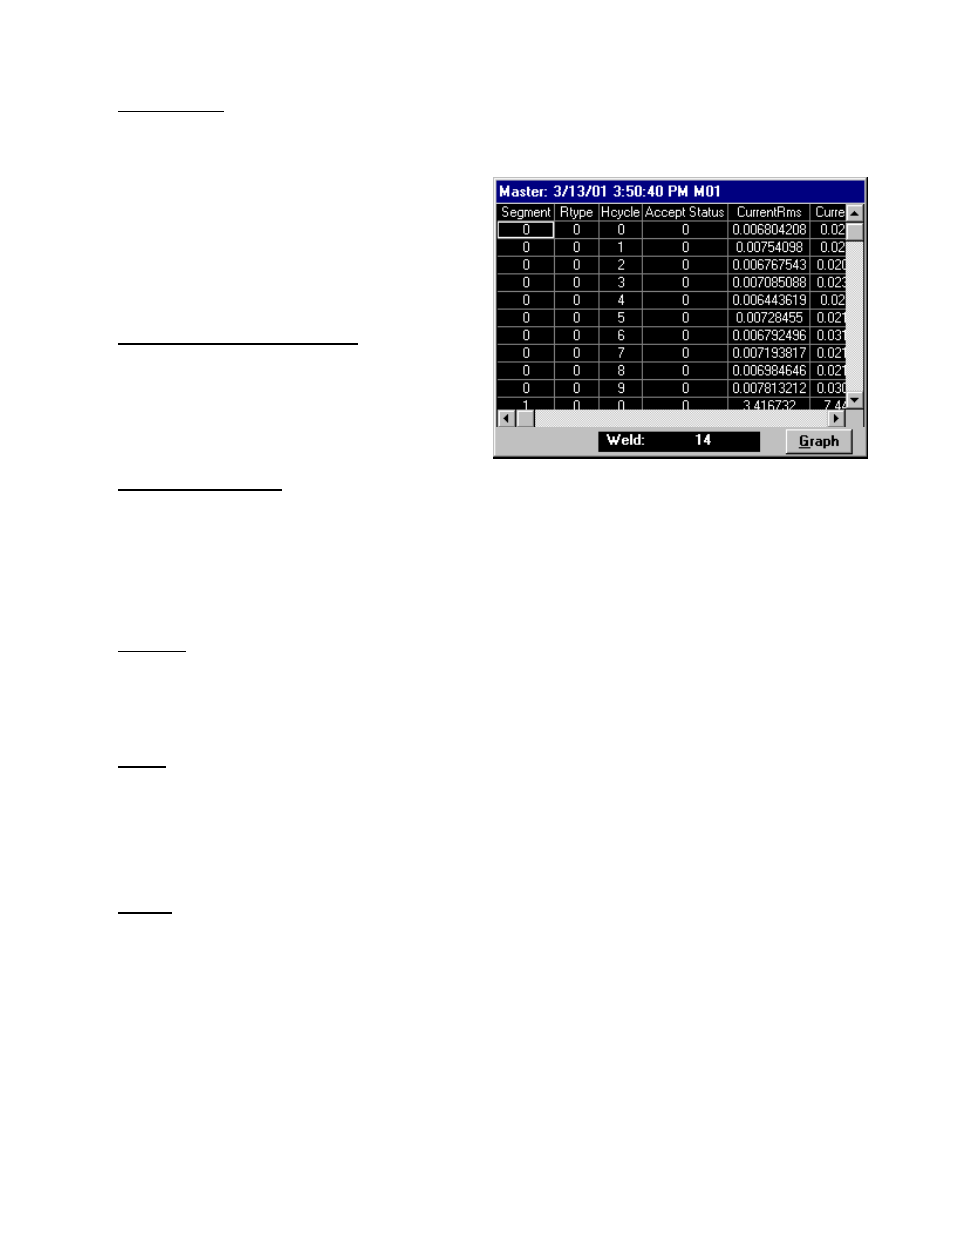
• Table/Graph Button
Switches the display to either graph or table format. Each row of the table shows a data record
from the selected weld, as shown in figure 6-12. Segment and weld summary records are also
shown in this table. Use the scroll bars or the arrow buttons to move through the table display.
The Halfcycle Summary Table contains the following parameters:
• Segment
A weld is divided into segments. The segment field indicates which segment the data record is
from. By default, 0 = Pre-weld; 1 = Weld; 2 = Post-weld. The segment field of a weld summary
record shows the number of segments in the weld.
• Rtype
(Record type) indicates what type of data is in the row (data record).
0 = Halfcycle Summary
1 = Segment Summary (average for the segment)
2 = Weld Summary (average for the weld)
• Hcycle (Halfcycle)
In a halfcycle data record (Rtype 0), this field contains the halfcycle number of the data record. In
a segment record (Rtype 1), this field contains the number of halfcycles in the segment. In a weld
record (Rtype 2), this field contains the number of halfcycles in the weld.
Note:
Many weld timers control the length of a weld on a cycle basis. If this is the case, the number of
halfcycles of weld current should be twice the cycle count of the weld timer.
Figure 6-12 Halfcycle Summary (table)