Wms quick start guide – Dr. Livingstone, I Presume WELDWISE 2400 User Manual
Page 35
0432-INS-400 Rev. E
5-1
WMS Quick Start Guide
This chapter is a quick how-to guide to begin using a Livingston weld monitor. The provided example
describes the necessary steps to collect and view data, create a master and set tolerances.
Note:
Since this is only an example, it assumes the following:
- All hardware has been properly installed, all sensors have been properly calibrated, and the
2400 is turned on and ready to monitor;
- You are familiar with how to navigate and edit functions within the WMS program (see
Chapter 4, Getting Familiar With The WeldWise
™
2400).
Due to the variety of welding processes and schedules throughout the welding industry, the following
example steps may not be applicable to every welding process. For a complete description of all
functions in the WMS program, refer to Chapter 6, WMS Reference Guide.
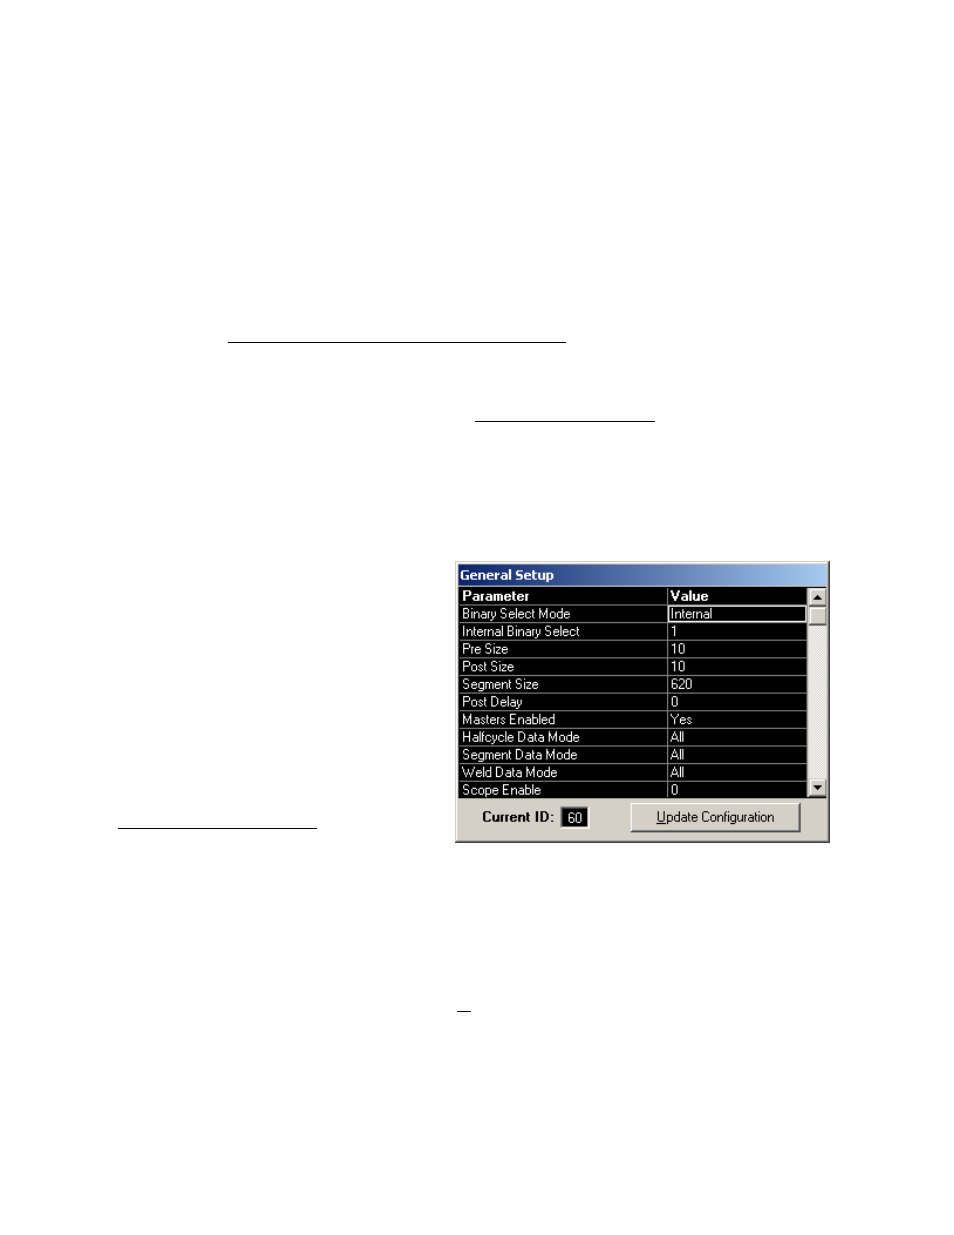
General Setup
The first step is to confirm that the general configuration settings are appropriate for this procedure.
1. With the equipment set up for monitoring
and the WMS program running, go to the
Main Menu. Select Setup, then General
Setup.
2. Current ID should be set to 60.
3. For the purposes of this example, set the
General Setup parameters to the following
values (parameters not mentioned here can
be left at their default settings). Refer to
the General Setup Menu in Section 6,
WMS Reference Guide, for parameter
specifics.
Pre Size = 10
Halfcycle Data Mode = All
Post Size = 10
Segment Data Mode = All
Post Delay = 0
Weld Data Mode = All
Masters Enabled = Yes
Segment Tolerance Mode = Average
Segment Size = 100
4. Once these changes have been made, use the Update Configuration button to update settings to the
weld monitor.
5. ESCAPE to the main program screen.