Dr. Livingstone, I Presume WELDWISE 2400 User Manual
Page 41
0432-INS-400 Rev. E
5-7
Creating a Master
Now that you have observed recorded weld data, we will make a master which will provide known
good values to compare subsequent welds against.
Note:
An appropriate weld schedule should be established before creating a master. General Setup
Parameters and tolerance defaults should be set appropriately before creating a new master.
To start data capture for a new master:
1. Use ESCAPE to exit the Weld Summary
screen, then press the MENU key to display the
Main Menu options;
2. Select Mastering;
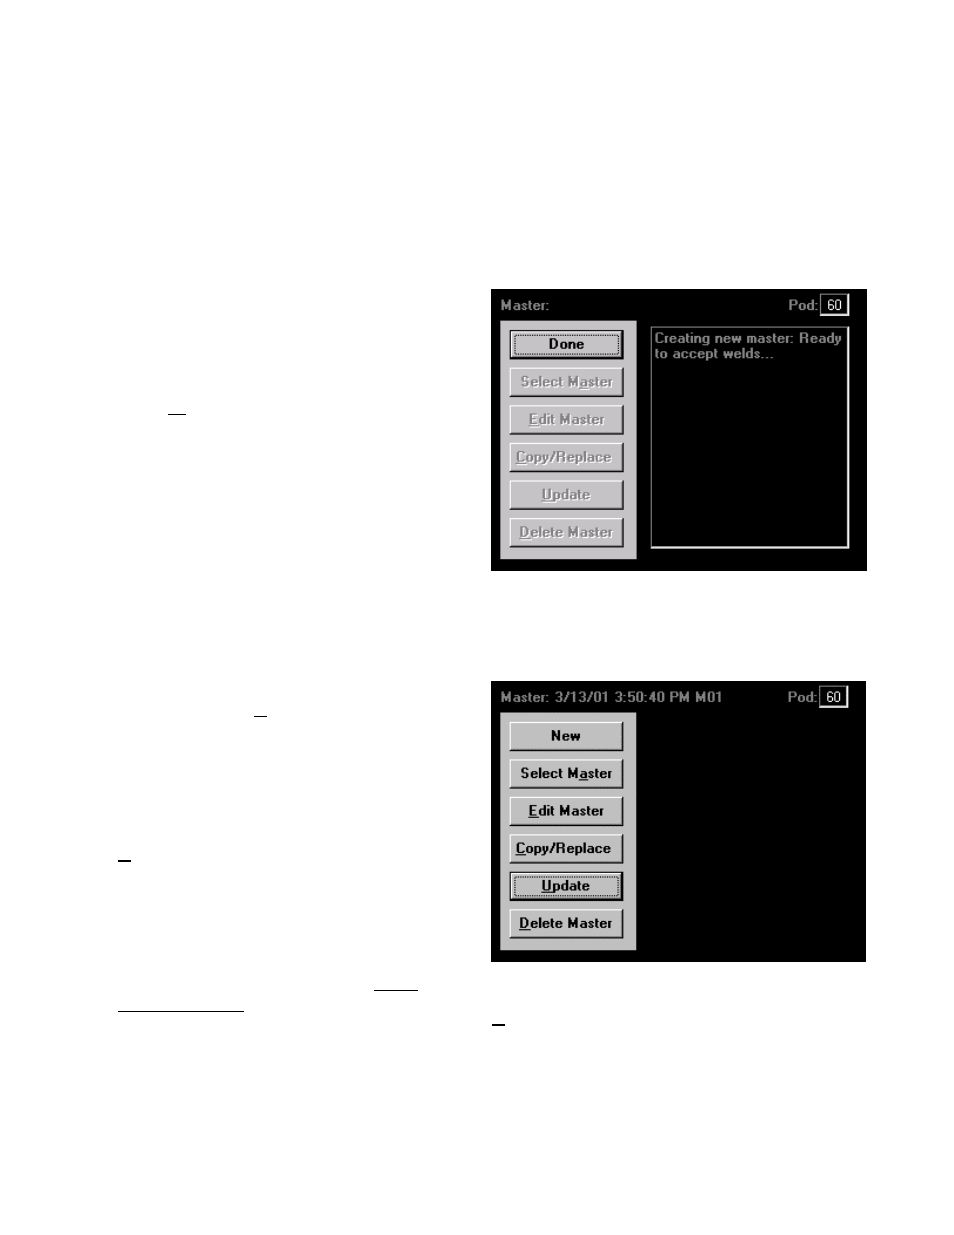
3. Select New from the options. The message
displayed reads "Initializing master memory,"
then "Creating new master: Ready to accept
welds..." The New button changes to Done.
4. Make one weld, using weld settings and
standard parts customary for the application..
5. Press the Done button to end the data capture.
The screen will say "Updating master weld
set." The date/time stamp of the new master is displayed at the top left of the screen.
6. Your screen should now look similar to figure
5-13. Press the Update button to save the
newly created master into the monitor's
memory.
Note:
Anytime you create a new master,
change the name of a master or change
tolerances for a master you MUST use the
Update button for the new master /
tolerance changes to take effect.
The 'MO1' after the date/time stamp of a master
refers to the Master Select (binary select)
number. For more information about Bin
Selects, please refer to Chapter 6, WMS
Reference Guide.
Figure 5-12 Mastering screen, ready to accept welds.
Figure 5-13 Mastering screen with new master
date/time stamp displayed at the top left. Press
Update to update master for use by the monitor.