Wms navigation and editing – Dr. Livingstone, I Presume WELDWISE 2400 User Manual
Page 30
0431-INS-400 Rev. D
4-2
WMS Navigation and Editing
There are two modes in the WMS program: navigating mode and editing mode. Navigating mode
simply refers to moving from one portion of the screen to another or from screen to screen. Editing
mode refers to selecting an item for change and/or actually changing the value of it.
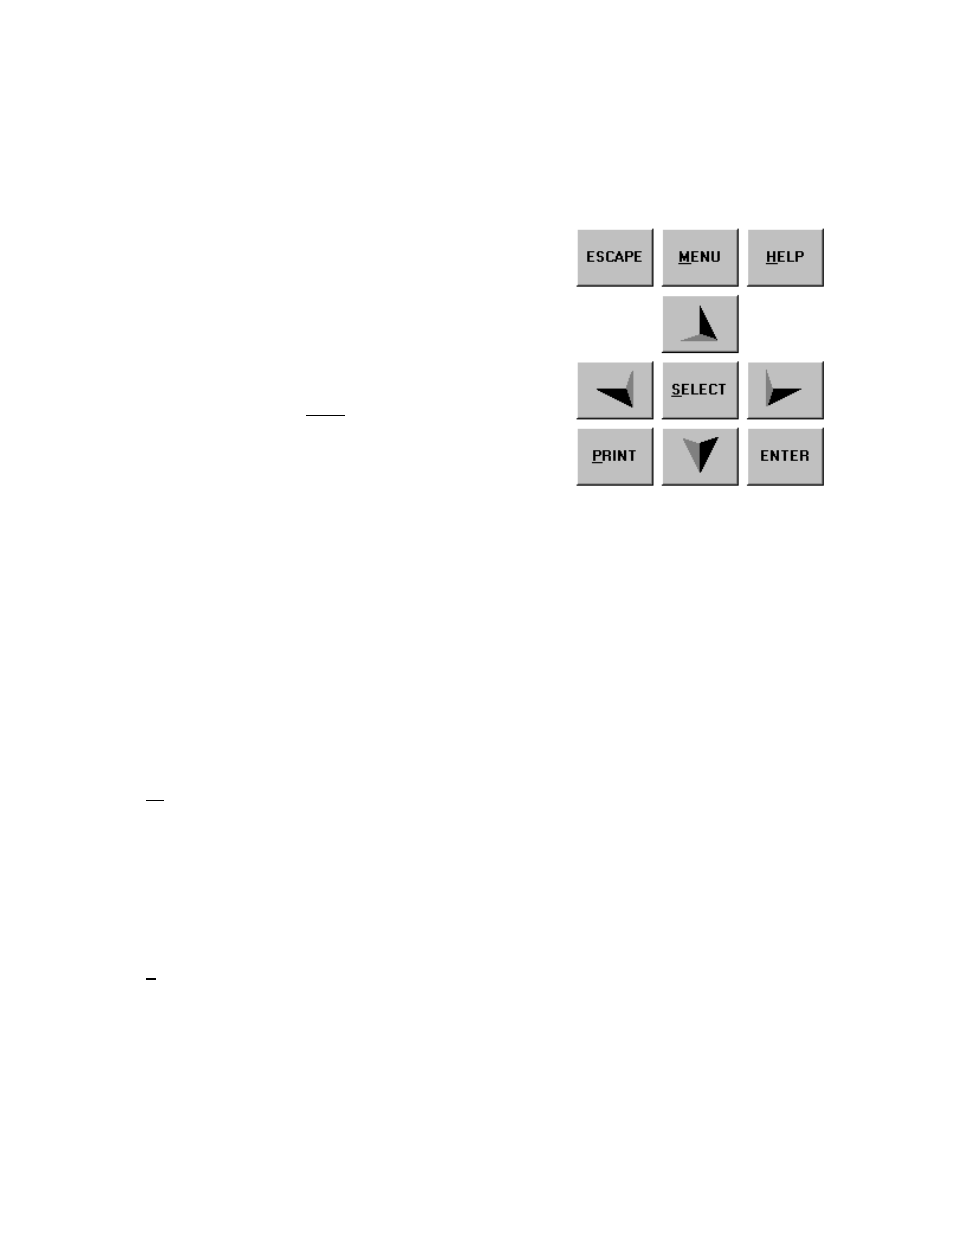
There are four directional arrows on the keypad. In the
middle of the arrow is a SELECT button, and an ENTER
button on the bottom right. On the top are three other
buttons: ESCAPE, MENU and HELP. The PRINT button is
on the bottom left.
If you are using an external keyboard, these options may be
quickly accessed with the 'hot keys', represented by the
underlined letters (ALT + letter). You can also use the
keyboard arrows instead of the arrows on the touch-pad.
Navigation
Generally, anytime you move within a screen or from screen to screen, the location of the
cursor is shown by a highlighted or enhanced border.
ESCAPE This button reverses your path through the program. For example, if you selected
the Data option from the Main Menu, you can use the ESCAPE button to return to
the Main Menu. ESCAPE always takes you back one level at a time towards the
Main Menu of the program or cancels your previous action. If you press ESCAPE
enough times from anywhere in the program, you will always end up at the opening
program screen.
MENU This button accesses the Main Menu from many, but not all, points in the program.
Use it to return to the Main Menu options.
Arrow
Use the arrow buttons to move up, down, left or right on the touch-screen. The
arrows will also allow you to change options once an item has been selected.
Editing
SELECT The SELECT button is used to select an item. This either performs the action
associated with that item, or puts you into Editing mode. A selected item is usually
highlighted, shown with a highlighted border or indicated with a flashing cursor.
Once an item has been chosen (shown by a highlighted or enhanced border) in the
touch-screen, press the SELECT button to highlight (shown by a different fill color)
that item for use or change. For example, if the item is a menu option, the program
opens to the next appropriate display. If the item is parameter, you can cycle
through a list of additional choices using the Arrow Buttons. If the choices show a
Figure 4-2 Keypad buttons