IAI America RCS3PCR-SS8C User Manual
Page 134
11. Maintenance and Inspection
124
Home position
Z-phase ON
position
Mechanical end
Approx. 2 mm
The countermark on the motor
aligns with this position.
Use Parameter home return offset distance (SCON) or home
preset value (SSEL and X-SEL) to specify the settings
(The values displayed above are factory default settings).
Example:
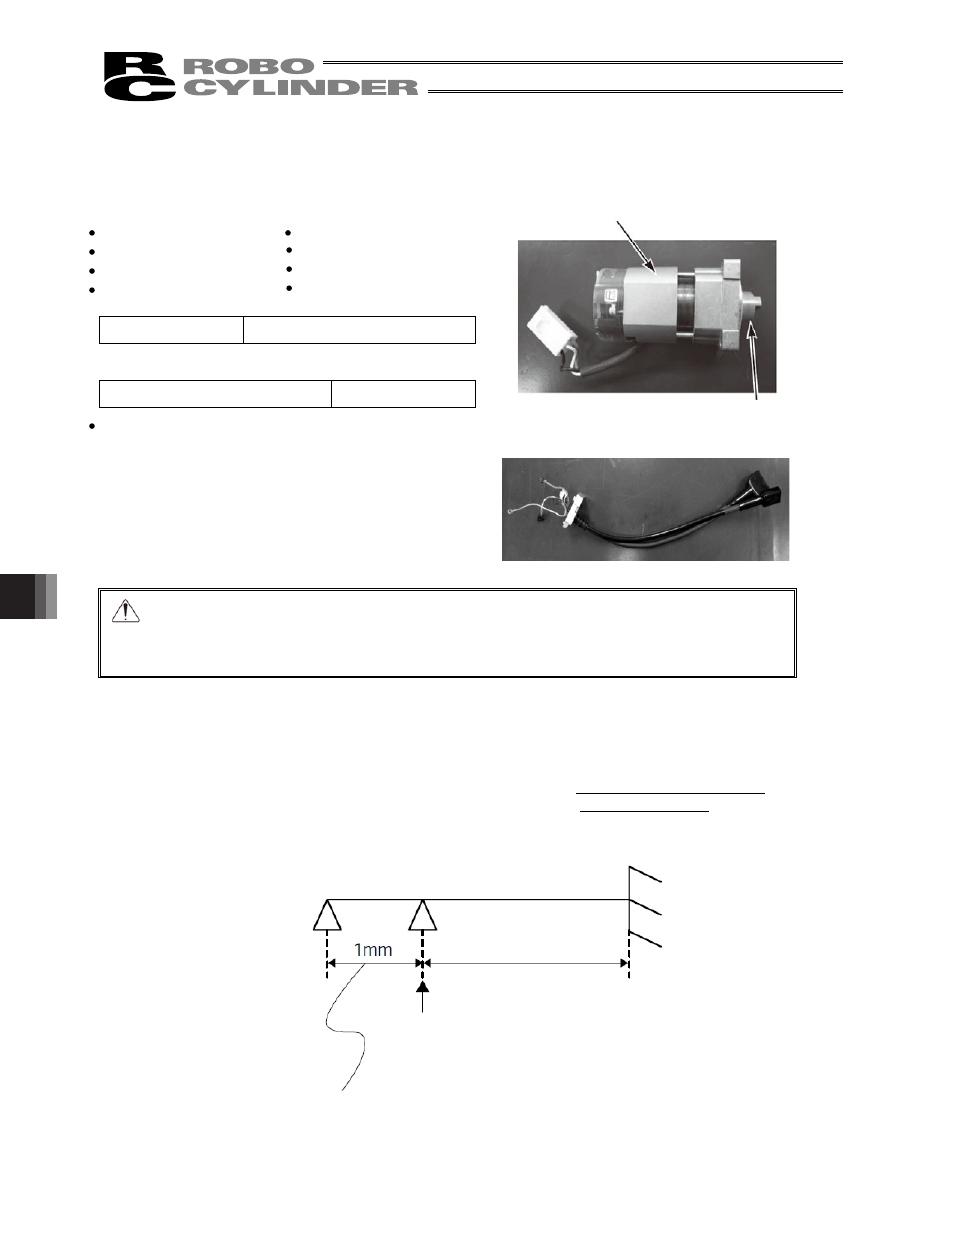
Replacement motor (Encoder by Tamagawa Motor)
Coupling (with screws)
11.10.2
Replacing the Motor of the Motor Straight Type (Coupling Type) (Not Made by IAI)
: RCS2-SA4C, SA5C, SA6C
[Items Required for Replacement]
Replacement motor
Grease
Coupling (with screws)
Phillips screwdriver
Oil-based marker pen
Scale
Allen wrenches
Actuator cable
Actuator cable
Other than cleanroom specification
Idemitsu Kosan
Daphne Eponex Grease No.2
Cleanroom specification
Kuroda Precision Industries
C Grease
PC or teaching pendant
Caution: When replacing the motor, handle the replacement motor with due care.
The actuator has been shipped with the encode adjusted to an optimal position,
so do not crush the encoder unit. It may displace the encoder, thus impairing
proper actuator operation.
[Overview of Replacement]
1) Move the slider to a position where Z-phase turns on (home position) (2 mm from the mechanical end).
Replace the motor in this position.
2) Perform homing using a PC or teaching pendant and check for deviation from the initial home position.
If there is a deviation when the SCON controller is being used, use home return offset distance to make the
adjustments. If the SSEL or the X-SEL controller is being used, use home preset value to make the
adjustments.
- RCS3PCR-SA8C RCS3CR-SS8C RCS3CR-SA8C RCS3P-SS8C RCS3P-SA8C RCS3-SS8C RCS3-SA8C RCS2CR-SS8C RCS2CR-SS7C RCS2CR-SA7C RCS2CR-SA6D RCS2CR-SA6C RCS2CR-SA5D RCS2CR-SA5C RCS2CR-SA4C RCS2-SS8R RCS2-SS8C RCS2-SS7R RCS2-SS7C RCS2-SA7R RCS2-SA7C RCS2-SA6R RCS2-SA6D RCS2-SA6C RCS2-SA5R RCS2-SA5D RCS2-SA5C RCS2-SA4R RCS2-SA4D RCS2-SA4C