Luminex 100 IS User Manual, Version 2.1 User Manual
Page 130
100 IS S Users Manual Version 2.1
x
MAP Technology
7 - 70
PN 89-00002-00-061 Rev. A
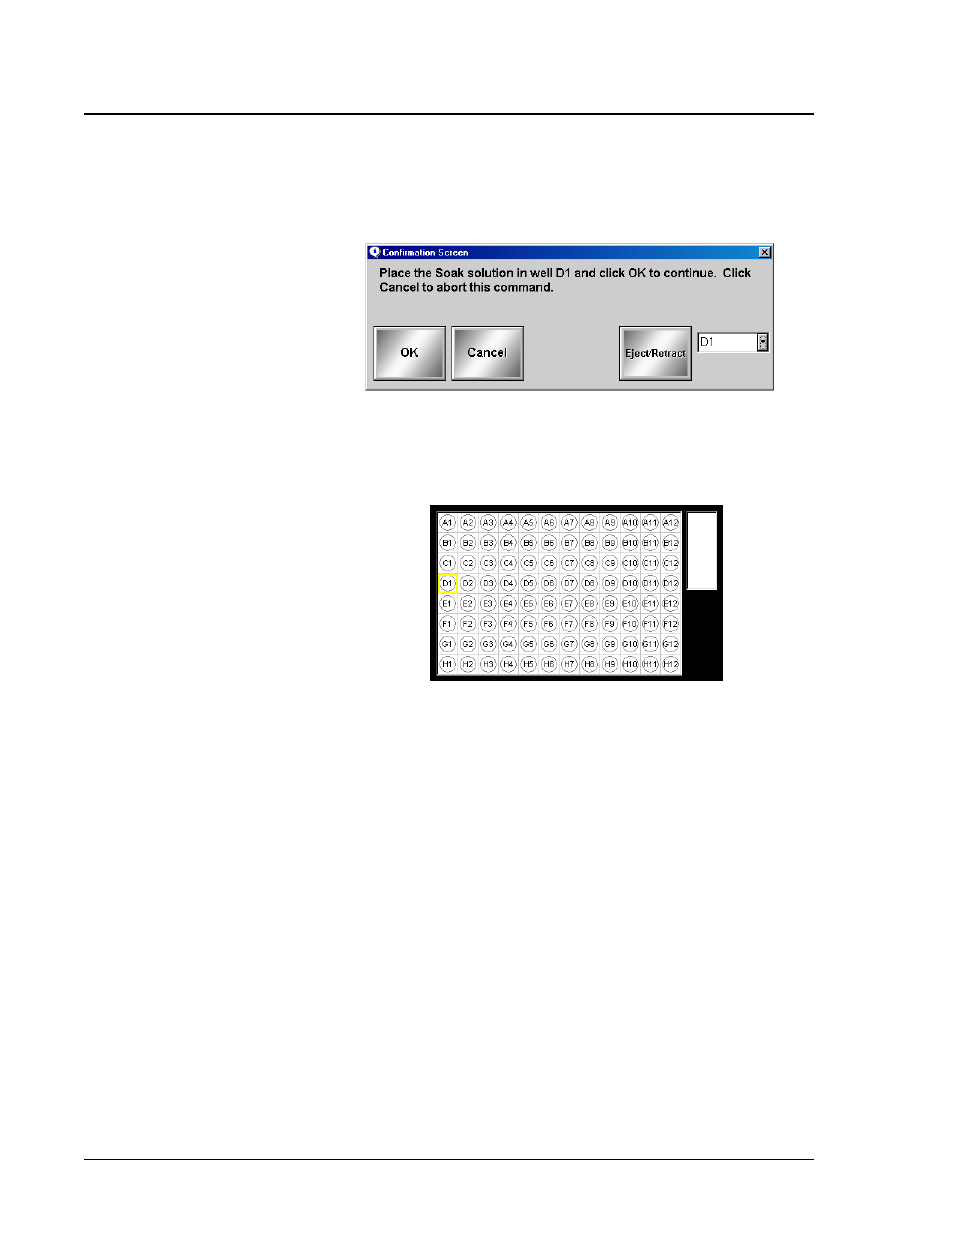
5. Click Soak to fill the Sample Probe and sample lines with
distilled water to prevent sheath fluid crystals from forming in
the sample lines. A confirmation dialog box appears.
Figure 85. Confirmation Screen Dialog Box
6. Click the drop-down arrow to the right of the Eject/Retract
button. An image of the microtiter plate and reservoir appears in
the plate holder.
Figure 86. Microtiter Plate Image For Location Selection
7. Select a location from which to draw fluid using the image of the
microtiter plate and reservoir, and click Eject/Retract. The plate
holder ejects.
Click the X button at the top-right corner of the screen to close
the image of the microtiter plate. The image disappears.
8. Verify that the location you indicated is empty and click Eject/
Retract to retract the plate holder.
9. Click OK to continue. The message log on the Diagnostics tab
indicates that it is soaking. Wait until the soak command
completes before initiating another command. Upon completion,
the microtiter plate representation shows a green well with a
check mark to indicate the command’s success or a red well with
an ex-mark to indicate the command’s failure.
Note:
The system may show a
default location from which to
draw fluid. In this case, the
microtiter plate shows that well
with a yellow line inside the well.