Luminex 100 IS User Manual, Version 2.1 User Manual
Page 109
x
MAP Technology
Software Tour
PN 89-00002-00-061 Rev. A
7 - 49
5. Load the next plate for the batch.
6. Click Resume. The system resumes the acquisition process.
Scan in New
Samples with the
Barcode Reader
The barcode reader lets you quickly enter the sample identification
numbers, or accession numbers. The barcode reader is particularly
useful when you have many samples to enter into the system.
See “Bar Code Labels” on page 5-7 to find the acceptable types of
bar code labels.
To scan samples into the system using the barcode reader:
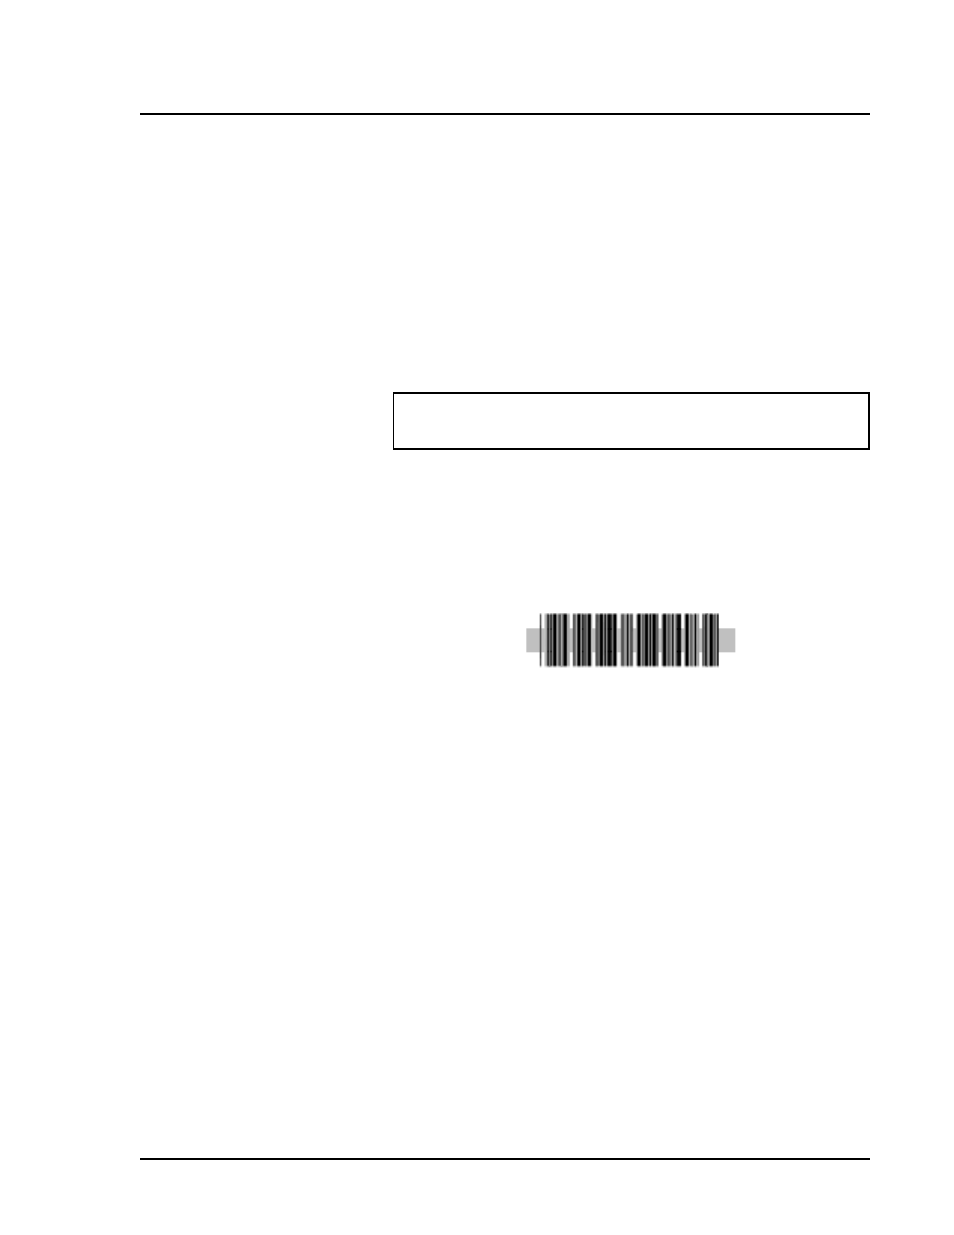
1. Aim the barcode reader’s beam to read the middle of the barcode
series, horizontally.
The barcode reader beam must encompass the entire set of bars
in the barcode.
Figure 69. Bar Code Reader Beam Aimed Across Code
2. Click the barcode reader’s trigger. The beam activates and reads
the barcode. A barcode appears in the appropriate entry field.
3. Visually verify that the barcode scanned correctly. It is critical
that you scan (or enter) the correct identification number.
Add a Patient List
to a Batch or
Multi-Batch
You may have a patient list text file that you want to apply to a batch
or multi-batch. The system lets you apply this file to any batch or
multi-batch, whether pre-existing or newly created, or previously
used or unused.
The patient list text file must meet the following IS 2.1 requirements:
•
first line of text in the file must be “LX100IS Patient List”
•
the second line of text in the file must be “[Accession#, Dilution
Factor]”
•
any following lines of text should be in the format, “x, y”
where x = accession number for the patient (patient identifier
string) and y = dilution factor
Warning:
Laser light. Do not stare into the beam. Class II laser
product.