Figure 97, Tftputil settings, Eclipse upgrade reference manual – Clear-Com Eclipse-Omega User Manual
Page 112
Eclipse Upgrade Reference Manual
Clear-Com Communication Systems
Page 112 of 155
Part Number: 810377Z Rev 6
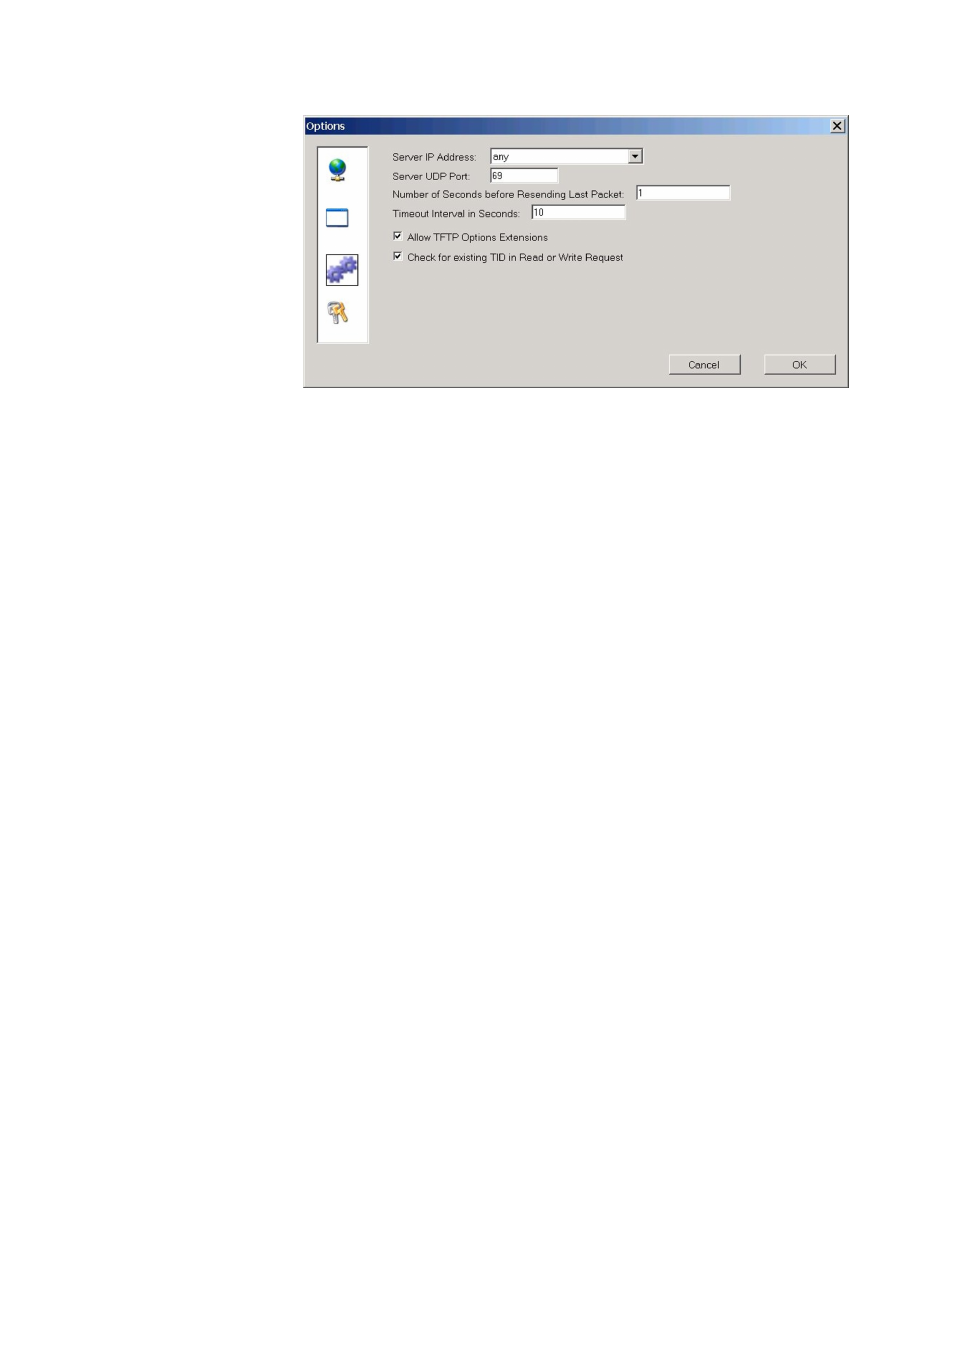
Figure 97 - TFTPUtil Settings
6. If a firewall is running it may request permission for the program to have
access when the TFTP server is run for the first time. Click on ‘Yes’.
7. From the start bar select ‘Settings’, ‘Network and Dial-up Connections’. Double
click the ‘Local Area Connection’ and click ‘Properties’.
8. In the ‘This connection uses the following items’ box select ‘Internet Protocol
(TCP/IP)’ and select ‘Properties’.
9. Make a note of all information in this window in case of later problems with
networking.
10. Select the ‘Use the following IP address’ radio button and enter 172.16.5.50
into the IP address line.
11. Set the netmask to 255.255.0.0 .
12. Click OK and OK again.
13. Create new folders:
C:\TFTP\Release
14. Copy the following files into the C:\TFTP\Release folder:
710817Z VSeries Uboot TFTP Image
File:
U-Boot.ldr
InstallCD\Panel_Software\V-Series\Main_Board\710817Z -
Panel UBOOT TFTP Image\U-Boot.ldr
710818Z V Series Panel Application