Ricoh AP4510 User Manual
Page 120
Sample Print/Locked Print
46
4
GGGG
After making all desired settings,
click [OK].
HHHH
Start printing from the applica-
tion's [Print] dialog box.
The Sample Print job is sent to the
printer and the first set is printed.
IIII
Check the print job to confirm
whether the settings are acceptable.
If the settings are fine, go to step
to print the rest of the print job.
If not, you can delete the saved job.
⇒ p.47 “Deleting a Sample Print
File”
JJJJ
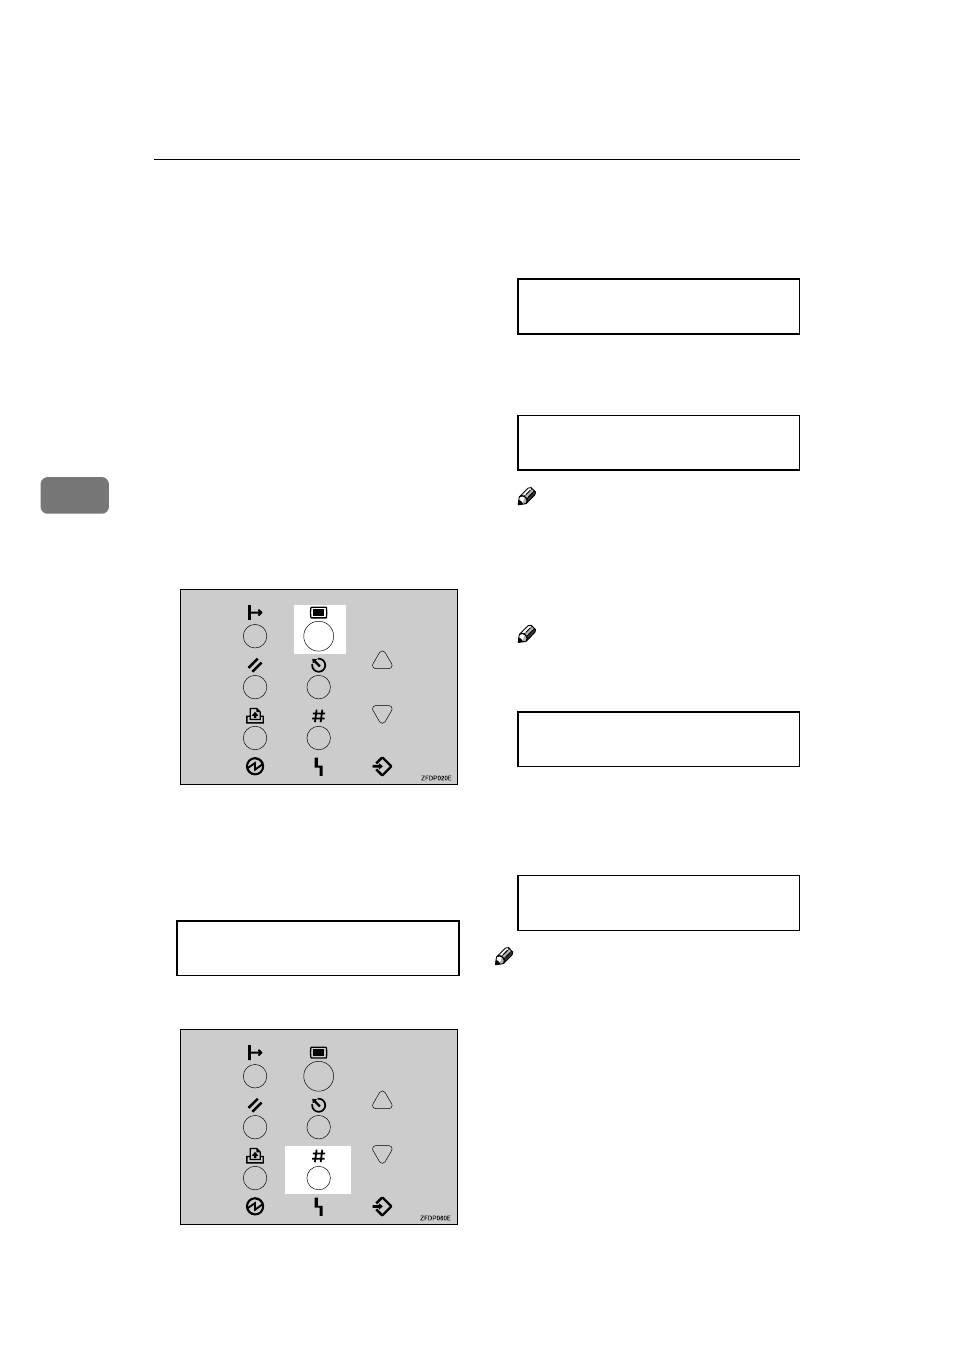
On the printer's control panel,
press
{{{{Menu}}}}.
“Menu” appears on the panel dis-
play.
KKKK
Press
{{{{T
T
T
T}}}} or {{{{U
U
U
U}}}} to display the
“Sample Print“ menu.
LLLL
Press
{{{{Enter #}}}}.
MMMM
Press
{{{{T
T
T
T}}}} or {{{{U
U
U
U}}}} to display the
file you want to print, and then
press
{{{{Enter #}}}}.
NNNN
Confirm that "Print File" is dis-
played, and then press
{{{{Enter #}}}}.
Note
❒ If you want to cancel the Sample
Print, press
{{{{Escape}}}}.
OOOO
Press
{{{{U
U
U
U}}}} or {{{{T
T
T
T}}}} to enter the
number of sets to print.
Note
❒ You can enter up to 999 sets to
print.
PPPP
Press
{{{{Enter #}}}} to print the file.
The following message appears on
the panel display.
Note
❒ The print job is deleted from the
Printer Hard Disk after printing.
Menu:
Sample Print
Sample Print:
08:56 ABCD1234
Select Action:
Print File
Qty: 6(1-999)
Press # To Print
Printing...