Clearing clip marks, Adjusting clip audio level – Grass Valley Turbo iDDR v.2.3 User Manual
Page 78
78
Turbo iDDR User Guide
Chapter 3 Operation: Front Panel Control
NOTE: If more media exists after the current mark, a <<< or >>> symbol is
displayed next to the In/Out timecode. To permanently remove media outside the
marks, refer to
“Erasing a clip's unused media” on page 107
.
To move clip marks
1. Load the clip in the player.
2. Use the front transport controls to locate the desired frame.
3. Perform one of the following:
• Press the
MARK-IN
button to set mark-in point.
• Press the
MARK-OUT
button to set mark-out point.
Clearing clip marks
If media exists outside the clip marks, you can get access to that media by clearing the
clip marks. If more media exists after the clip marks, a <<< or >>> symbol is
displayed next to the In/Out timecode.
To clear clip mark-in or mark-out:
1. Load the clip in player.
2. Perform one of the following:
• Press
ESC/SHIFT
then
MARK-IN
+
to clear the mark-in point.
• Press
ESC/SHIFT
then
MARK-OUT
+
to clear the mark-out point.
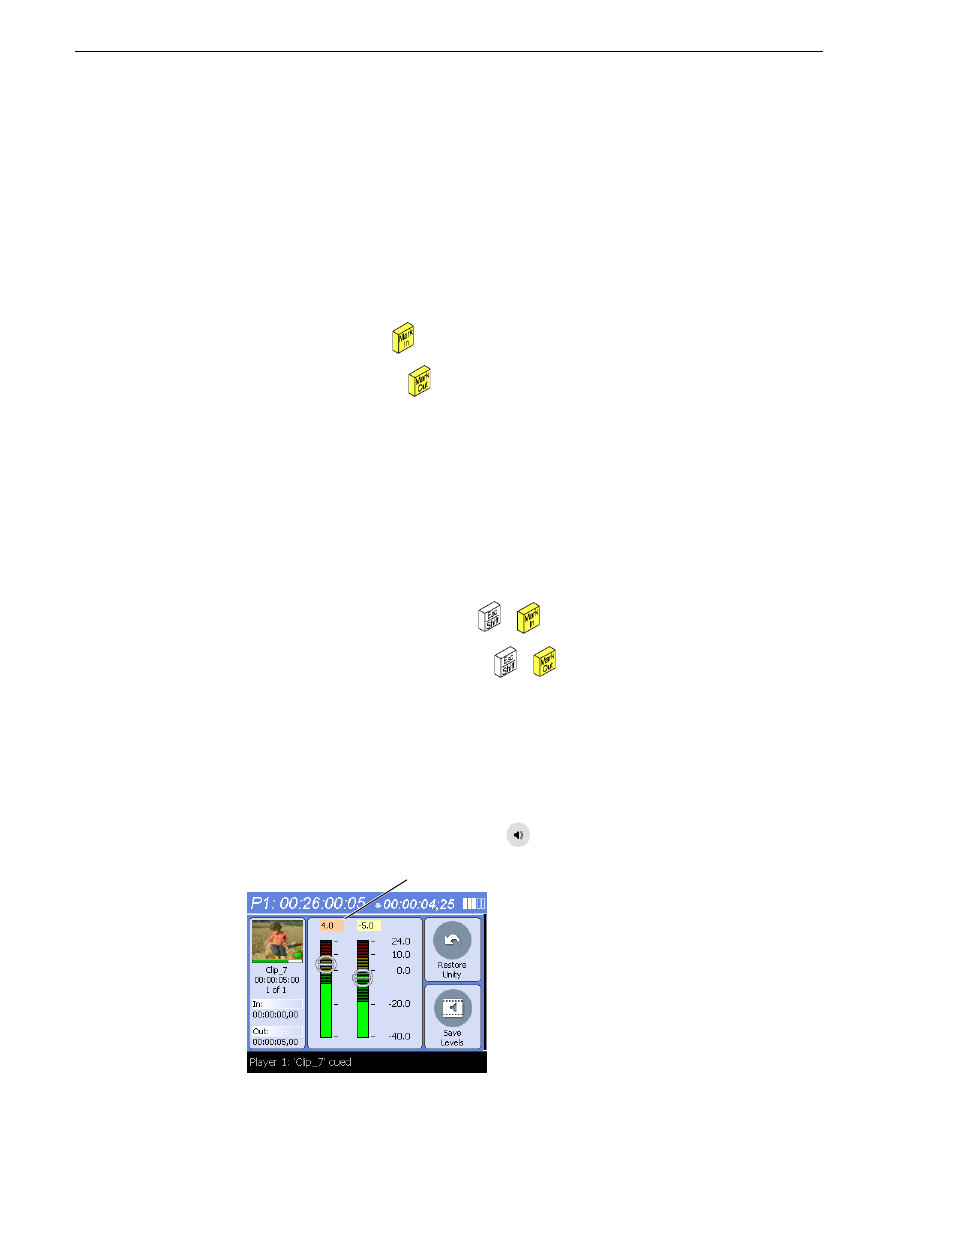
Adjusting clip audio level
The audio meter display provides audio level adjustment for clips loaded in the player
display. If the clip loaded was recording using Dolby digital audio (AC3), the audio
gain adjustments are disabled.
To adjust audio level:
1. In the Player display, touch the
Audio
button.
2. Do one of the following:
Selected
Channel