To import a still image file – Grass Valley Turbo iDDR v.2.3 User Manual
Page 198
198
Turbo iDDR User Guide
Chapter 4 Operation: AppCenter Workstation
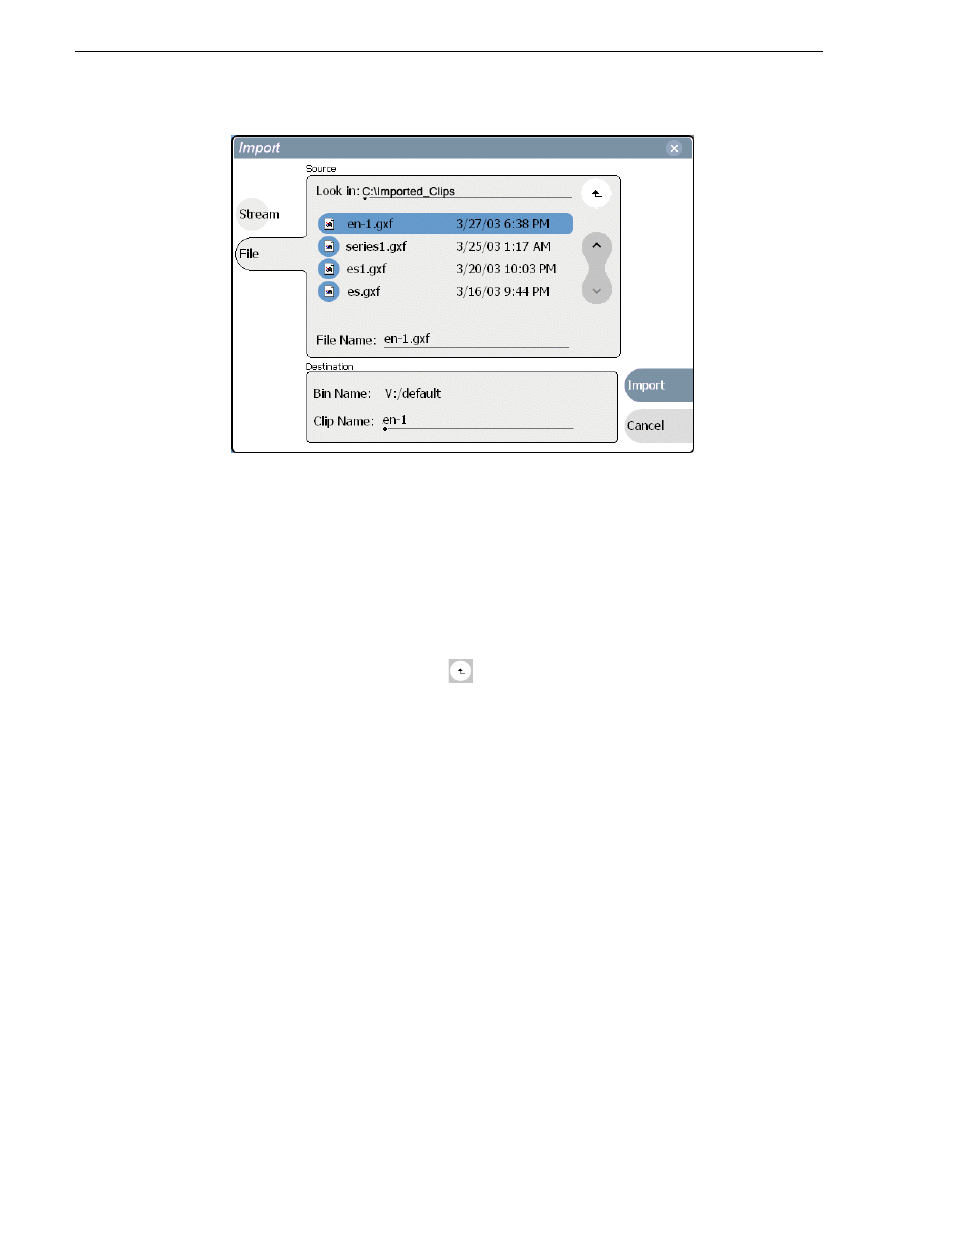
3. Click
File
.
NOTE: The appearance of the asset list and file open dialog boxes is determined by
the Options setting. (
See “Modifying the asset list view” on page 138
.)
4. In the Source section, browse to locate and select the source file.
The
Look in
label shows the current location. The list under the
Look in
label
displays the contents of the current location. You can select items in the list (such
as a machine, disk drive, or folder) to explore its contents.
Clicking the up-arrow button
moves up one directory level in the storage
hierarchy.
The Look in drop-down list allows you to choose from one of the most recent
source locations visited (history).
5. Verify the destination directory indicated next to
Bin Name
. This is where the
imported file is placed.
6. Modify the clip name, if needed, by selecting the
Clip Name
edit control.
7. Click
Import
to start the import.
NOTE: Import is a background task and can be monitored using the Transfer
Monitor.
See “Monitoring media file transfers” on page 207
to view the job status.
To import a still image file
You can import still image or image sequence files. When imported, the image is
recorded as a clip using the duration, aspect ratio, and resolution you specify.
1. Verify the current bin location. The current bin is the destination directory for the
import operation. For help, see
“Changing the current bin” on page 221
.
2. Select
Clips | Import
.
The Import dialog box opens.