Adobe Premiere Pro CC v.7.xx User Manual
Page 348
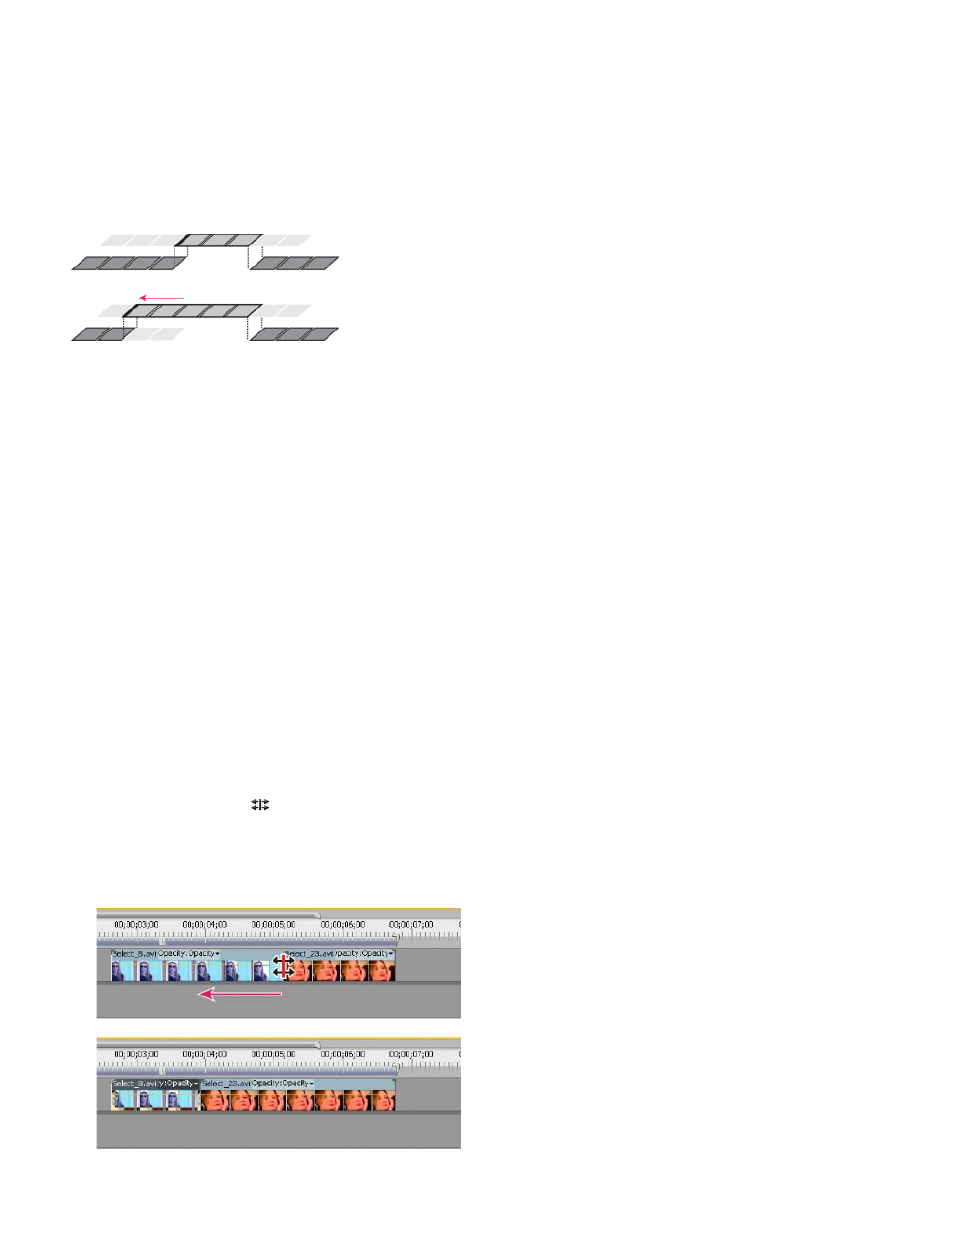
Program Monitor and Timeline during a rolling edit
Rolling edit
A rolling edit trims an adjacent Out point and In point simultaneously and by the same number of frames. This action effectively moves the edit
point between clips, preserving other clips’ positions in time and maintaining the total duration of the sequence. Pressing Alt (Windows) or Option
(Mac OS) when you begin to perform a rolling edit overrides video and audio linking, allowing you to create a
(L-cut or J-cut).
In this rolling edit, the edit point is moved earlier in time—shortening the previous clip, lengthening the next clip, and maintaining the program
duration.
Ripple edit
A ripple edit trims a clip and shifts subsequent clips in the track by the amount you trim. Shortening a clip by ripple editing shifts all clips after the
cut back in time; conversely, extending a clip shifts the clips that follow the cut forward in time. When you’re making a ripple edit, empty space on
one side of the cut is treated as a clip and shifts in time just as a clip would be. Pressing Alt (Windows) or Option (Mac OS) when you begin to
perform a ripple edit ignores the link between video and audio.
Online resources for ripple and rolling edits
For more information about ripple and rolling trims,
from An Editor's Guide to Premiere Pro by Richard Harrington, Robbie
Carman, and Jeff Greenberg.
See also Andrew Devis' tutorial on Creative COW entitled,
Make a rolling edit using the Rolling Edit tool
1. Select the Rolling Edit tool
.
2. In a Timeline panel, drag left or right from the edge of the clip you want to change. The same number of frames added to the clip are
trimmed from the adjacent clip. Alt-drag (Windows) or Option-drag (Mac OS) to affect only the video or audio portion of a linked clip.
Timeline panel during (above) and after (below) a roll edit
351