Make a ripple edit using the ripple edit tool, Make slip and slide edits, Make a slip edit – Adobe Premiere Pro CC v.7.xx User Manual
Page 254

Note:
1. Click a track header to target the track containing the clip you want to trim.
2. Drag the playhead to the location in the sequence to which you want to extend the clip In point or Out point.
3. Click the Rolling Edit tool, and then select the edit point.
4. Choose Sequence > Extend Selected Edit to Playhead, or press E.
If there is not enough media to extend to the playhead, Premiere Pro extends the clip to the end of the available media.
Make a ripple edit using the Ripple Edit tool
1. Select the Ripple Edit tool
.
2. In a Timeline panel, position the pointer over the In or Out point of the clip you want to change until the Ripple-in icon
or the Ripple-out
icon
appears, and drag left or right. Subsequent clips in the track shift in time to compensate for the edit, but their durations remain
unchanged. Alt-drag (Windows) or Option-drag (Mac OS) to affect only the video or audio portion of a linked clip.
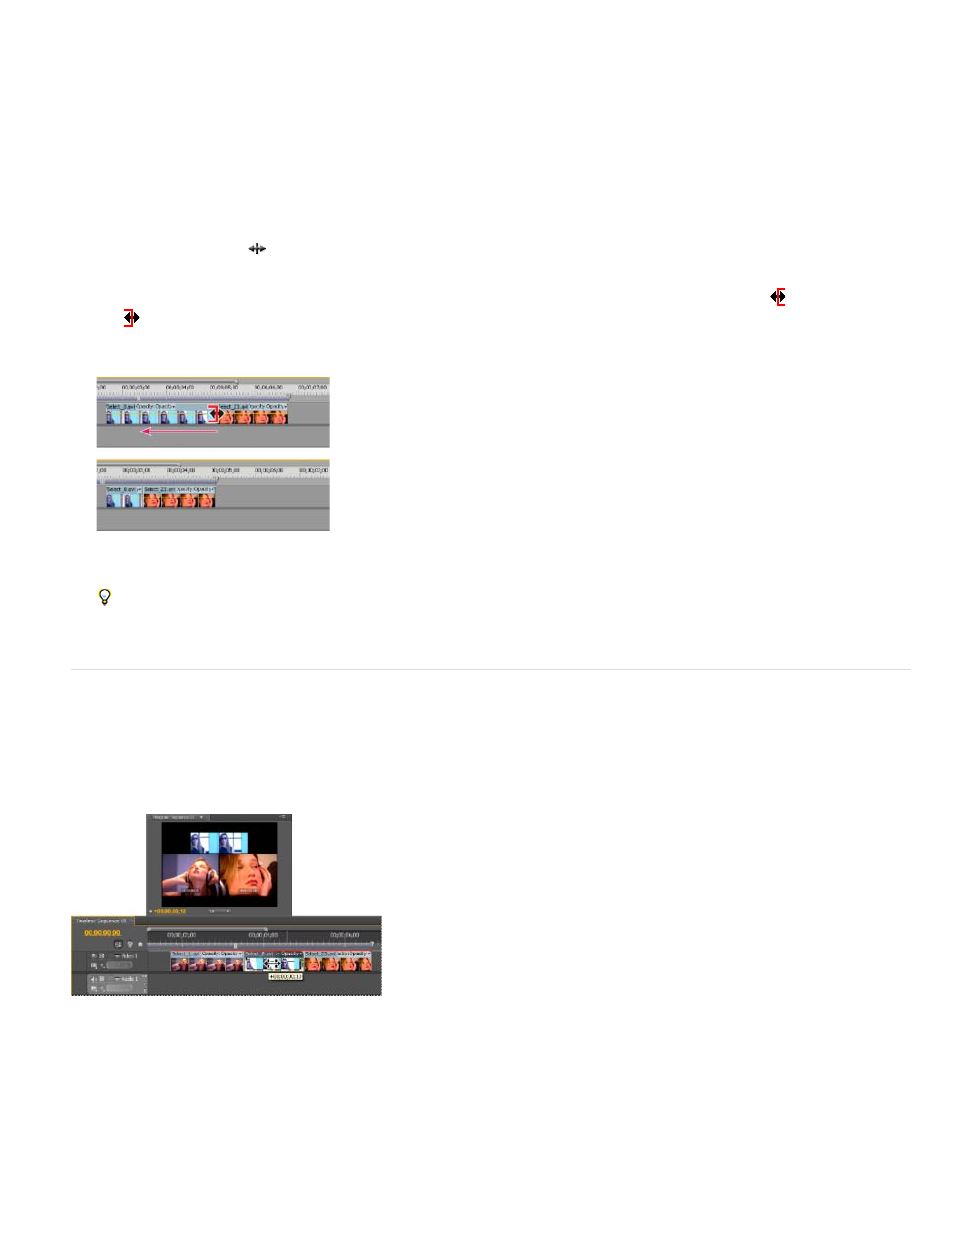
Timeline panel during (above) and after (below) a ripple edit
When using the Selection tool, you can toggle from the Trim-in or Trim-out icon to a Ripple edit icon by pressing the Ctrl (Windows) or
Command (Mac OS) key. Release Ctrl (Windows) or Command (Mac OS) to revert to the Selection tool.
Make slip and slide edits
Just as ripple and rolling edits allow you to adjust a cut between two clips, slip and slide edits are useful when you want to adjust two cuts in a
sequence of three clips. When you use the Slip or Slide tool, the Program Monitor displays the four frames involved in the edit side by side, except
when editing audio only.
Program Monitor and Timeline during a slide edit
Though Slip and Slide tools are typically employed on the center of three adjacent clips, each tool functions normally even if the clip is adjacent to
a clip on one side and blank space on the other.
Make a slip edit
257
