Calibration type selection, Logic calibration settings – KEYENCE LS-7600 User Manual
Page 86
5-24
Chapter 5 Function Settings
5
Calibration Type Selection
The following section provides information on how to set the calibration type for each area.
The procedure below is for AREA1 for a typical example.
1
With the AREA 1 box selected, press ENT. T1-A will be lit. Press the [Up] key
and move the cursor to underline the type of calibration. “THEORY”
The item is underlined and displayed.
2
Press the [ENT] key.
The cursor appears on “THEORY”.
3
Press the [Up or Down] key and
select the type of calibration for
AREA1.
Any one of the following items displayed
can be selected.
Logic calibration
THEORY
Meaning
LCD monitor
Two-point calibration
2-TARGET
One-point calibration
1-TARGET
Initialization of calibration
RESET
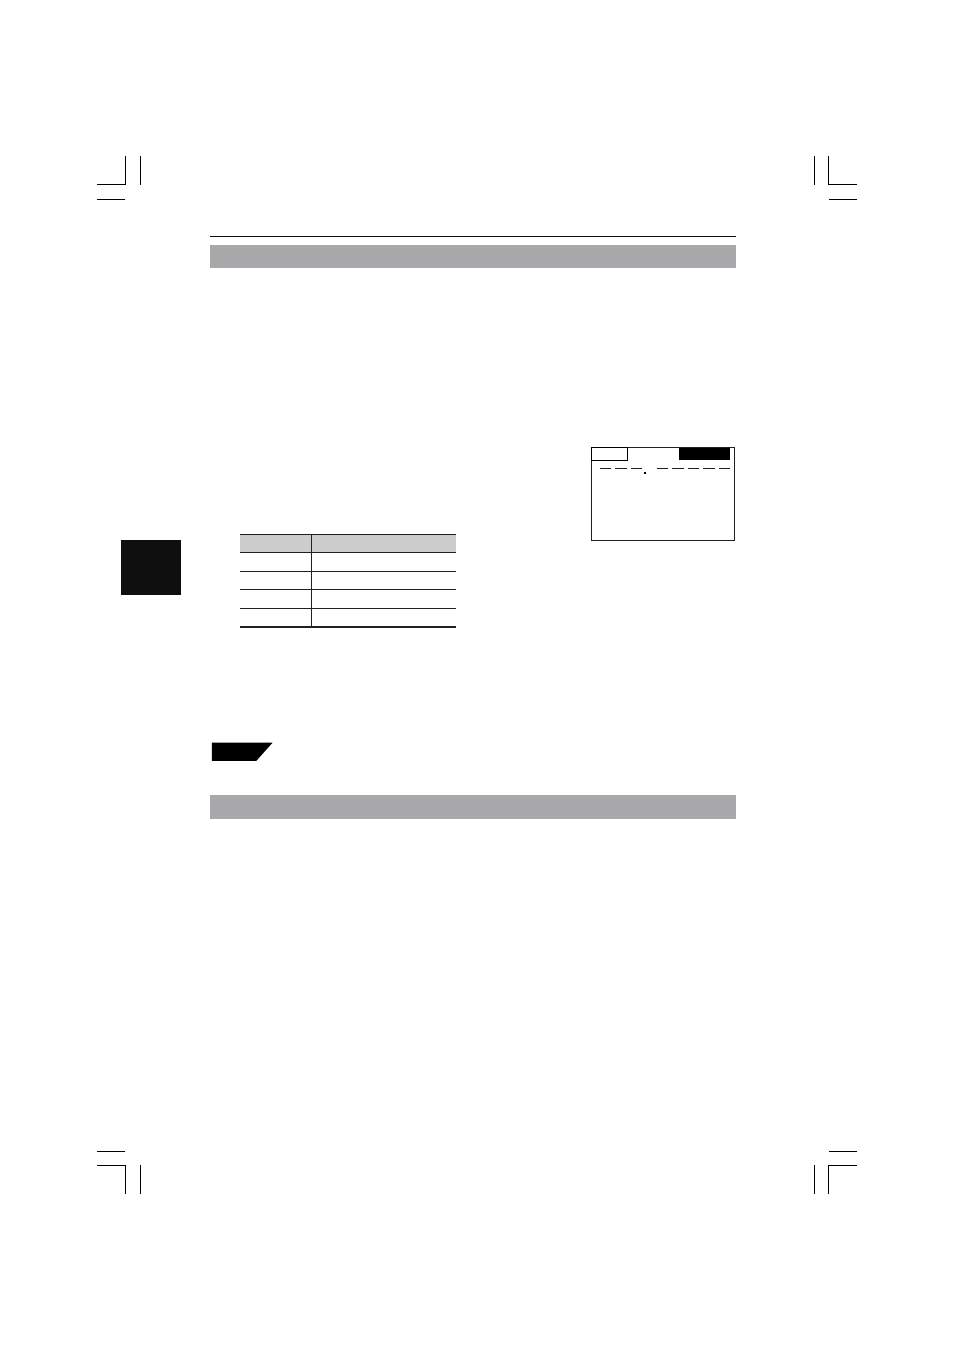
AREA1
THEORY
T1-A
✽✽✽✽✽✽✽✽✽
T1-B
✽✽✽✽✽✽✽✽✽
T2-A
✽✽✽✽✽✽✽✽✽
T2-B
✽✽✽✽✽✽✽✽✽ SET
4
Press the [ENT] key.
5
To enable the type of calibration that is selected, calibrate the LS-7600 Series
with the right method. For details, refer to the settings for each type of calibra-
tion.
Tips
Take steps 1 through 4 to select the type of calibration for AREA2 as well.
Refer to page 5-28 for the initialization of calibration.
Logic Calibration Settings
Make logic calibration settings as explained below.
Setting Range
Logic calibration does not require master workpieces. Input the non-calibrated values
and calibrated values of two measuring points (target 1 and target 2). Logic calibration
uses the following values.
T1-A: Target 1 display value before calibration
T1-B: Target 1 display value after calibration
T2-A: Target 2 display value before calibration
T2-B: Target 2 display value after calibration
Make settings so that the following conditions will be satisfied.
T1-A < T2-A and T1-B < T2-B
Furthermore, set the calibration span between 0.5 and 2.0.