Checking the stitching, Displaying a preview of the embroidery – Brother PE-DESIGN V7 User Manual
Page 237
231
Manually Creating Embroidery Patterns From Images (Design Center)
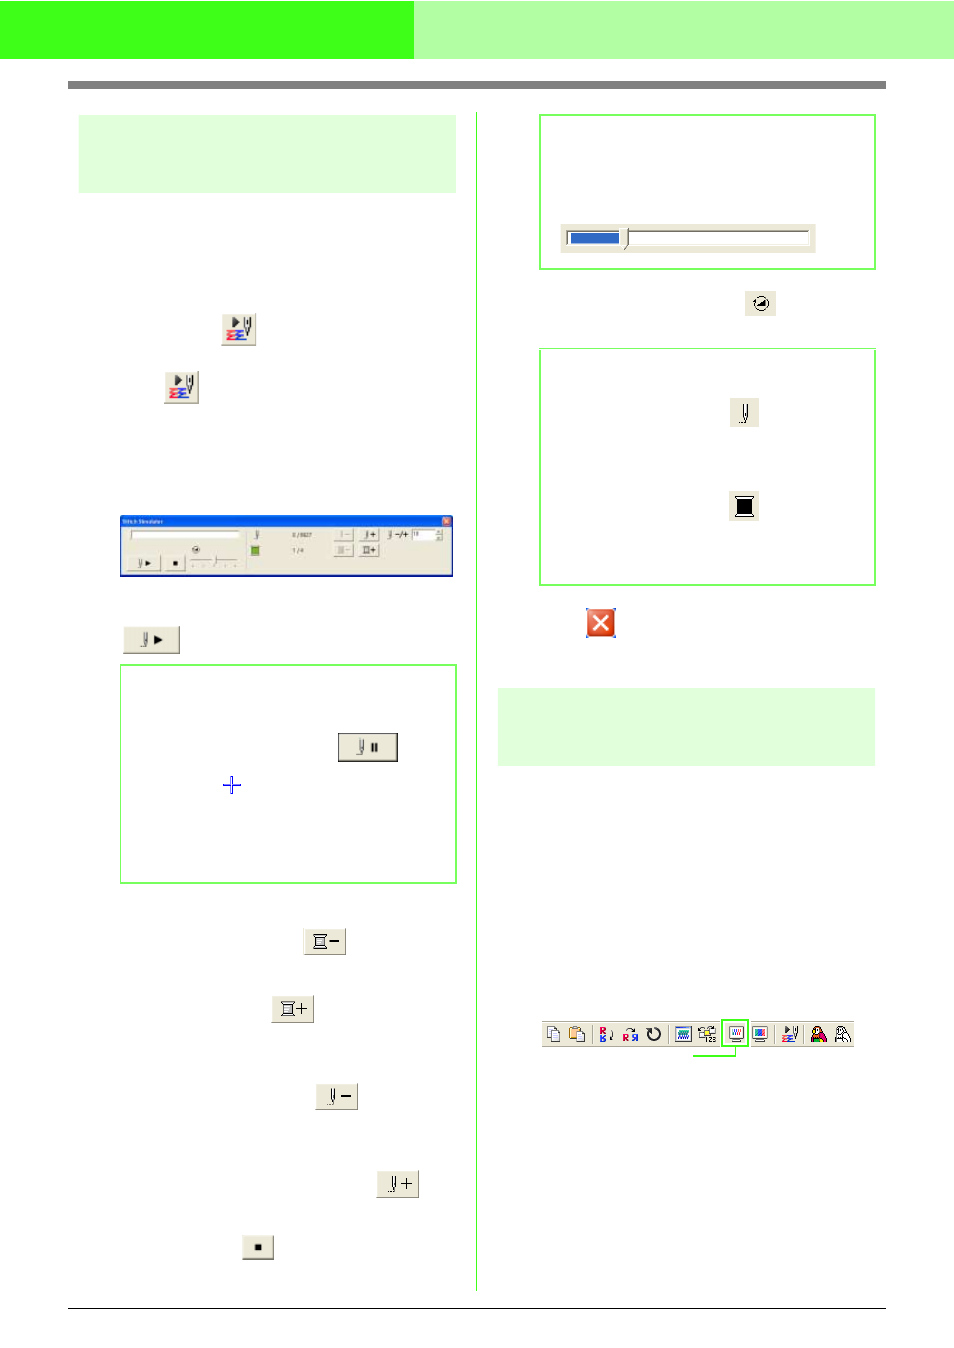
Checking the stitching
The actual stitching as it will be performed by the
sewing machine can be viewed using the stitch
simulator. (This function is available only in the Sew
Setting Stage.)
Toolbar button:
1.
Click
, or click Display, then Stitch
Simulator.
The Stitch Simulator dialog box appears,
and the embroidery pattern is cleared from the
Design Page.
To begin the stitching simulation, click
.
To reverse the simulation to the beginning of
the previous color, click
.
To advance the simulation to the beginning of
the next color, click
.
To reverse the stitching by a specified number
of stitches, type or select the desired number
of stitches, and then click
.
To advance the stitching by a specified
number of stitches, type or select the desired
number of stitches, and then click
.
To stop the simulation and return to the
beginning, click
.
Drag the slider indicated by
to adjust the
simulation stitching speed.
2.
Click
in the upper-right corner of the
dialog box to close the dialog box.
Displaying a preview of the
embroidery
Once the embroidery pattern is complete or while
you work on the design, you can preview the
pattern’s stitches. You can also view a realistic
preview of the pattern in order to see how it will
appear once it is sewn. (These functions are
available only in the Sew Setting Stage.)
1.
To display a preview of the embroidery
pattern, click Display on the menu bar, and
then click Preview.
An alternate method is to click the Toolbar
button indicated below.
b
Memo:
• During the stitching simulation, this button
changes to a pause button (
).
• A marker (
) indicates the position in
the simulation.
• To get a better view of the stitching, zoom in
on the design before opening the Stitch
Simulator dialog box.
b
Memo:
The slider shows the current location in the
simulation. In addition, adjust the slider to
change the position in the simulation.
b
Memo:
• The first number beside
indicates the
number of the current stitch, and the second
number indicates the total number of
stitches.
• The first number beside
indicates the
number of the color being drawn, and the
second number indicates the total number
of colors used.
Preview