Displaying a preview of the embroidery, Arranging embroidery designs (layout & editing), Changing realistic preview settings – Brother PE-DESIGN V7 User Manual
Page 178
172
Arranging Embroidery Designs (Layout & Editing)
Displaying a preview of the
embroidery
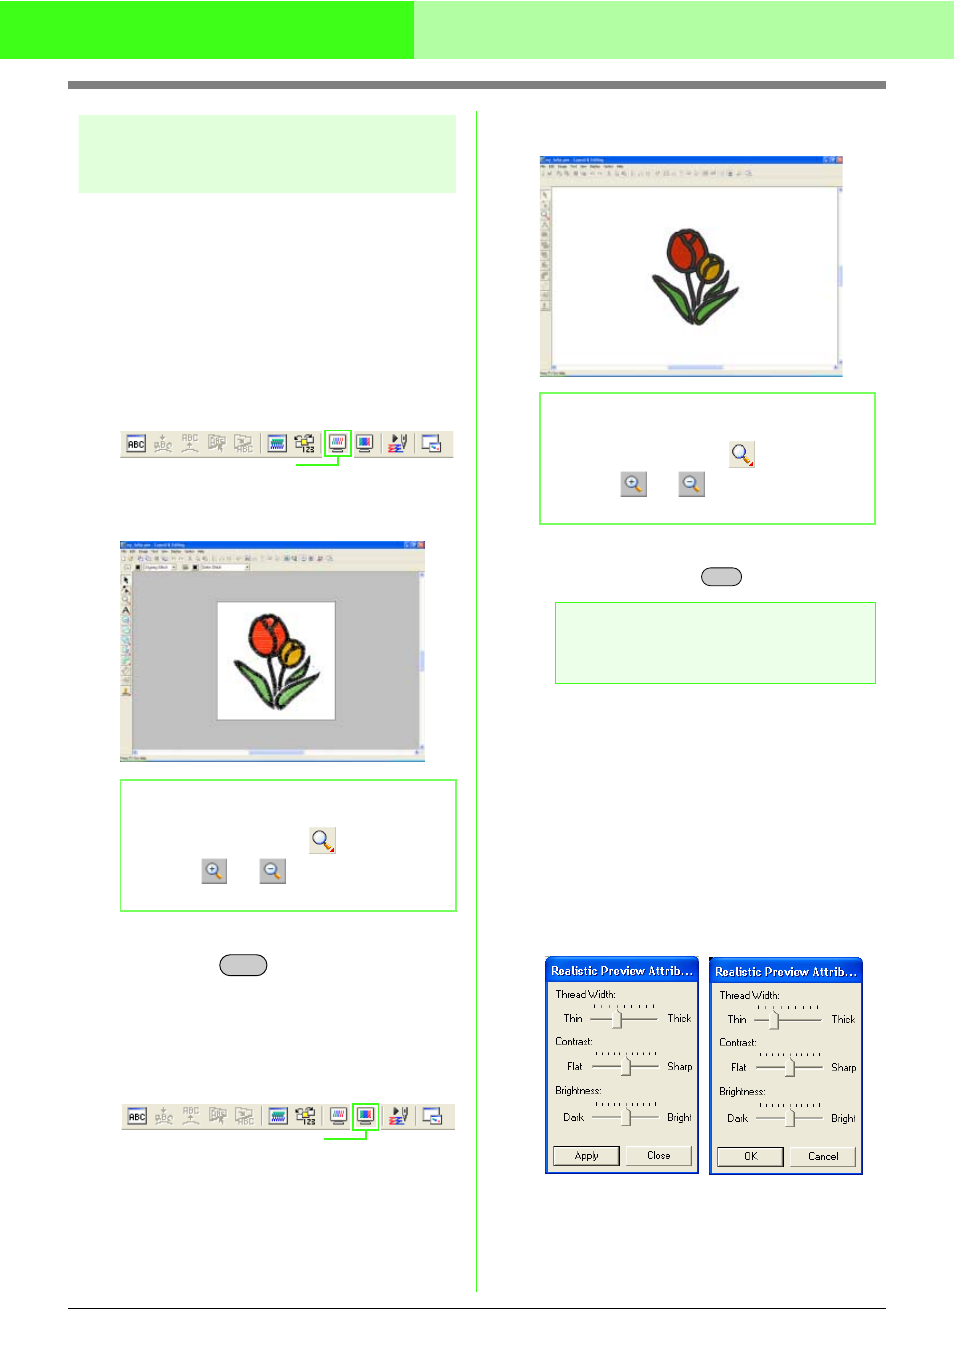
Once the embroidery design is complete, you can
display a preview of it in order to see how the
stitching is connected, or you can display a realistic
preview of it in order to see how the design will
appear once it is sewn.
1.
To display a preview of the embroidery
design, click Display on the menu bar, and
then click Preview.
An alternate method is to click the Toolbar
button indicated below.
→ A preview of the embroidery design
appears.
2.
To leave the preview display, repeat step
1.
,
or press the
key.
3.
To display a realistic preview of the
embroidery design, click Display on the menu
bar, and then click Realistic Preview.
An alternate method is to click the Toolbar
button indicated below.
→ A realistic preview of the embroidery
design appears.
4.
To leave the realistic preview display, repeat
step
3.
, or press the
key.
■
Changing realistic preview
settings
Set the realistic preview settings for the desired
realistic preview display.
1.
Click Display, then Realistic Preview
Attribute Setting.
→ A Realistic Preview Attribute dialog box
similar to the ones shown below appears.
2.
Use the Thread Width slider to set how wide
the thread will appear.
b
Memo:
To zoom in (or out), click
on the Tool
Box, click
(or
), and then click the
desired area of the embroidery design.
Preview
Esc
Realistic Preview
b
Memo:
To zoom in (or out), click
on the Tool
Box, click
(or
), and then click the
desired area of the embroidery design.
a
Note:
The embroidery design cannot be edited
while the realistic preview is displayed.
Esc
When a realistic
preview is displayed
When a realistic
preview is not
displayed