Importing images – Apple Aperture User Manual
Page 19
Chapter 1
An Overview of Aperture
19
I
Importing Images
When you connect a camera or card reader to your computer, the Import dialog appears.
You can select your camera or card reader and see the images you’re about to import.
You can select all the images on a memory card or select and import only those you
want. You can also select image files on your hard disk for importing.
You can then specify options for importing your images. For example, you can specify
that your images be imported into the Aperture Library in your Pictures folder, or
specify another location to store them. If you have images already stored on a hard
disk, you can simply allow Aperture to access them without changing their current
locations. You can choose how images are named and include other information that is
recorded with each image to help identify it. For example, you can specify the event
name, date, time, photographer, and location, as well as copyright information.
You can also specify other import options, such as whether you want Aperture to
group related images together in stacks. For example, if you have bracketed images or
images shot in quick succession, you can have Aperture import and stack these images
together to make reviewing and working with them easier.
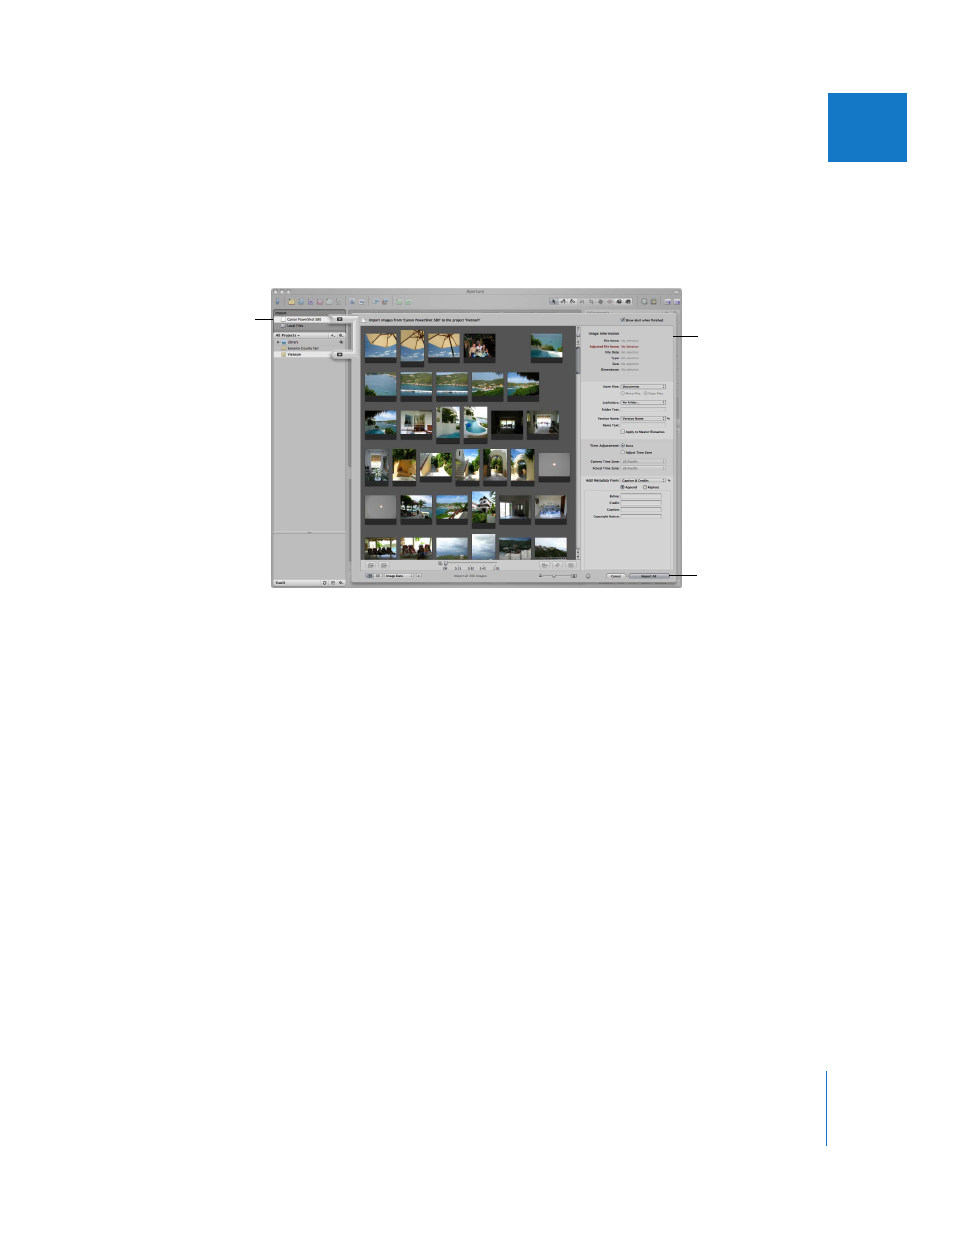
Specify import
options here.
When you click
Import All, your images
are imported into the
selected project or a new
project.
Select your camera, card
reader, or hard disk here.