Fig. 250: newly created window, Fig. 251: windowmaker/selecting runtime, Fig. 252: windowmaker/runtime value – Hardy HI 3010 Filler/Dispenser Controller User Manual
Page 91
77
Network
Installation
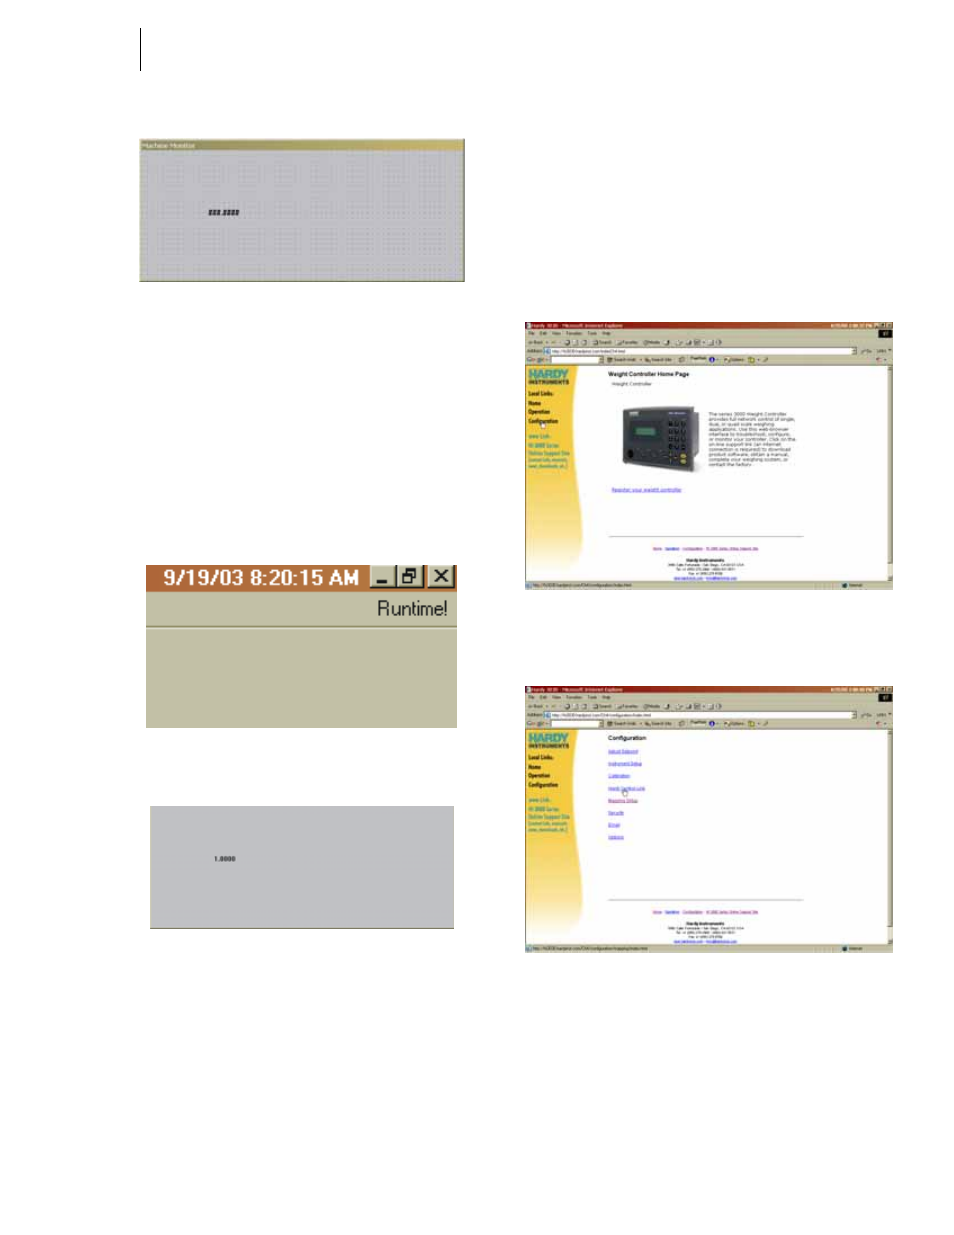
FIG. 250: NEWLY CREATED WINDOW
Step 46. In the upper right hand corner of the screen you will
find “Runtime”. (See Fig. 251) Click on “Run-
time”. The window becomes active and a value
(1.0000) replaces the “###.####”. (See Fig. 252)
This value is the status of Channel 1, Card Slot 3 on
a HI 3600 that is communicating to the Omniserver
and ultimately to the Wonderware window. In this
case 1.000 means that the Channel is OK. If there
was a value of 2.000 the Channel is not OK. You
are up and running.
FIG. 251: WINDOWMAKER/SELECTING RUNTIME
FIG. 252: WINDOWMAKER/RUNTIME VALUE
Step 47. If there are any further Wonderware or Omniserver
features, setups, or parameters you want to use,
please consult the User Guides for the respective
product.
Setting up the Output to the OPC Server and the
Client from the HI 3000 Module
Now that there is communication between the HI 3000 Mod-
ule the OPC Server and the Client we can map the informa-
tion you want to the Server Output Item table
(FO00....FO62). First you need to set up Hardy Control Link
(Ethernet TCP/IP).
Adding the HI 3000 Module to the Hardy Control-
Link (TCP/IP) Network
Step 1. From the HI 3000 instrument Main Page, click on
Configuration. (See Fig. 253) The Configuration
page appears. (See Fig. 254)
FIG. 253: HI 3030 MAIN WEB PAGE/SELECTING
CONFIGURATION
FIG. 254: CONFIGURATION PAGE/SELECTING
HARDY CONTROL LINK
Step 2. Click on Hardy Control Link. The Configuration-
Hardy Control-Link page appears. (See Fig. 255)