Fig. 92: control panel, Fig. 93: network dialog box/select tcp/ip, Ontrol panel – Hardy HI 3010 Filler/Dispenser Controller User Manual
Page 50: Etwork dialog box/select tcp/ip
HI-3000 Series
36
Operation and Installation
Step 4. Start your computer.
Step 5. Click on Start.
Step 6. Click on Settings.
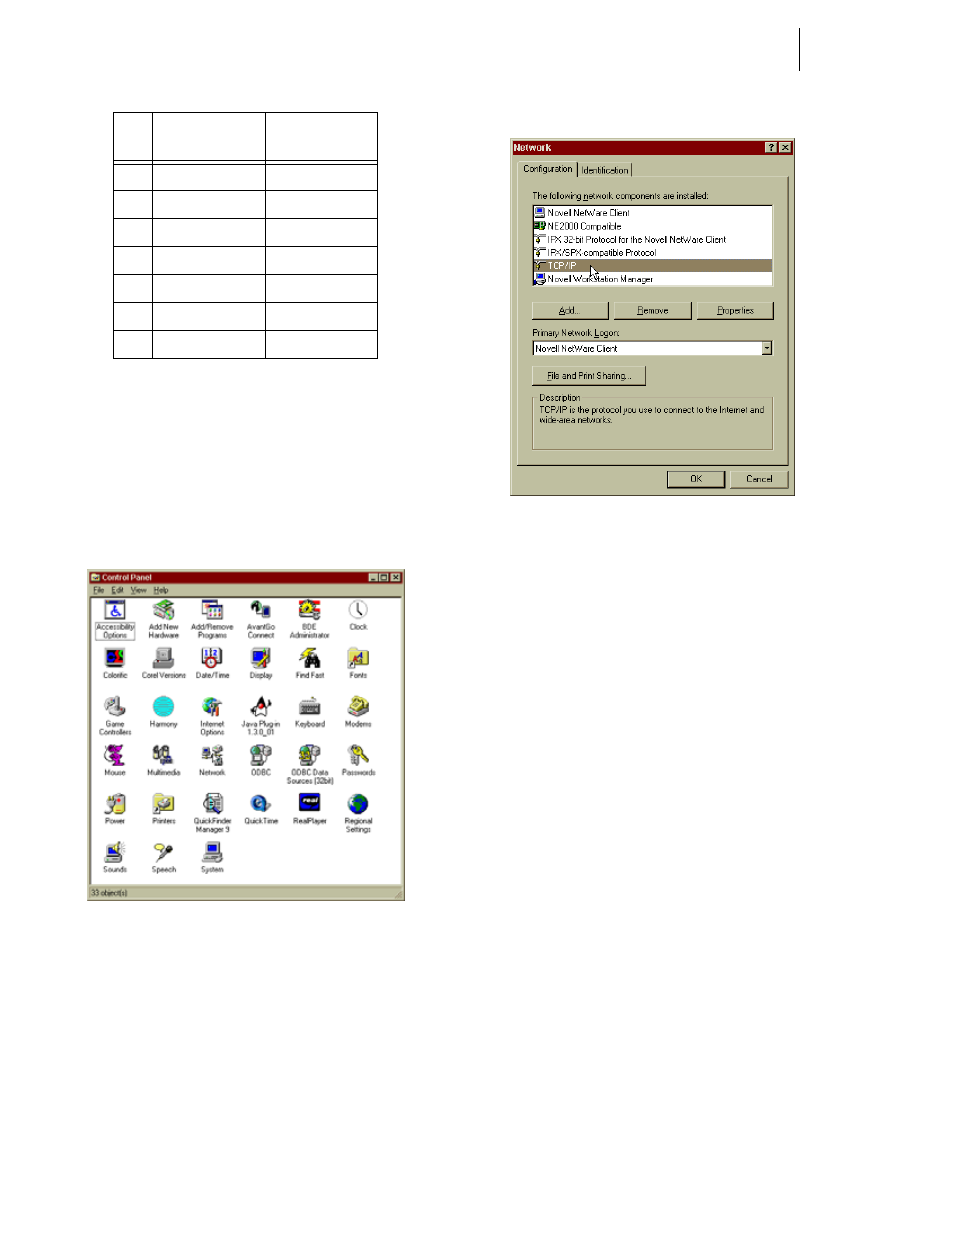
Step 7. Click on Control panel. The Control Panel appears.
Step 8. Click on the Network Icon. (See Fig. 92) The Net-
work dialog box appears. (See Fig. 93)
FIG. 92: CONTROL PANEL
FIG. 93: NETWORK DIALOG BOX/SELECT TCP/IP
Step 9. Click on the Properties button. (See Fig.94) The
TCP/IP dialog box appears. (See Fig. 95)
Step 10. In the IP address field, type in an IP address. Make
sure that the segment (first three octets) are the
same as the HI 3000 Instrument you are connected
to. For the last octet make sure that the number you
enter is not the node address of any other device on
the network.
•
To get the IP address of the instrument
from the front panel, go to the Setup Menu
and press the up arrow button until the cur-
sor is in front of Ethernet.
•
Press the Enter button. The Ethernet IP
Address appears.
•
You can also get the IP address from your
Network Administrator.
2
Orange/White
Green/White
3
White/Green
White/Orange
4
Blue/White
Blue/white
5
White/Blue
White/Blue
6
Green/White
Orange/White
7
White/Brown
White/Brown
8
Brown/White
Brown/White
Pin
Colors on one
side of Cable
Colors on other
end of Cable
TABLE 18: PINOUTS FOR 10BASE T CROSSOVER
CABLE