Fig. 303: ethernet menu/entering dns ip address, Configuring standard e-mail – Hardy HI 3010 Filler/Dispenser Controller User Manual
Page 104
HI-3000 Series
90
Operation and Installation
•
To enter the IP Addresses, press the up or down
arrow buttons until the cursor is in front of
Add. (See Fig. 302)
FIG. 302: ETHERNET MENU/ENTERING INSTRU-
MENT IP ADDRESS
•
Press the Clr button to clear the entry.
•
Use the alphanumeric key pad to enter the
Instrument Address.
•
Press the Enter button. This sets the Instrument
IP Address.
•
Press the down arrow button until the cursor is
in front of Gate (Gateway). (See Fig. 303)
•
Press the Clr button to clear the entry.
•
Use the alphanumeric key pad to enter the
Gateway Address.
•
Press the Enter button. This sets the Gateway
IP Address.
•
Press the down arrow button until the cursor is
in front of DNS. (See Fig. 303)
FIG. 303: ETHERNET MENU/ENTERING DNS IP
ADDRESS
•
Press the Clr button to clear the entry.
•
Use the alphanumeric key pad to enter the
Gateway Address.
•
Press the Enter button. This sets the DNS IP
Address.
•
Press the Exit button until you return to the
main menu.
Step 4. Now that you have entered the Mail Server Name
go back to the Web Page.
Continuing E-Mail Configuration from the Web Page
Step 5. Click in the text field next to Mail User ID. Enter
your Mail User ID (Account) name or number.
•
If you do not know what your account number
is, contact your Network Administrator for this
information.
•
If you do not have an account number have
your Network Administrator set one up.
Step 6. Click in the text field next to Return Mail Address.
This is the address that appears in the “From” field
of the E-mails that are sent from the HI 3000 Series
Instrument. (See Fig. 304)
FIG. 304: SETTING THE STANDARD 3-MAIL/MAIL
SERVER, USER ID, RETURN MAIL ADDRESS
Step 7. Click in the text field next to Password.
•
If a password is required type it in.
•
If a Password is not required leave the text field
blank.
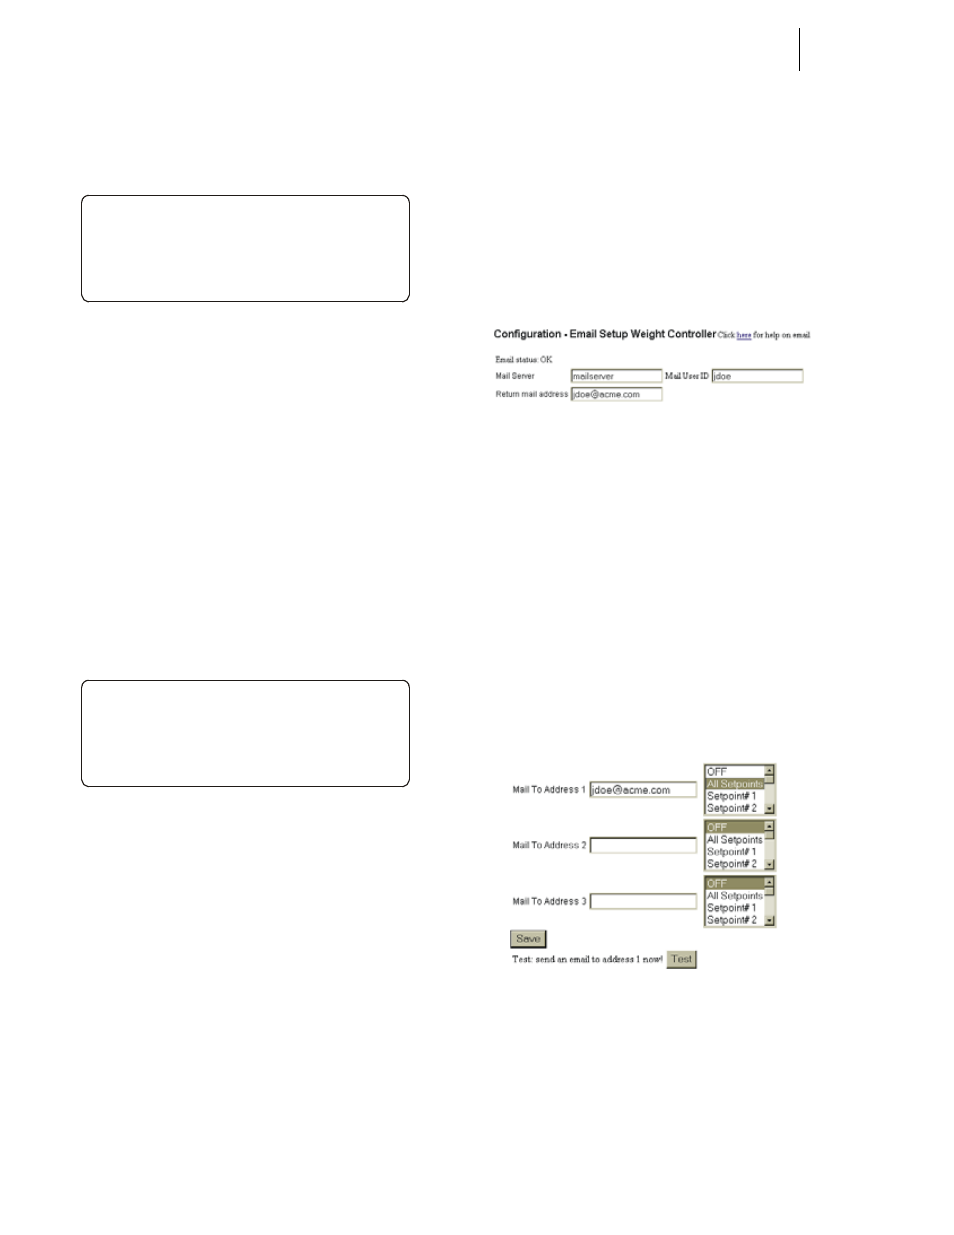
Configuring Standard E-Mail
Step 1. Click in the text field next to “Mail to Address 1”.
If there is already an address in this text field dou-
bleclick to highlight the entire entry.
Step 2. Type in the E-Mail Address you want the event or
alarm e-mail(s) sent to. (See Fig. 305)
FIG. 305: SETTING THE STANDARD E-MAIL “MAIL
TO” ADDRESSES AND SELECTING SETPOINTS
>
ETHERNET
Addr 192.168.110.55
Mask 255.255.0.0
Gate 192.168.110.1
>
ETHERNET
Gate 192.168.110.1
DNS 192.168.100.1
DHCP 10.10.10.40