Verify the network properties, Survey the network for connected devices, Schedule the network and save the configuration – Hardy HI 3010 Filler/Dispenser Controller User Manual
Page 61: Fig. 131: configuration menu/selecting setup, Onfiguration menu/selecting setup
47
Network
Installation
are still 125 words but we have adjusted for the
first two words which are not available.
•
Output:
Assembly Instance: 150
Size: 125
•
Configuration:
Assembly Instance: 1
Size: 0
Schedule the Network Using RSNetWorx for
ControlNet
Step 1. From your computer desktop double click on the
RSNetWorx Icon.
Step 2. From the Network Menu select New.
Step 3. Check the Edits Enabled box and go Online.
Step 4. The Browse the Network window appears with the
list of available drivers.
Step 5. Select the driver (e.g. AB_KTC-1) and click on
OK.
Step 6. If the Online/Offline mismatch alert appears, select
the Use online data (upload) option and click on
OK.
Step 7. The “Save As” display appears.
Step 8. Enter an appropriate name for the ControlNet con-
figuration file and click on Save.
Step 9. RSNetWorx browses the network for the attached
devices and provide a graphic of the devices con-
nected to the network including the HI 3000 Series
module.
Step 10. Verify that the devices and their network node
addresses displayed are correct.
Verify the Network Properties
Make sure that the network update time (NUT), Max Sched-
uled Address, and Max Unscheduled Address are set cor-
rectly.
Step 1. Select Network from the main menu bar and Prop-
erties from the pull-down menu. The Network
Properties display appears.
Step 2. Make sure that these parameters are set to the fol-
lowing values:
NOTE:
(1) Remember that the requested packet interval
(RPI) for any of the devices on the network can-
not be faster than the NUT.
NOTE:
(2) This should be set to a value 3 or 4 above the
highest scheduled node on the network, in this
case the 1756-CNB module at address 6.
NOTE:
(3) At a minimum, this should be set to the high-
est node address on the network, in this case
1784-KTXC15 card at node 17.
Step 3. Click on OK
Survey the Network for Connected Devices
Next have RSNetWorx for ControlNet survey the network
for all connected devices.
Step 1. Check the Edits Enabled box.
Step 2. From the Selection pull down menu, select Survey
Network.
Step 3. A Network window with the HI 3000 Series Mod-
ule appears.
Schedule the Network and Save the Configuration
Step 1. From the Network menu, select Save. The Save
Configuration display appears.
Step 2. Click in the “Optimize and re-write schedule for all
connections” radio button and click OK.
Step 3. The network is now configured and scheduled and
the local controller is able to communicate with the
remote HI 3000 Series device.
Selecting the ControlNet Node Address from the
Front Panel
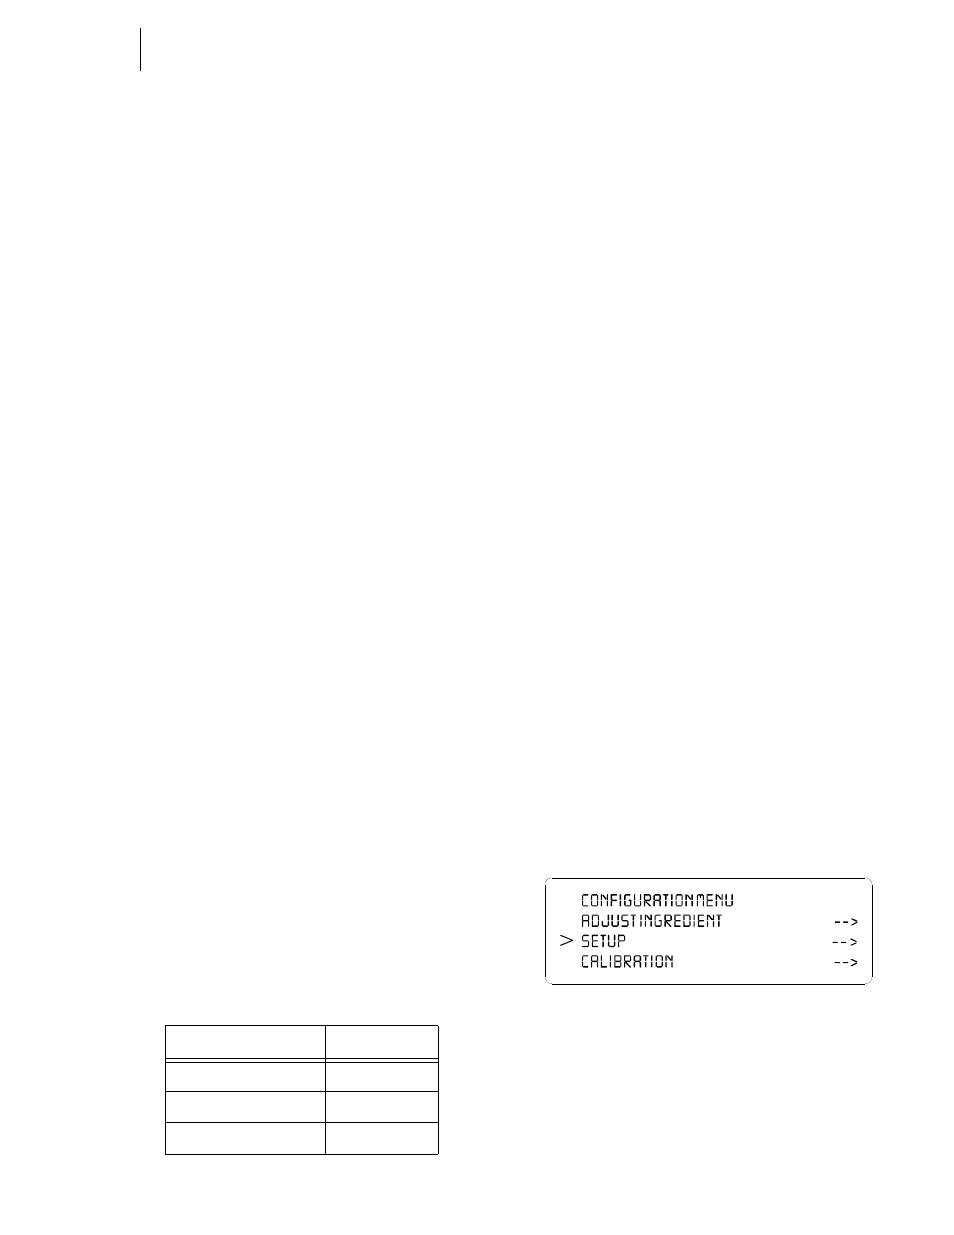
Step 1. At the front panel click on the Setup/3 button. The
Configuration Menu appears. (See Fig. 131)
FIG. 131: CONFIGURATION MENU/SELECTING
SETUP
Step 2. Push the up or down arrows until the cursor is next
to “OPTIONS”. (See Fig. 132)
TABLE 19:
In This Field
Select
Network_Update_Time(ms)
5ms
(1)
Max Scheduled Address
10
(2)
Max Unscheduled Address
17
(3)