Fig. 81: nema 4x rear cover, Removing the nema 4 plug, Installing the nema 4 plug – Hardy HI 3010 Filler/Dispenser Controller User Manual
Page 44: Fig. 82: installing nema 4 plug, Installing the cord grip assemblies, A 4x rear cover, Ing nema 4 plug, The hex nut onto the cord grip assembly - 30
HI-3000 Series
30
Operation and Installation
The HI 3000-RC comes standard with the following parts:
•
(1) Rear Cover
•
(1) Rear Cap Gasket
•
(4) Machine Screws, Panhead, #6-32
x.38L
•
(1) NEMA 4, 1” Plug
•
(2) Cord Grip, PG-11 THD
•
(2) Hex Nuts, PG-11 THD, 26 mm Dia.
NOTE:
To purchase additional NEMA 4 plugs, hex nuts
and Cord Grips contact your local Hardy Repre-
sentative.
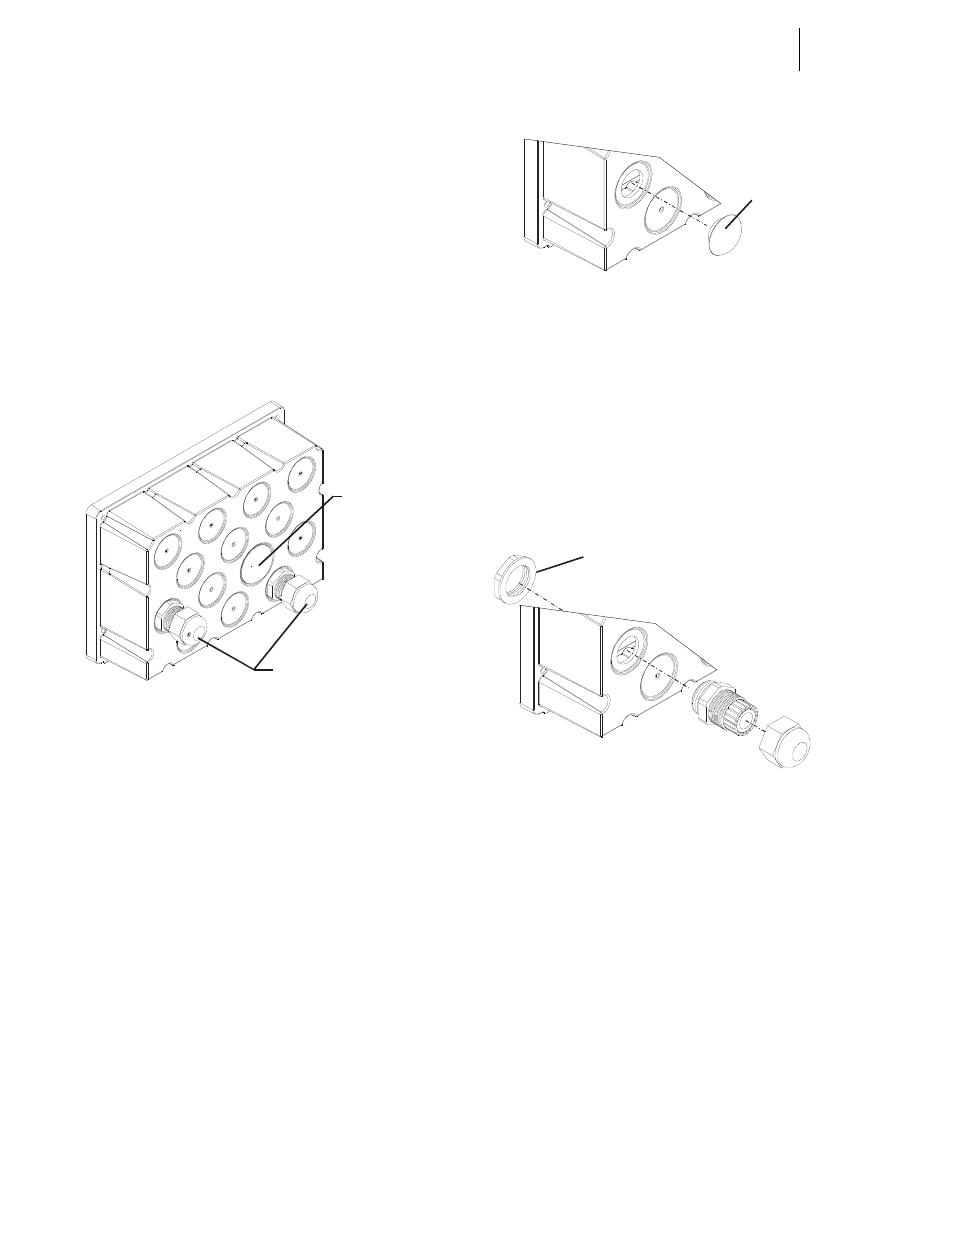
FIG. 81: NEMA 4X REAR COVER
Removing the NEMA 4 Plug
CAUTION: D
O
NOT
USE
ANY
SHARP
OBJECTS
WHEN
REMOVING
OR
INSTALLING
THE
NEMA
4
PLUG
. U
SING
SHARP
OBJECTS
MAY
DAMAGE
THE
PLUG
AND
MAY
DESTROY
THE
NEMA
4X
SEAL
.
Step 1. From the inside of the Rear Cover, using your fin-
ger, gently push the middle of the plug toward the
rear cover until the plug releases.
Step 2. Store in a secure location or place in an empty hole
to maintain the rear cover NEMA 4 seal.
Installing the NEMA 4 Plug
Step 1. Place the plug over the hole. (See Fig. 82)
Step 2. Gently press the NEMA 4 plug toward the rear
cover until the plug is snug against the outside sur-
face of the rear cover and snaps into place.
FIG. 82: INSTALLING NEMA 4 PLUG
Installing the Cord Grip Assemblies
Step 1. If you are installing the grips into a pre-existing
hole, do the following:
•
If there is a NEMA 4 plug installed,
remove it. (See “Removing NEMA 4
Plug” above for instructions)
•
Slide the Cord Grip Assembly into the
hole in the rear cover. (See Fig. 83)
FIG. 83: INSTALLING THE HEX NUT ONTO THE
CORD GRIP ASSEMBLY
•
Screw the Hex Nut onto the threaded end
of the Cord Grip Assembly until it is fin-
ger tight and the cord grip assembly is
flush against the outside surface of the rear
cover. (See Fig. 84)
Cord Grips
NEMA 4 Plug
NEMA 4
Plug
Hex Nut
Cord Grip
Assembly