Fig. 53: configuration menu/selecting setup, Fig. 54: configuration menu/selecting options, Fig. 55: options/selecting controlnet i/o – Hardy HI 3010 Filler/Dispenser Controller User Manual
Page 34: Fig. 56: controlnet i/o menu/setting node address, Onfiguration menu/selecting setup, Onfiguration menu/selecting options, Ptions/selecting controlnet i/o, Ontrolnet i/o menu/setting node address
HI-3000 Series
20
Operation and Installation
Step 3. Connect the cable connector to the BNC connector
on the ControlNet Module or the BNC connector on
the ControlNet Interface card in your PC.
Setting the ControlNet Node Address from the
Front Panel
Step 1. At the front panel click on the Setup/3 button. The
Configuration Menu appears. (See Fig. 53)
FIG. 53: CONFIGURATION MENU/SELECTING
SETUP
Step 2. Push the up or down arrows until the cursor is next
to “OPTIONS”. (See Fig. 54)
FIG. 54: CONFIGURATION MENU/SELECTING
OPTIONS
Step 3. Press the Enter button. The Options submenu
appears. (See Fig. 55)
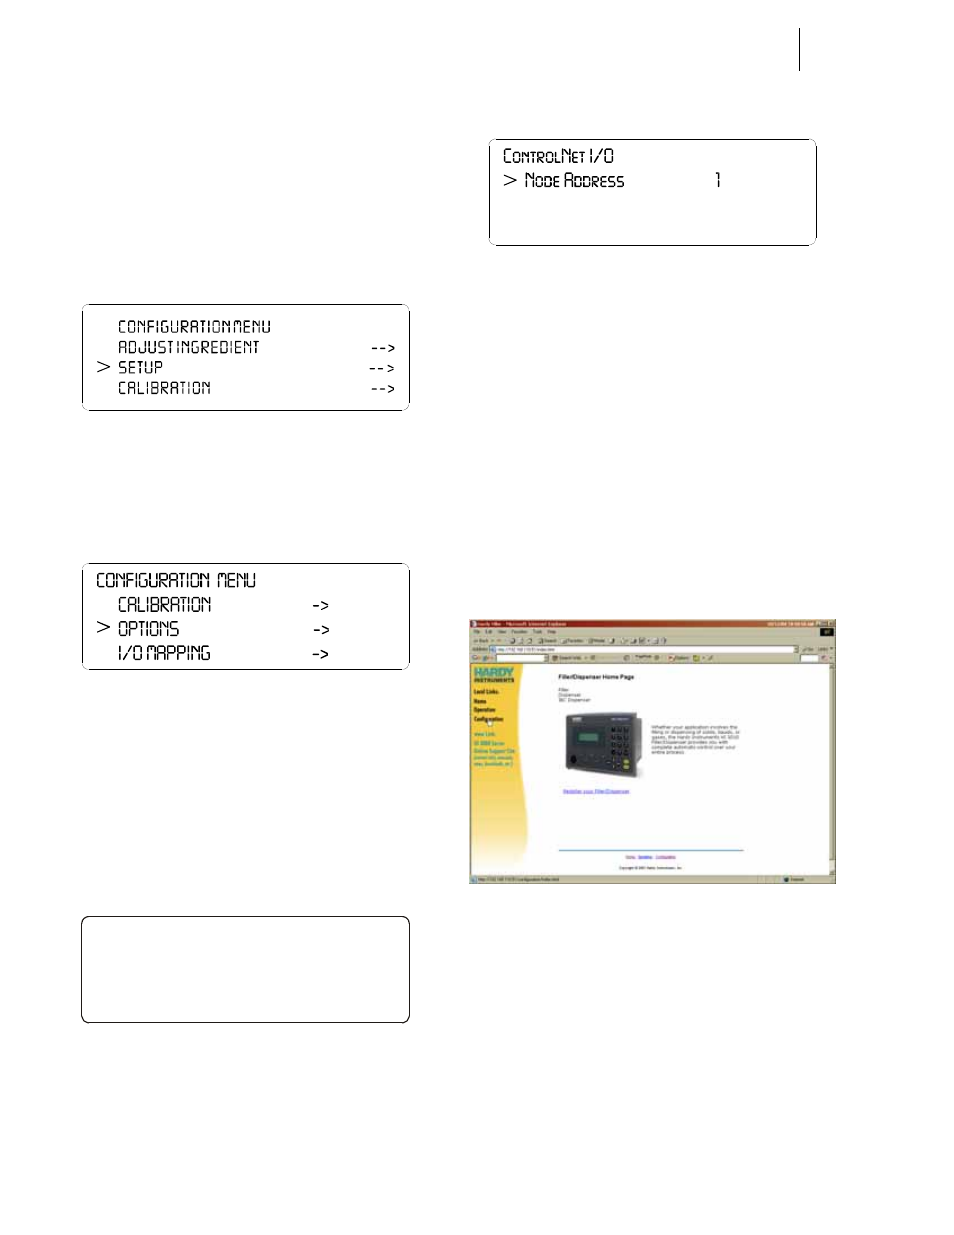
Step 4. If the cursor is not in front of “ControlNet I/O”,
push the down arrow until the cursor is aligned with
ControlNet I/O.
Step 5. Press the Enter button. The ControlNet I/O Menu
appears. (See Fig. 56)
FIG. 55: OPTIONS/SELECTING CONTROLNET I/O
FIG. 56: CONTROLNET I/O MENU/SETTING NODE
ADDRESS
Step 6. Press the right or left arrow buttons to select the
Node Address. Left arrow decreases the number
and the right arrow increases the number. Nodes
number from 1-99.
Step 7. Press the Enter button to save the setting.
Step 8. Press the Exit button until you are back to the Main
Menu.
Activating ControlNet and Setting the ControlNet
Node Address from the Web Page
Step 1. From the Home Page click on Configuration. (See
Fig. 57) The Configuration page appears. (See Fig.
58)
FIG. 57: HOME PAGE/SELECTING CONFIGURA-
TION
>
OPTIONS
Remot e I/ O OFF
Cont r ol Net I/ O ON - >