Hardy HI 3010 Filler/Dispenser Controller User Manual
Hi 3000 series
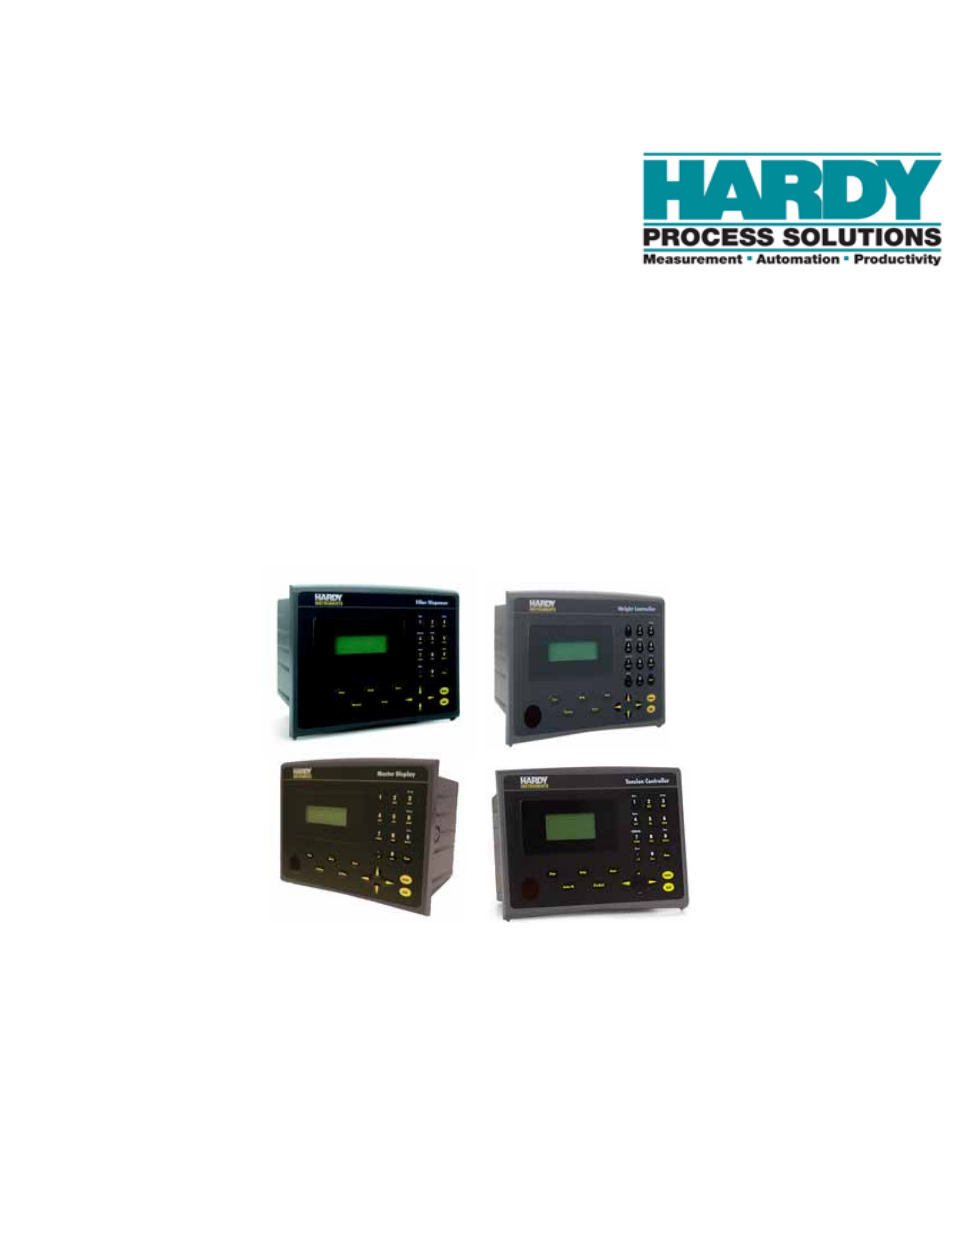
Table of contents
Document Outline
- HI 3000 Series
- Operation and Installation Manual
- Table of Contents
- Table of Contents
- Table of Illustrations
- Communications
- Cabling
- Network
- Security
- HI 3001
- Glossary of terms
- Index
- Table of Illustrations
- Communications
- Cabling
- Network
- Security
- HI 3001
- communications: installation & Operation
- Overview
- Communication Option Cards
- Remote I/O
- ControlNet
- Profibus
- MOD-Bus/TPC/IP
- OPC
- EtherNet/IP™
- Allen-Bradley Remote I/O
- Allen-Bradley License
- Common Applications
- Monitoring Weighing Parameters
- Short Glossary of Terms
- Tare Value
- Remote I/O Board Cable Termination Dip Switch Configuration
- About Cable Termination
- Dip Switch Settings
- Installing the RIO Option Board
- Connector Pin Out
- LED Indicators
- Removing the Remote I/O Option Card
- Remote I/O Configuration Procedures from the Front Panel
- Remote I/O Configuration Procedures from the Web Page
- FIG. 13: instrument home page/selecting configuration
- FIG. 14: configuration - options page/ selecting view remote i/o configuration
- FIG. 15: remote i/o configuration page
- FIG. 16: remote i/o configuration/ selecting baud rate
- FIG. 17: remote i/o configuration/ selecting rack size
- FIG. 18: remote i/0 configuration/ selecting quarter
- FIG. 19: Remote i/o configuration/ selecting last quarter
- Discrete Remote I/O Mapping
- About Discrete Remote I/O Mapping
- General Information
- For Reads:
- Mapping
- cabling: installation
- General Introduction to Cabling
- Unpacking
- Input Power Wiring
- Digital Input Wiring
- Output Relay Wiring
- Load Point Connections
- -JB Option Wiring
- Ethernet Cable Connection and Setup
- FIG. 26: rear panel/ethernet RJ 45 connection
- FIG. 27: configuration menu/selection setup
- FIG. 28: setup menu
- FIG. 29: setup menu/ethernet sub-menu
- FIG. 30: ethernet menu/default ip address
- FIG. 31: enter IP address in browser address field
- FIG. 32: web page
- Setting the IP Address for the Blind Remote
- Setting or Changing the IP Address using the Ethernet
- DeviceNet Connection and Setup From the Front Panel
- ControlNet Option Card Installation
- Removing the ControlNet Option Card
- ControlNet Connection and Setup
- Hardware Requirements:
- Software Requirements:
- Setting the ControlNet Node Address from the Front Panel
- Activating ControlNet and Setting the ControlNet Node Address from the Web Page
- FIG. 57: home page/selecting configuration
- FIG. 58: configuration page/selecting options
- FIG. 59: options page/selecting view controlnet configuration
- FIG. 60: controlnet page/activaTING CONTROLNET
- FIG. 61: controlnet configuration page/ entering node address
- FIG. 62: ControlNet configuration/entering node address
- LED Status Indicators
- EtherNet/IP™ Option Card Installation
- Removing the EtherNet/IP Option Card
- Profibus Option Card Installation
- Profibus Connection and Setup
- Removing the Profibus Option Card
- Analog Output Option Card Installation
- Removing the Analog Option Card
- Rear Cover Installation (HI 3000-RC)
- Installing the HI 3000-RC Rear Cover
- Network: Installation
- About Networks
- Simple Ethernet Network (See Fig. 90)
- Hardy Control-Link Ethernet Network
- FIG. 97: Hardy control-link Ethernet Network
- Materials Required
- Setting Node Addresses for HI 3000 Series Instruments from the Browser
- FIG. 98: filler/dispenser home page/ selecting configuration
- FIG. 99: configuration page/selecting hardy control-link
- FIG. 100: configuration - hardy control- link page
- FIG. 101: configuration - hardy control- link/instrument selection pull down list
- FIG. 102: Configuration page with instruments not assigned a node address
- FIG. 103: selected instrument with IP address in ip address field
- FIG. 104: hi-3010 (IP Address 192.168.110.68) assigned to node 0
- FIG. 105: selected instrument with IP address in ip address field
- FIG. 106: hi-3010 (IP Address 192.168.110.24) assigned to node 1
- FIG. 107: instruments assigned to node 0 through node 7
- FIG. 108: saving the configuration
- FIG. 109: transferring the node configuration from node 0 to node 1
- Using the Ping Tool
- Devicenet Network Setup
- RSNetWorx Setup for HI 3000 Series Instruments
- FIG. 110: selecting EDS wizard
- FIG. 111: eds wizard dialog box
- FIG. 112: selecting “register an eds file”
- FIG. 113: selecting the hardy eds file
- FIG. 114: selecting the hardy eds file
- FIG. 115: eds file installation test results dialog box
- FIG. 116: change graphic image dialog box
- FIG. 117: Final Task summary dialog box
- FIG. 118: Hardware/vendor/hardy instruments inc. installed
- FIG. 119: graph/hardy filler icon
- RSNetWorx Setup for HI 3000 Series Instruments
- Slave Mode Setup
- Building a Scanlist in RSNetWorx
- ControlNet Network Setup
- RSNetWorx Setup for HI 3000 Series Instruments with ControlNet Option Card
- Schedule the Network Using RSNetWorx for ControlNet
- Verify the Network Properties
- Survey the Network for Connected Devices
- Schedule the Network and Save the Configuration
- Selecting the ControlNet Node Address from the Front Panel
- Selecting the ControlNet Node Address from the Web Page
- PROFIBUS-DP Network Setup
- Initialization Process
- Profibus-DP .GSD File
- Pre-Initialization Procedures
- Initialization Procedures
- FIG. 141: hardware catalog/selecting anybus-s pdp folder
- FIG. 142: anybus-s pdp parameters dialog box
- FIG. 143: selecting the Input and output size
- FIG. 144: anybus-s pdp appears in the network
- FIG. 145: downloading hi 3000 series configuration
- FIG. 146: select destination module dialog box
- FIG. 147: select station address dialog box
- FIG. 148: downloading configuration prompt
- FIG. 149: initialization complete
- Selecting the Profibus Node Address from the Front Panel
- Selecting the Profibus Node Address from the Web Page
- MODBUS - TCP/IP Over Ethernet
- About MODBUS/TCP/IP Over Ethernet
- Installing MODBUS
- Enabling MODBUS in the HI 3000 Module
- Installing Hardy Modbus-Link
- FIG. 164: hardy modbus-link display
- FIG. 165: hardy modbus-link/selecting connect
- FIG. 166: tcp/ip connection display
- FIG. 167: tcp/ip connection display/ selecting tcp/ip
- FIG. 168: tcp/ip connection display/ entering the ip address
- FIG. 169: mapping display/clicking on destination - scratchpad: HFO4 (Hardy Float Out - word 4)
- FIG. 170: mapping display/selecting destination - scratchpad: HFO4
- FIG. 171: mapping display/selecting source - MFI0 (Modbus float IN - word 0)
- FIG. 172: mapping display/mapping the source to the destination
- FIG. 173: mapping display/HFO - float variables/entering a value for word 0
- FIG. 174: hardy modbus-link display/ selecting display/float inverse
- HI3000bk-P2.pdf
- FIG. 175: hardy modbus-link display/555.0000 appears
- FIG. 176: hardy modbus-link display/ selecting button 23 - read/write multiple registers
- FIG. 177: hardy modbus-link display/ writer multiple registers display
- FIG. 178: hardy modbus-link/enter value display
- FIG. 179: hardy modbus-link/enter value display/entering 999
- FIG. 180: hardy modbus-link/write multiple registers/sending new value
- FIG. 181: Response OK pop up
- FIG. 182: mapping display with value “999.0000” received from the Hardy Modbus-link client
- Using MODBUS with Excel®
- OPC Network Setup
- FIG. 183: OPC heterogeneous computing environment
- OPC SERVER
- Configuring Omniserver to Communicate with an HI 3000 Module
- FIG. 185: omniserver configuration dialog box
- FIG. 186: Omniserver configuration dialog box
- FIG. 187: Winsock device configuration/ default parameters
- FIG. 188: winsock configuration/entering hi 3000 setup parameters
- FIG. 189: pinging hi 3000 module/connection indicated
- FIG. 190: HI 3000 device icon with ip address
- FIG. 191: protocols dialog box
- FIG. 192: protocol definition/double or right click on protocol settings
- FIG. 193: protocols definition dialog box/ creating protocol name and description
- FIG. 194: protocol definition/binary formats page
- FIG. 195: protocols definition
- FIG. 196: protocol settings with new protocol definitions
- FIG. 197: selecting topics icon
- FIG. 198: topics page/selecting a new topic
- FIG. 199: topic definition dialog box/ creating topic definition
- FIG. 200: topic definition/variables page
- FIG. 201: topic definition/hardyfloat icon
- FIG. 202: protocol page/highlighting hardyopc_float
- FIG. 203: protocol page/selecting new item
- FIG. 204: item definition dialog box
- FIG. 205: item definition
- FIG. 206: item definition/entering fO00
- FIG. 207: item definition
- FIG. 208: protocol page/item list entered
- FIG. 209: item definition/Send data trigger
- FIG. 210: item definition/sequence number in
- FIG. 211: item definition/sequence number out
- FIG. 212: protocol page/selecting host message
- FIG. 213: host message definition
- FIG. 214: request page with no request message
- FIG. 215: selecting www link
- FIG. 216: hi 3000 support site
- FIG. 217: Eps files/selecting opc float dpd file
- FIG. 218: file download dialog box
- FIG. 219: save as dialog box/selecting program files
- FIG. 220: program files/selecting descartes omniserver
- FIG. 221: omniserver folder saving dpd file
- FIG. 222: host message
- FIG. 223: chains and triggers page
- FIG. 224: protocol definition/selecting unsolicited messages
- FIG. 225: unsolicited message definition page
- FIG. 226: unsolicited message definition/ name and description entered
- FIG. 227: unsolicited message definition/ received page
- FIG. 228: unsolicited message definition/ received message
- Setting Up OPC Communication with a Client
- About OPC Clients
- FIG. 229: wonderware/selecting wwclient
- FIG. 230: wonderware/close the log viewer
- FIG. 231: wwclient/selecting create connection
- FIG. 232: create connection dialog box
- FIG. 233: create connection dialog box
- FIG. 234: iot connection
- FIG. 235: item dialog box
- FIG. 236: wwclient/list of iot connections
- FIG. 237: WWClient/list of items (FI00)
- FIG. 238: wonderware/opening windowmaker
- FIG. 239: windowmaker dialog box
- FIG. 240: windowmaker/opening a new window
- FIG. 241: window maker/creating a new window
- FIG. 242: Machine Monitor window entering ###.####
- FIG. 243: windowmaker/selecting animation links
- FIG. 244: windowmaker/object type dialog box
- FIG. 245: Windowmaker/access name dialog box
- FIG. 246: windowmaker/add access name dialog box
- FIG. 247: windowmaker/selecting tagname dictionary
- FIG. 248: windowmaker/creating a tag name
- FIG. 249: windowmaker/select tag dialog box/selecting ips
- FIG. 250: newly created window
- FIG. 251: windowmaker/selecting runtime
- FIG. 252: windowmaker/runtime value
- Setting up the Output to the OPC Server and the Client from the HI 3000 Module
- Adding the HI 3000 Module to the Hardy Control- Link (TCP/IP) Network
- FIG. 253: HI 3030 Main web page/selecting configuration
- FIG. 254: Configuration page/selecting hardy control link
- FIG. 255: hardy control-link page/ selecting listed hi 3000 module ip address
- FIG. 256: hardy control-link page selecting node 5
- FIG. 257: selected instrument’s ip address appears in the node 5 text field
- FIG. 258: saving the node address assignment
- FIG. 259: ok message box
- FIG. 260: Node IP Address configured
- Mapping Parameters to the HardyFloat Output Table
- FIG. 261: configuration page/selecting mapping setup
- FIG. 262: mapping setup page 1
- FIG. 263: mapping setup page 1/selecting hardy control-link float out
- FIG. 264: hardy control-link float out selected/word 0
- FIG. 265: hardy control-link float out/ word 0 (EFO0) set as mapping destination
- FIG. 266: mapping setup 2/source selection page
- FIG. 267: mapping setup 2/selecting process data/gross weight
- FIG. 268: process data/gross weight channel 1 (HF14)
- FIG. 269: Gross Weight-channel 1 assigned to hardy control-link float out
- FIG. 270: gross weight assigned to hardy control-link float out
- FIG. 271: hardy control-link float out/ word 2
- FIG. 272: hardy control-link float out/ word 2 selected as destination
- FIG. 273: mapping page 2 selecting net weight
- FIG. 274: process data/selecting net weight/channel 1
- FIG. 275: current mappings/net weight/ channel 1 (HFI8) assigned to hardy Control-link float out (EFO2)
- FIG. 276: Net weight assigned to hardy control-link float out
- FIG. 277: hardy control-link float out/ word 4
- FIG. 278: hardy control-link float out/ word 4 selected as destination
- FIG. 279: mapping page 2 selecting gross weight
- FIG. 280: process data/selecting Gross weight/channel 2
- FIG. 281: current mappings/gross weight/ channel 2 (HFI8) assigned to hardy Control-link float out/word 4 (EFO4)
- FIG. 282: gross weight assigned to hardy control-link float out
- FIG. 283: hardy control-link float out/ word 6
- FIG. 284: hardy control-link float out/ word 4 selected as destination
- FIG. 285: mapping page 2 selecting net weight
- FIG. 286: process data/selecting Net weight/channel 2
- FIG. 287: current mappings/gross weight/ channel 2 (HFI9) assigned to hardy Control-link float out/word 4 (EFO4)
- FIG. 288: gross weight assigned to hardy control-link float out
- FIG. 289: selecting an expanded map
- FIG. 290: expanded map dialog box
- Configuring EtherNet/IP Using RSLogix5000®
- Mapping
- E-Mail: Configuration and Operation
- Overview
- Understanding IP Addresses
- Glossary of E-Mail Terms
- Configuring the E-Mail Server
- FIG. 296: instrument home page/selecting configuration
- FIG. 297: configuration web page/selecting E-mail
- FIG. 298: e-mail configuration web page
- Entering the Mail Server Name from the Front Panel
- Continuing E-Mail Configuration from the Web Page
- Configuring Standard E-Mail
- Configuring Custom E-Mail
- About Custom E-Mail
- About Tokens
- FIG. 309: list of parameter descriptions and hexadecimal numbers
- FIG. 310: Map dictionary
- FIG. 311: expanded view of entered tokens
- FIG. 312: configuration web page/ selecting mapping setup
- FIG. 313: mapping setup1/sending custom e- mail
- FIG. 314: mapping Setup 1/selecting send email
- FIG. 315: entering email number
- FIG. 316: send email #0 entered in the equation
- FIG. 317: mapping setup 2 page
- FIG. 318: selecting local inputs
- FIG. 319: selecting local input #1
- FIG. 320: equation entered (HO3.0=HI0.0)
- FIG. 321: e-mail mapping complete
- Testing E-Mail
- Setting up Filters in E-mail Applications
- security: setup
- Overview
- Security Levels
- Setting up Passwords from the Front Panel
- Setting up Passwords from the Browser
- FIG. 327: home page/selecting configuration
- FIG. 328: configuration page/selecting security
- FIG. 329: enter network password dialog box
- FIG. 330: password authentication failed
- FIG. 331: configuration/security page
- FIG. 332: configuration - security page typing passwords
- FIG. 333: configuration - security/ selecting security level for a menu
- FIG. 334: configuration - security/ parameters set for security levels
- Log On Procedures
- HI 3001: Master Display
- Glossary of terms
- Accuracy
- alarm
- appurtenance
- Baud rate
- bi-directional
- capacity
- Check weighing
- clear key
- dead band
- dead load
- decimal point position
- dispenser
- display
- engineering units
- electrostatic discharge
- enter key
- eprom
- error
- even
- excitation
- filler
- full-scale
- graduation size
- gross weight
- IBC
- Internet
- Intranet
- Kilograms
- Levelling
- led
- load cell
- menu
- menu driven
- microprocessor
- midpoint linearity correction
- motion
- nema 4
- nema 4x
- Node
- net weight
- non-linearity
- number of readings per average
- odd
- option
- option slot
- parity
- pounds
- POP
- preact
- previous key
- prompts
- Protocol
- ram
- rate of change (ROC)
- repeatability
- resolution
- rom
- rts
- rxd
- scale capacity
- secure memory module (SMM)
- set point
- span
- tag
- tare
- temperature coefficient
- time base
- Token
- transmitter span
- transmitter zero
- ttl
- txd
- update rate
- zero
- zero calibration
- zero tolerance
- Index