Xl™ series – Xylem XL Series H-522 - Plus User Manual
Page 37
XL™ Series
Using The Built In Keypad / Display 3-7
3.4 Main Menu Description
The tables on the following pages show the main menu structure of the XL™. The main menu
includes status screens, which allow the user a quick view at sensor data, and sub menu header
screens that separate the main configuration options of the XL™ into there respective sections.
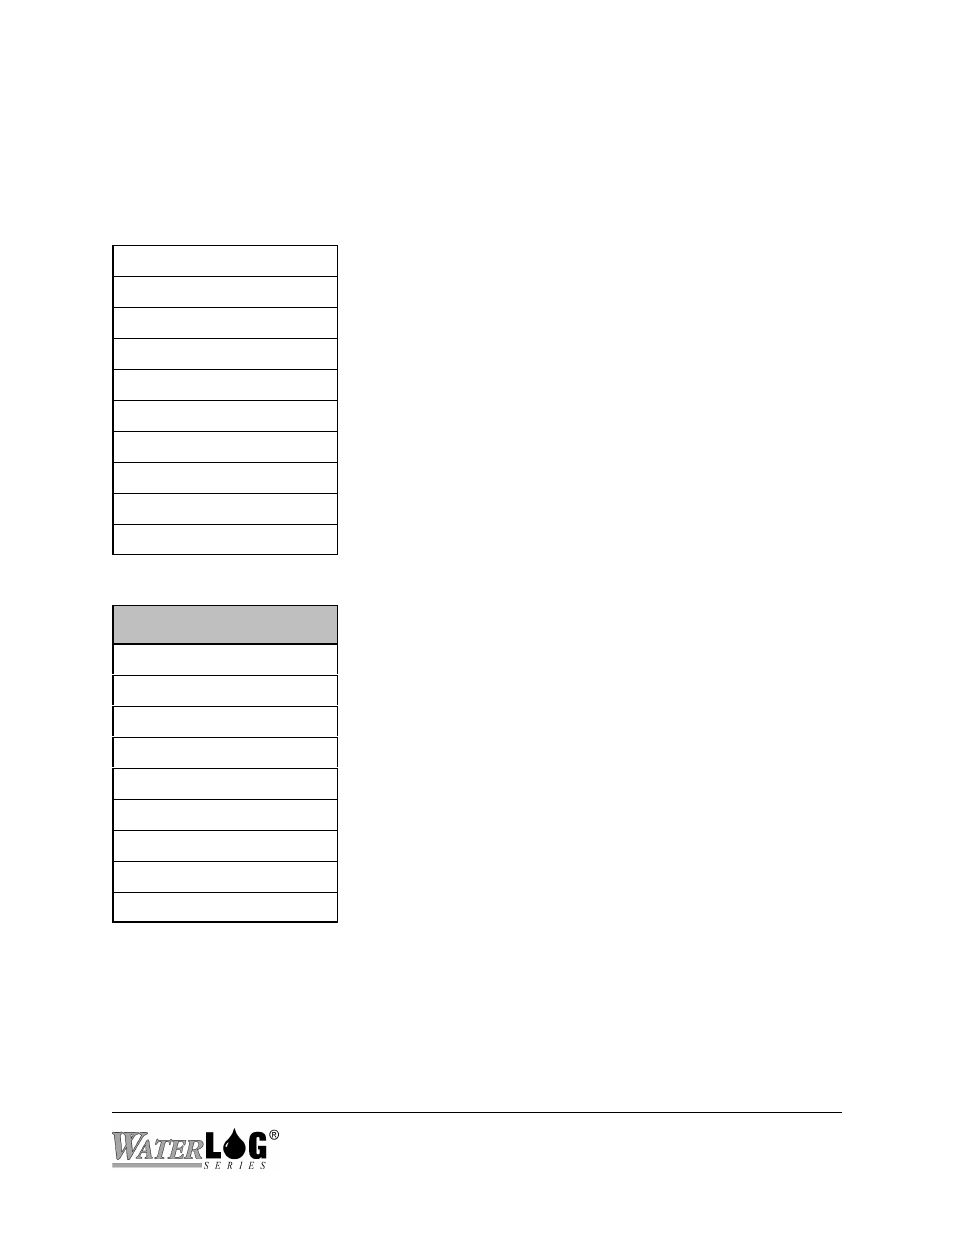
Stage = X.XX
This table represents the main menu of the XL™ Series DCP. The
user can easily move through the menu using the UP and DOWN
arrow keys. Pressing the CANCEL key repeatedly will cause the
system to return to the top of this menu structure.
Menu items with the pointer (->) on the right side of the screen
have a sub menu related to the displayed menu. Use the RIGHT
arrow key to enter the sub menu.
Use the CANCEL key or the LEFT arrow key to return from the
sub menu to the header screen in the main menu.
PtTemp= XX.XX
BATT = XX.XX
Sensor Input Setup->
Output Options ->
Data Options ->
Scan Setup ->
System Setup ->
System Status ->
Accessory Setup ->
Stage = X.XX
³
The shaded screen on the left is a user definable status screen
showing the last measured stage value. When the display is
turned on, this screen will be displayed (unless the user
changes or disables the status screens). This screen is also
considered the “HOME” position, as pressing the
CANCEL key several times will always cause the system to
return here.
PtTemp= XX.XX
BATT = XX.XX
Sensor Input Setup->
Output Options ->
Data Options ->
Scan Setup ->
System Setup ->
System Status ->
Accessory Setup ->