10) printing out an id-code list, 10) printing out an id-code list -60 – TA Triumph-Adler DC 2023 User Manual
Page 132
3A180100A
3A1/FaxSystem(A)/MCE-Eng
/ 164
5. Use the cursor up or the cursor down key to select the id-code for
which you want to print out a Restricted Access Report.
> If you want to print out a report for only a certain number of id-
codes, select only those id-codes desired.
> If you want to print out a report for all id-codes at one time,
select “All ID-codes”.
* The asterisk(s) (*) indicate those id-codes for which a Restricted
Access Report will be printed out.
* If you want to cancel an id-code that has already been selected,
simply select that id-code once again and the asterisk will go out.
6. Press the Enter key.
An asterisk (*) will appear next to the selected id-code indicating
that a Restricted Access report will be printed out for that id-code.
> If you want to continue selecting other id-codes, repeat steps 5 -
6.
> If you are finished selecting id-codes, proceed to step 7.
* If multiple id-codes are selected, each id-code selected will have
an asterisk (*) next to it.
* If no communications have taken place under Restricted Access
for that id-code, an error message will appear in the message
display.
7. Use the cursor up or the cursor down key to select “End”.
8. Press the Enter key. A Restricted Access Report will be printed out.
(10) Printing Out an Id-code List
Print out this list in order to check the access codes and
corresponding id-code names currently registered in this fax.
* You will need to turn Restricted Access ON and enter the
registered management password before you can print out this list.
(Refer to “Registering the Management Password”, page 6-11.)
* If there are no access codes registered, an Id-code List will not be
printed out.
* If you want to cancel the procedure part way through, press the
Reset key. The operation panel will return to the initial mode settings.
1. Enter the currently registered management password.
* If the entered password matches the registered one, the
message display will change to the initial mode for fax operation.
2. Raise both cover plates and press the PRINT REPORTS key.
The “Print report” menu will appear in the message display.
3. Use the cursor up or the cursor down key to select “Speed-dial list”.
4. Press the Enter key.
5. Use the cursor up or the cursor down key to select “ID-code list”.
6. Press the Enter key.
7. Use the keypad to enter the currently registered management
password (4 digits). An Id-code list will be printed out.
* If you enter the wrong password, an error message will be
displayed. In this case, press the Enter key and enter the correct
password.
4-60
Section 4 Other Features of this Fax
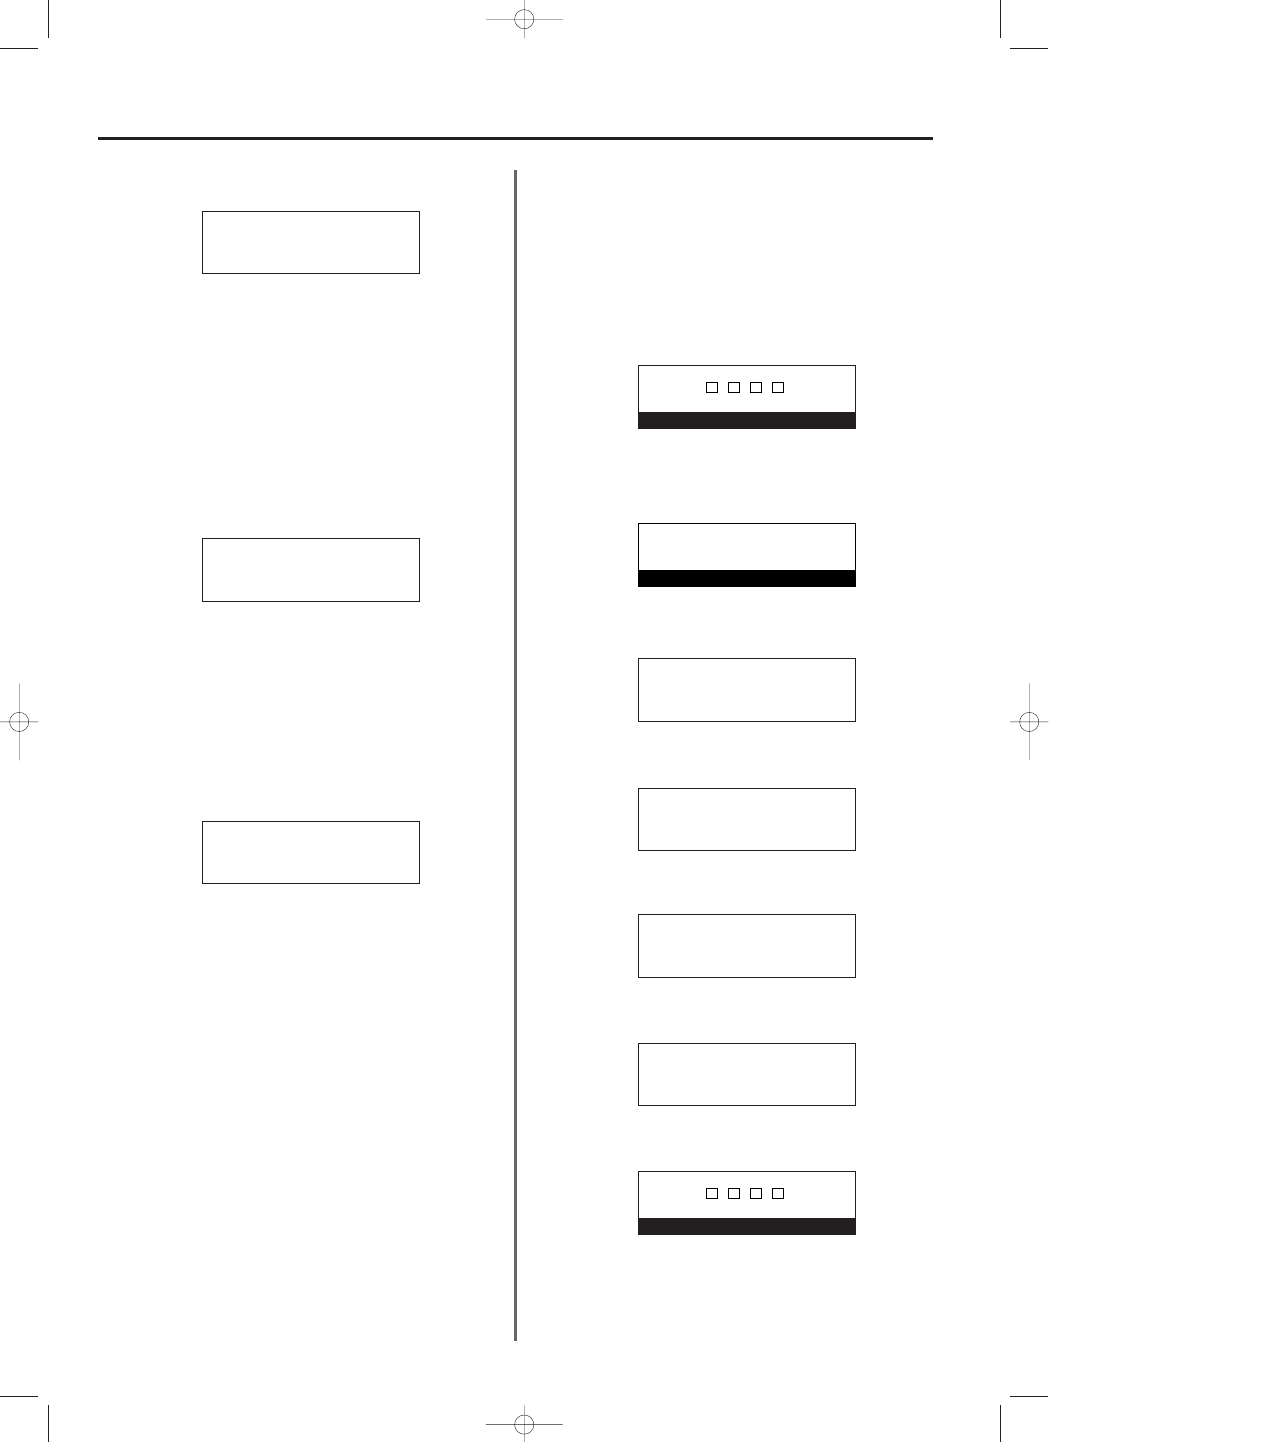
Restricted access report:
All ID-codes
*#01:1463:JKL-G
➪
*#02:0258:LPG-D
Restricted access report:
➪
End
All ID-codes
*#01:1463:JKL-G
Restricted access report:
All ID-codes
*#01:1463:JKL-G
➪
#02:0258:LPG-D
Enter access code
Print report:
➪
Activity report
Restricted access report
P
Confirmation report
Print report:
User setting list
Confidential box list
➪
Speed-dial list
P
Print speed-dial list:
➪
Abbreviated dial list
One-touch key list
Telephone directory list
Print speed-dial list:
Program dial list
Group dial list
➪
ID-code list
Enter your password
01-DEC-1999 12:00
Set original
04/OtherF-4/3A1/MCE/Eng.q 23-12-1999 14:43 Page 4-60