4) modifying and deleting permit id numbers, 5) password check transmission on/off, 4) modifying and deleting permit id numbers -49 – TA Triumph-Adler DC 2023 User Manual
Page 121: 5) password check transmission on/off -49

4-49
Section 4 Other Features of this Fax
(4) Modifying and Deleting Permit ID
Numbers
* If you want to cancel the procedure part way through, press the
Reset key. The operation panel will return to the initial mode settings.
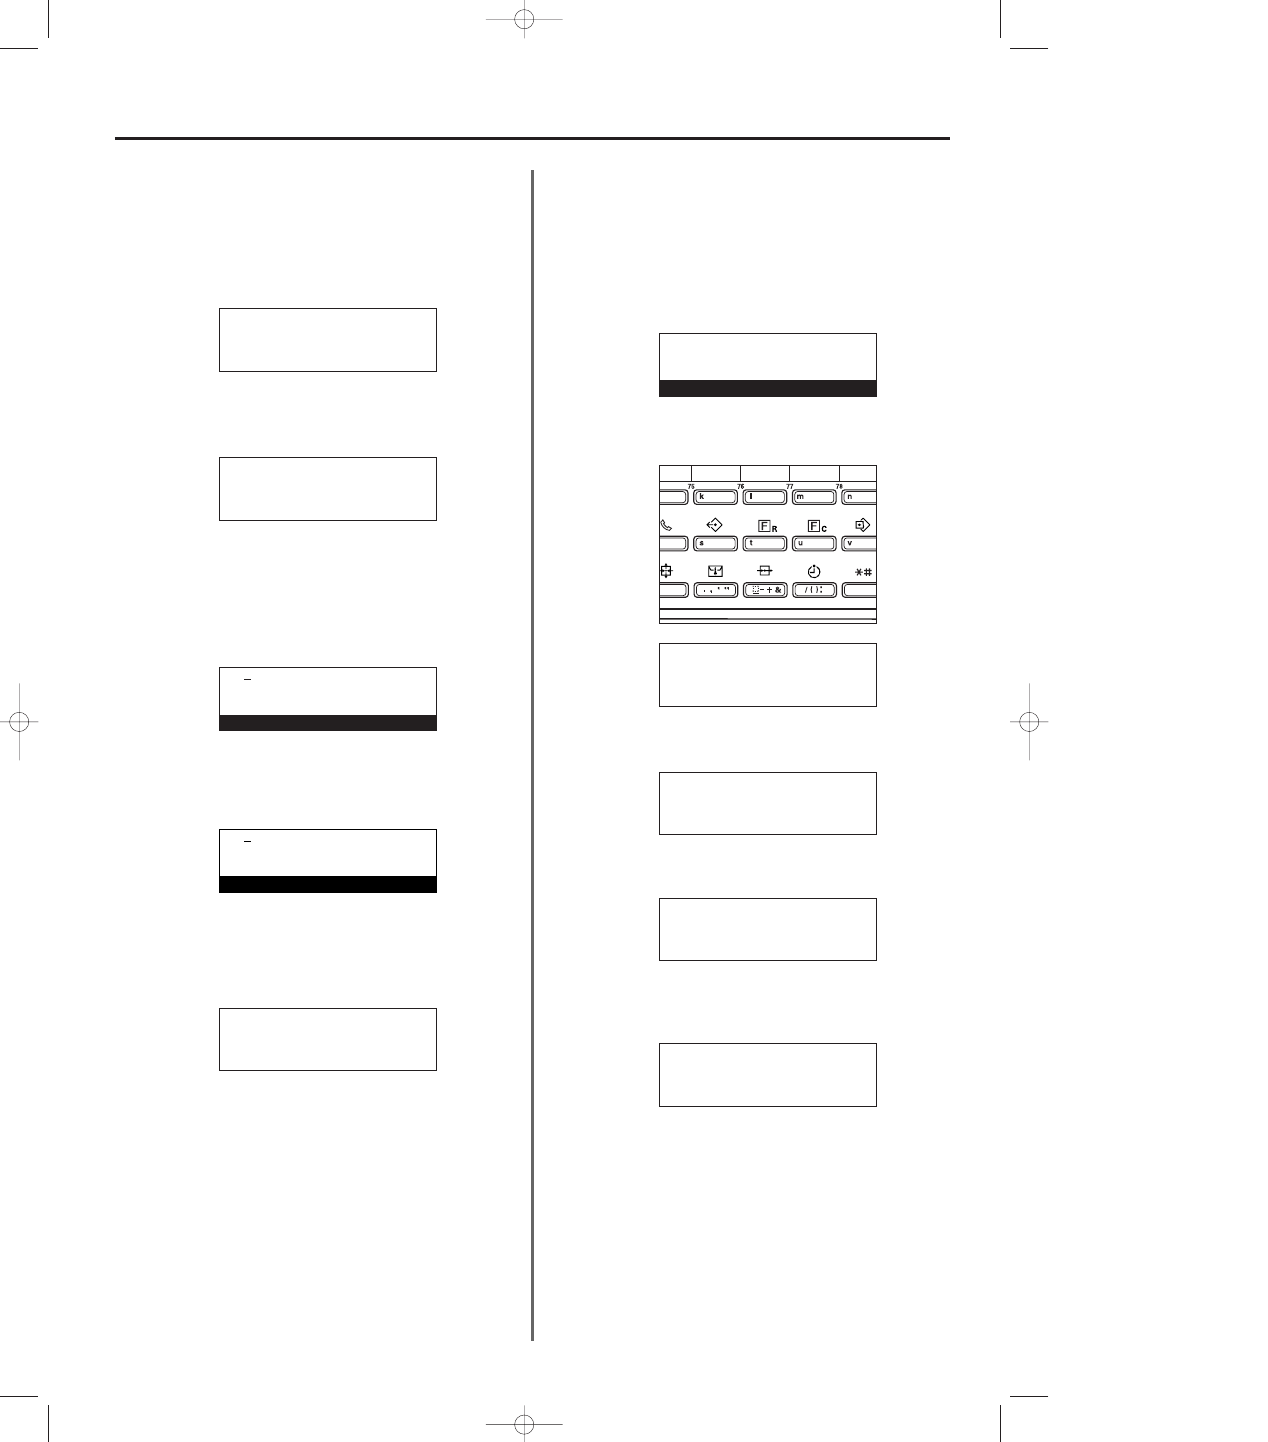
1. Perform steps 1 - 5 of “(3) Registering Permit ID Numbers”,
2. Use the cursor up or the cursor down key to select the Permit ID
Number to be modified or deleted.
3. Perform the following modification or deletion procedure.
> Modifying the registered information
1
Press the Enter key.
* Press the Stop/Clear key to clear the currently displayed
number from the message display.
2
Use the keypad to enter the new Permit ID Number to be
registered.
* Each Permit ID is a 4-digit number that can include any
combination of the numerals 0 - 9.
3
Press the Enter key.
> Deleting the Permit ID number
Press the Stop/Clear key. The selected Permit ID number will be
deleted.
4. If you are finished modifying and/or deleting Permit ID Numbers,
press the Reset key. The operation panel will return to the initial mode
settings.
* If you want to continue modifying and/or deleting other Permit ID
Numbers, return to step 2.
(5) Password Check Transmission ON/OFF
Turn Password Check Transmission ON when you want to limit to
whom fax communication can be accomplished. (Refer to page 4-46.)
* If there are no Permit Telephone Numbers or Permit ID Numbers
registered in this fax, Password Check Transmission will not be
possible even if it is turned ON here.
* If you want to cancel the procedure part way through, press the
Reset key. The operation panel will return to the initial mode settings.
1. Raise both cover plates and press the CONFIGURE key.
The “Set fax” menu will appear in the message display.
2. Use the cursor up or the cursor down key to select “Password
check comm.”.
3. Press the Enter key.
4. Make sure that “Send” is selected in the message display and
then press the Enter key.
5. Use the cursor up or the cursor down key to select whether to turn
Password Check Transmission ON or OFF.
* The asterisk (*) in the message display indicates the current
setting.
3A180100A
3A1/FaxSystem(A)/MCE-Eng
/ 164
Permit number:
End
➪
#1:1010
#2:
Permit number:
#1:1010
#2:
➪
#3:3333
#3:3333
Program permit number
#3:3030
Program permit number
Permit number:
#1:1010
#2:
➪
#3:
Password check comm.:
End
➪
Send :Off
Receive :Off
Set fax:
TTI :Outside p.
Print report
P
➪
Password check comm.
P
Set fax:
End
➪
TTI :Outside p.
Print report
P
Password transmission:
➪
On
*Off
01-DEC-1999 12:00
Set original
04/OtherF-4/3A1/MCE/Eng.q 23-12-1999 14:43 Page 4-49
