Grass Valley EDIUS Neo 2 User Manual
Page 573
EDIUS Neo — User Reference Guide
573
Keyframeable 2D Picture-in-Picture
5.
Move the cursor to the edge of the PIP image and the cursor will change
to a resize cursor as illustrated in
(upper left corner of the
PIP image. Click the left mouse button and drag the cursor to resize the
PIP image as desired.
6.
If you wish to change the start position of the PIP image, place the
cursor over the image (the cursor changes to a move cursor), click the
left mouse button and drag the image to the desired position
7.
Click the location in the preview window at which you want to position
the center of the end location.
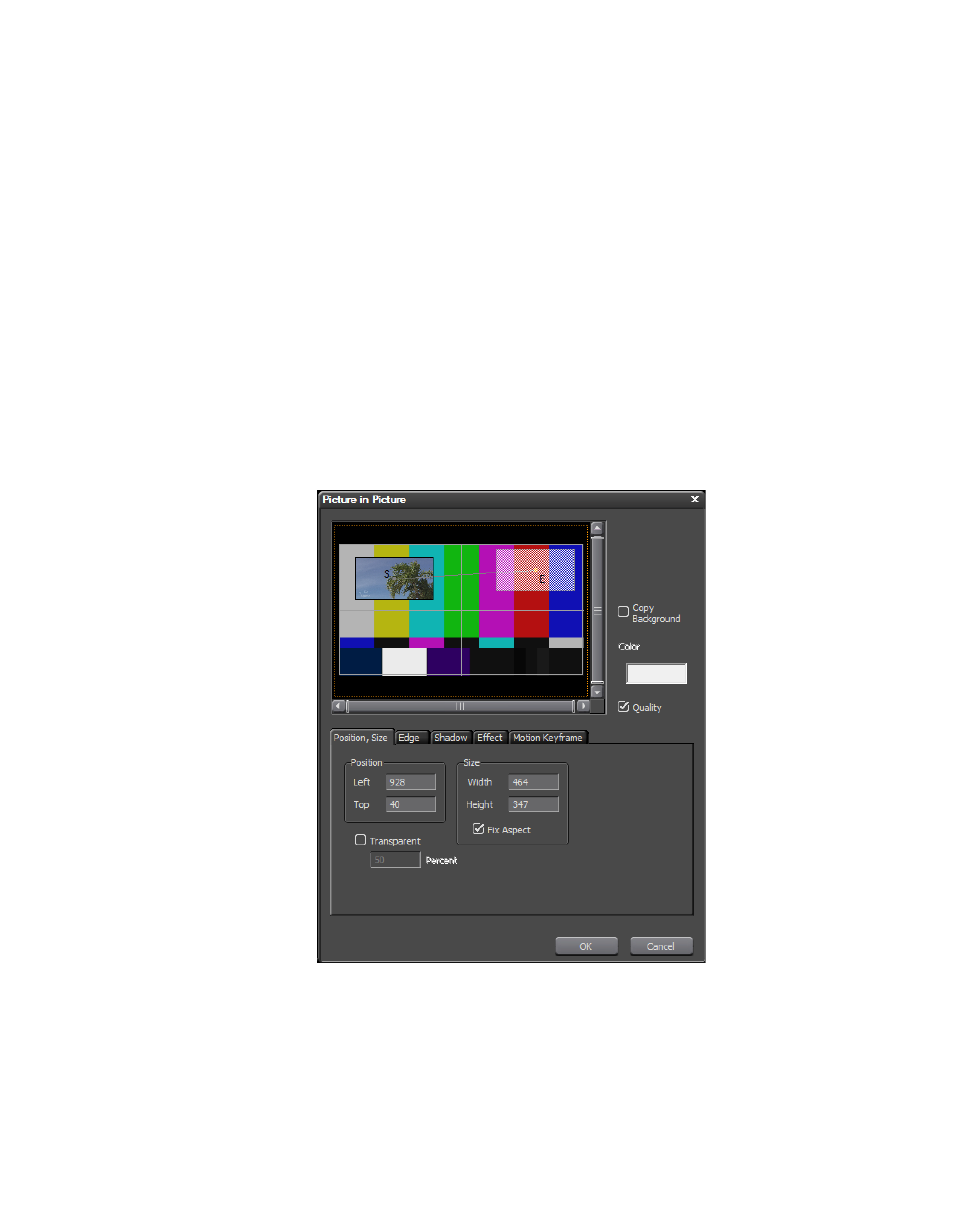
A checkerboard representation of the PIP image appears with a square in
the middle and an “E” under the square. This is the End position. The
image at the Start position has a point in the center with an “S” above it. A
line connects the two points. This is the motion path for the Picture in
Picture image. See the example in
.
Figure 722. Keyframeable 2D PIP - Motion Path Defined
8.
Resize the End frame if desired by placing the cursor on the edge of the
frame and clicking and dragging the mouse cursor.