Rendering overload areas, Render all areas needing rendering – Grass Valley EDIUS Neo 2 User Manual
Page 354
354
EDIUS Neo — User Reference Guide
Section 5 — Timeline Operations
Rendering Overload Areas
To render overload areas between the In and Out points, do the following:
1.
If necessary, set the desired In and Out points on the Timeline.
2.
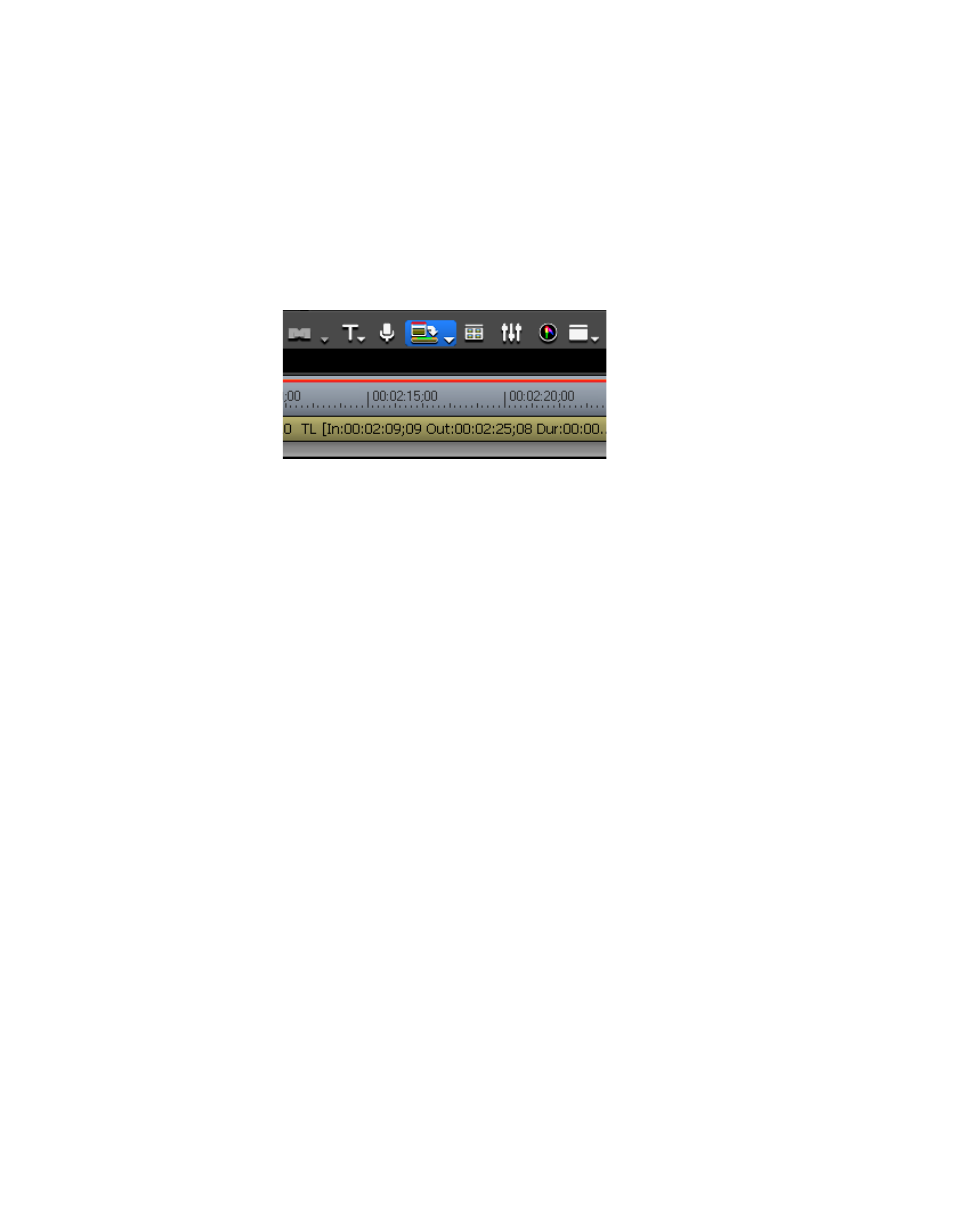
Click the
Render In/Out - Render overload
area button highlighted in blue in
Figure 421. Timeline Render In/Out - Render Overload Button
Note
Click the Abort button in the Rendering dialog to stop rendering in progress.
When rendering is complete, a green line appears on the time scale above
the rendered area.
Alternative Methods:
•
Select Render>Render In/Out> Render Overload Area from the
Preview window menu bar.
•
Click the list button [V] on the
Render In/Out - Render overload area
button
and select “Render In/Out>Render Overload Area” from the menu.
•
Right-click the time scale and select “Render In/Out>Render Overload
Area” from the menu.
•
Press the [
CTRL
]+[
Q
] keys on the keyboard.
Render All Areas Needing Rendering
To render all areas between the In and Out points needing rendering - over-
load (red line), loaded (orange line) and might need rendering (aqua blue
line) areas - at the same time, do any of the following:
•
Select Render>Render In/Out> All from the Preview window menu
bar.
•
Click the list button [V] on the
Render In/Out - Render overload area
button
and select “Render In/Out>All” from the menu.
•
Right-click the time scale and select “Render In/Out>All” from the
menu.
•
Press the [
SHIFT
]+[
ALT
]+[
Q
] keys on the keyboard.