Grass Valley EDIUS Neo 2 User Manual
Page 436
436
EDIUS Neo — User Reference Guide
Section 6 — Effects and Titles
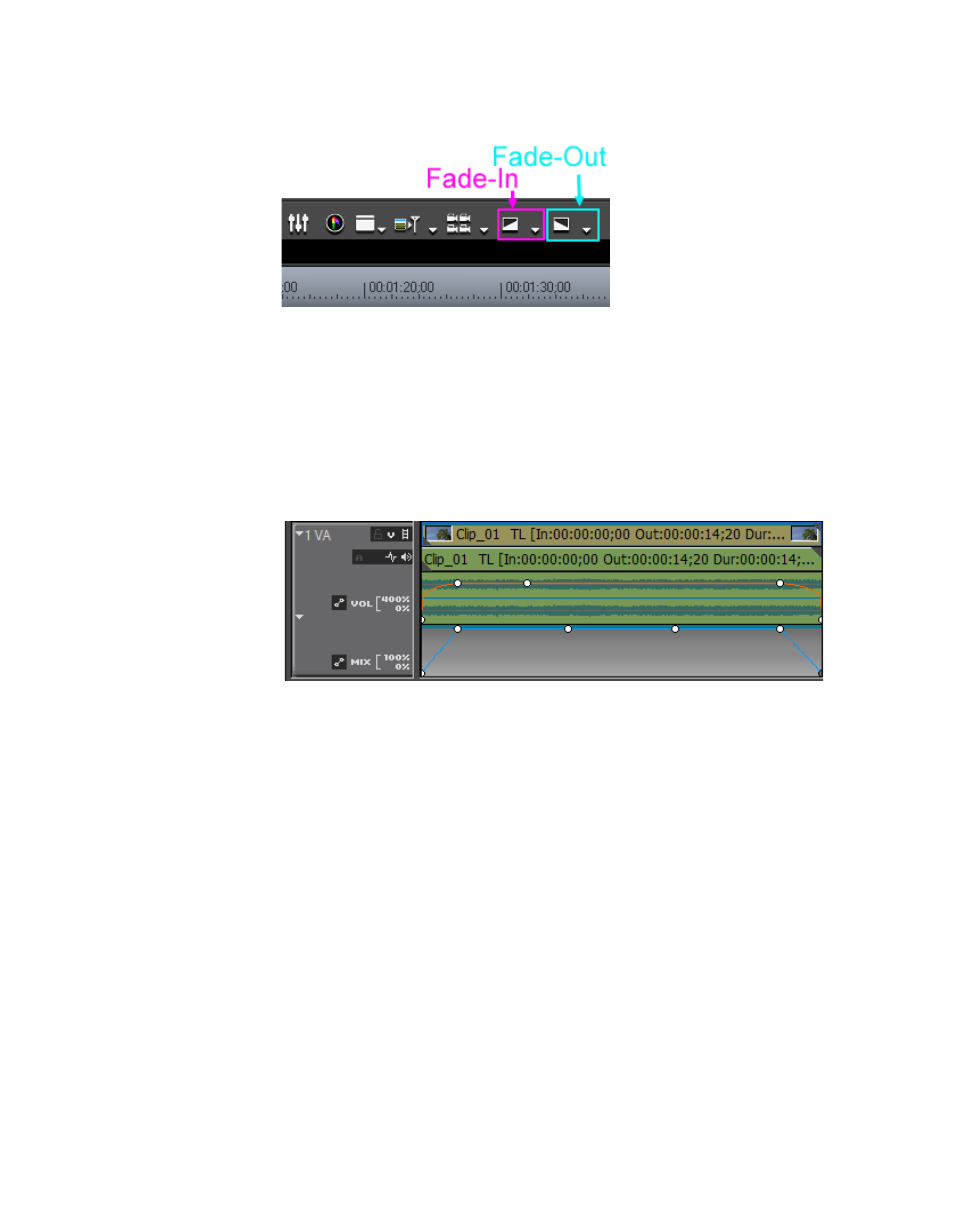
Figure 542. Timeline Fade-In and Fade-Out Buttons
Note
By default, these buttons are not on the Timeline. To add them, see Button
Settings
.
Fade-In and Fade-Out settings are visible in the audio waveform and mixer
areas of the track. Click the Expand1 and Expand2 buttons to expand the
track if these elements are not already visible. A key frame point is added
where a fade-in ends and a fade out begins as illustrated in
Figure 543. Timeline Fade-In and Fade-Out Key Frames
Related Operations:
To delete a fade-in or fade-out effect, delete the audio and video parts sep-
arately by doing the following:
•
To delete the audio fade-in/fade-out, Right-click the clip and select
“Delete Parts>Audio RubberBand>Volume” from the menu.
Note
An alternative method is to press the [ALT]+[H] keys on the keyboard.
•
To delete the video fade-in/fade-out, Right-click the clip and select
“Delete Parts>Mixer>Transparency” from the menu.
Note
An alternative method is to press the [SHIFT]+[CTRL]+[ALT]+[G] keys on the
keyboard.