Rendering overload and loaded areas, Rendering a clip or transition – Grass Valley EDIUS Neo 2 User Manual
Page 355
EDIUS Neo — User Reference Guide
355
Rendering Operations
Rendering Overload and Loaded Areas
To render the overload (red line) and loaded (orange line) areas between
the In and Out points on the Timeline, do any of the following:
•
Select Render>Render In/Out> Render Loaded Area from the Preview
window menu bar.
•
Click the list button [V] on the
Render In/Out - Render overload area
button
and select “Render In/Out>Render Loaded Area” from the menu.
•
Right-click the time scale and select “Render In/Out>Render Loaded
Area” from the menu.
•
Press the [
CTRL
]+[
ALT
]+[
Q
] keys on the keyboard.
Note
If the In and Out points cover only a portion of a loaded or overload area, ren-
dering for that area is not available. Reposition the In and Out point to cover
the entire loaded or overload area in order to render these areas.
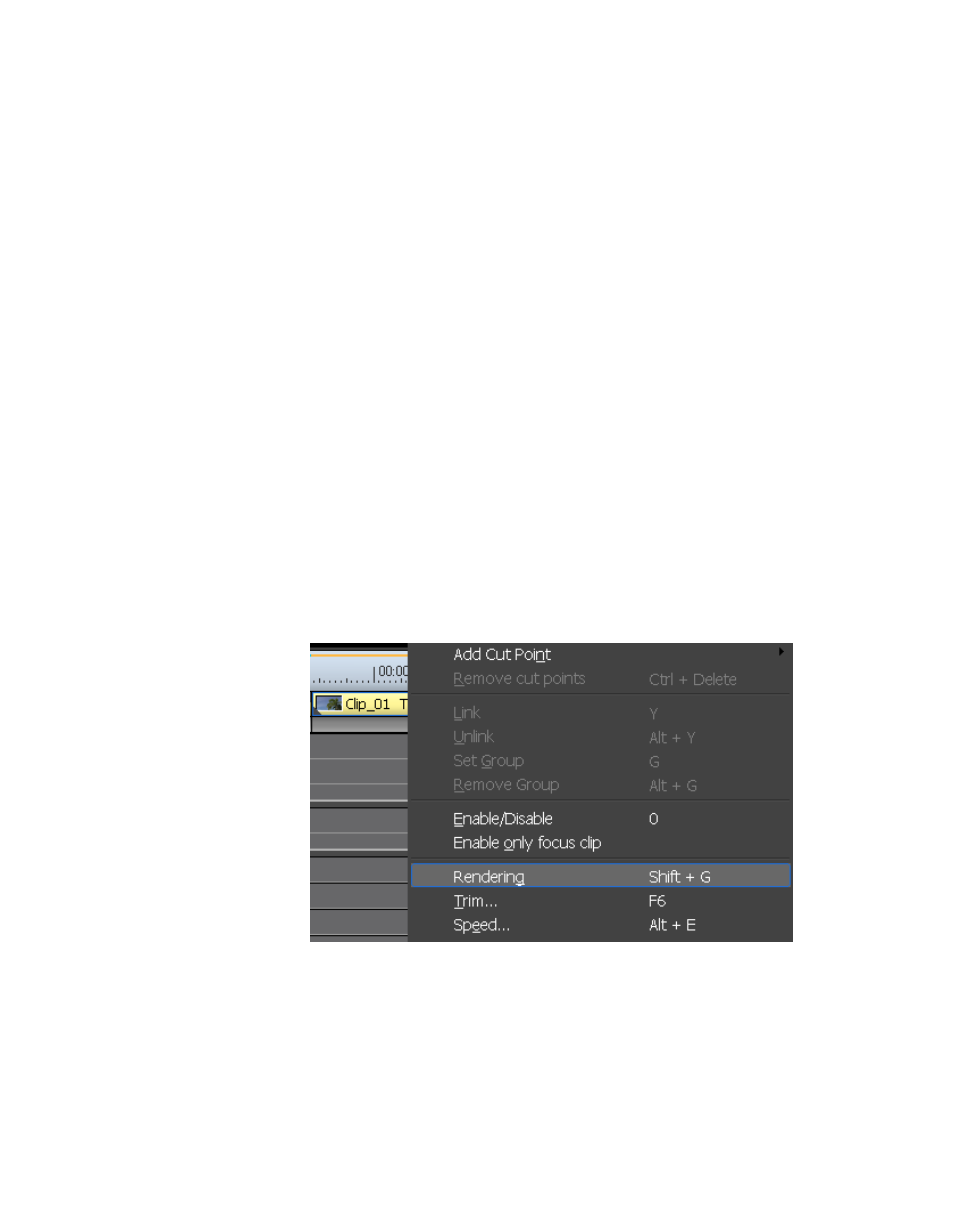
Rendering a Clip or Transition
To render just a selected clip or transition, do the following:
Right-click a clip or transition and select “Rendering” from the menu as
shown in
.
Figure 422. Clip Menu - Rendering
Note
Click the Abort button in the Rendering dialog to stop rendering in progress.
When rendering is complete, a green line appears above the video and
audio portions of the rendered clip and the line in the center of the transi-
tion indicator turns green as shown in