Batch capture functions – Grass Valley EDIUS Neo 2 User Manual
Page 153
EDIUS Neo — User Reference Guide
153
Batch Capturing
7.
Click the
Show Setup Dialog
button to verify the capture settings.
Refer to Capture Settings
for a discussion of appropriate
batch capture settings.
8.
Click the
Capture
button to begin capturing the clips in the batch capture
list.
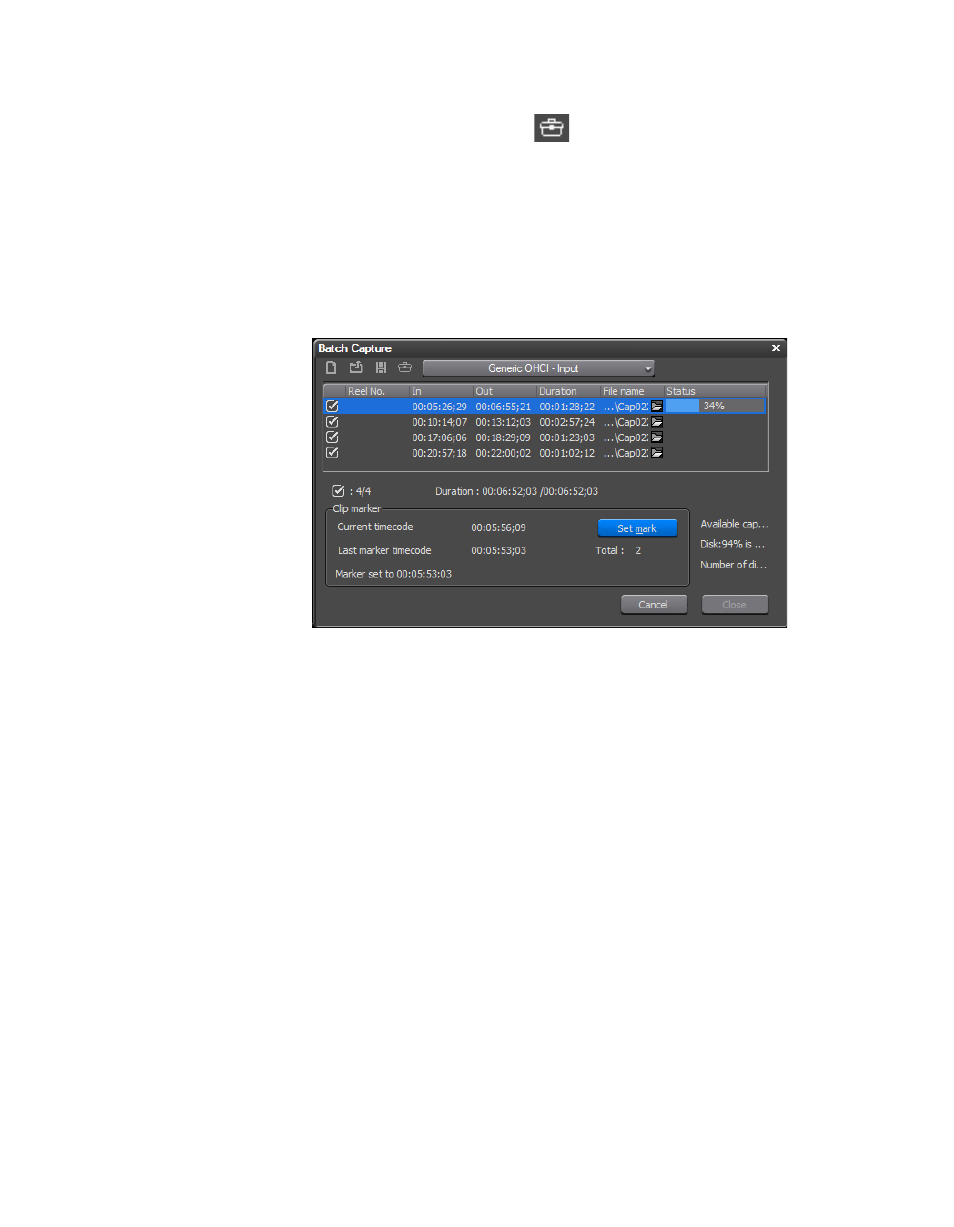
for an example) shows the batch
capture operation in progress.
Figure 152. Batch Capture in Progress
9.
While capturing a clip, clicking the
Set Mark
button will place a Clip
marker at the current timecode location and the message “marker set to
00:00:00;00” (00:00:00;00 is replaced by the actual clip timecode) is
displayed for five seconds. See Sequence and Clip Markers
more information on Clip markers.
Note
The total number of Clip markers set during a batch capture operation is also
displayed in the Batch Capture dialog.
10.
When the batch capture is complete, click the
Close
button to exit the
Batch Capture dialog.
The captured clips are placed in the Asset Bin and may be used in EDIUS
Neo projects.
Batch Capture Functions
Batch capture lists may be created, saved for future use and loaded from a
previously saved file.