Exporting video clips from the timeline, Een as shown in, Figure 423 – Grass Valley EDIUS Neo 2 User Manual
Page 356
356
EDIUS Neo — User Reference Guide
Section 5 — Timeline Operations
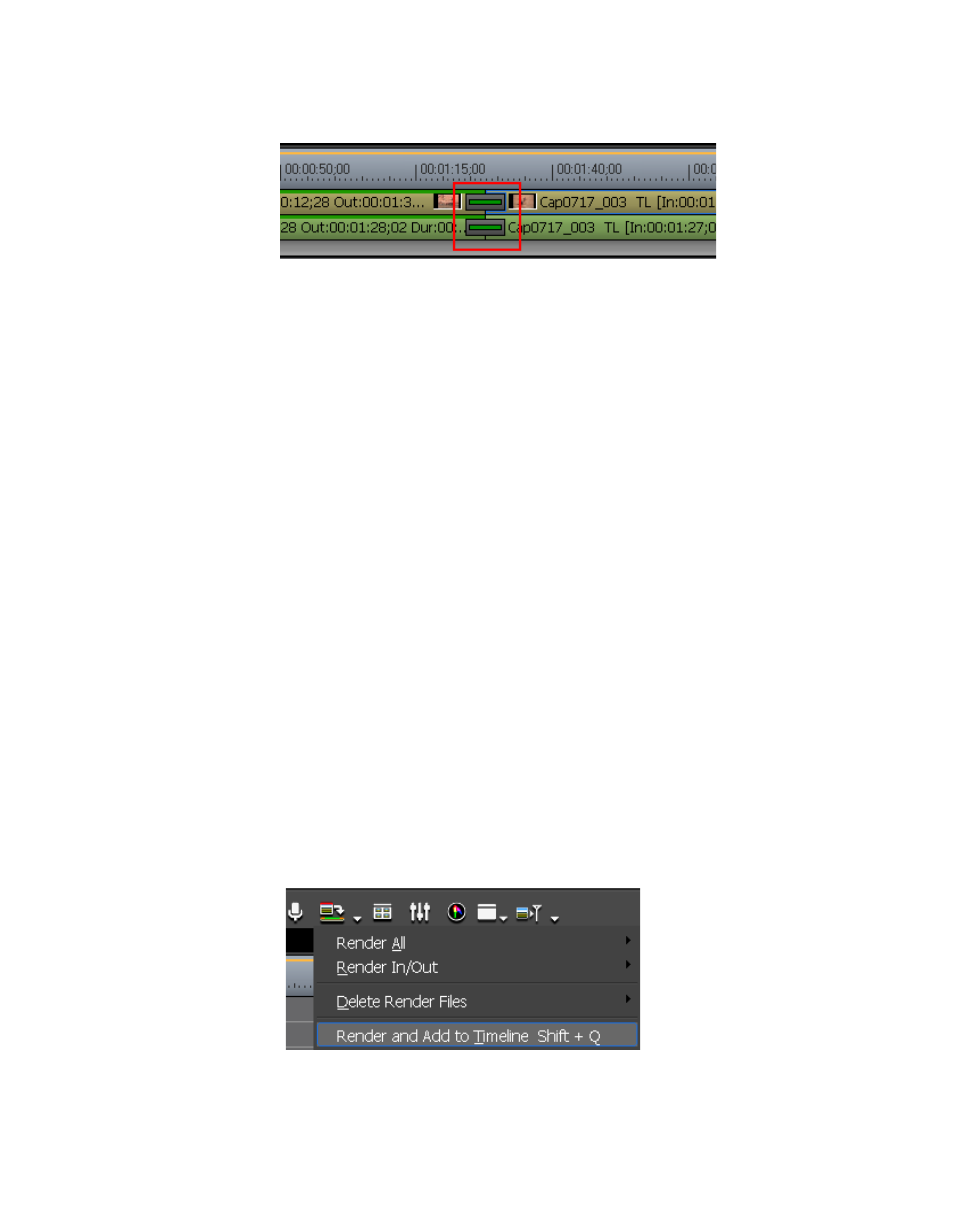
Figure 423. Rendered Transition Indicator
Note that in the example above, the clip before the transition has been ren-
dered as indicated by the green line above the video and audio portion. The
transition has also been rendered as indicated by the green line in the center
of the transition indicator. The clip after the transition has not yet been ren-
dered.
Alternative Methods:
•
Select Render>Rendering from the menu bar after selecting a clip to
render.
•
Press the [
SHIFT
]+[
G
] keys on the keyboard.
Note
If you render a clip with an alpha effect, alpha information will not be applied.
Note
Keyer, transparency and between track transitions (effects set in the Mixer
area) cannot be rendered in the manner described above. The alternative is to
render part of the Timeline which includes these effects.
Exporting Video Clips from the Timeline
To export a rendered clip from the Timeline, do the following:
1.
Set In and Out points to define the area to be rendered and exported.
2.
Click the list button [V] on the
Render In/Out - Render overload area
button
and select “Render and Add to Timeline” from the menu (see
Figure 424. Render In/Out Menu - Render and Add to Timeline