Canon PIXMA MX870 User Manual
Page 60
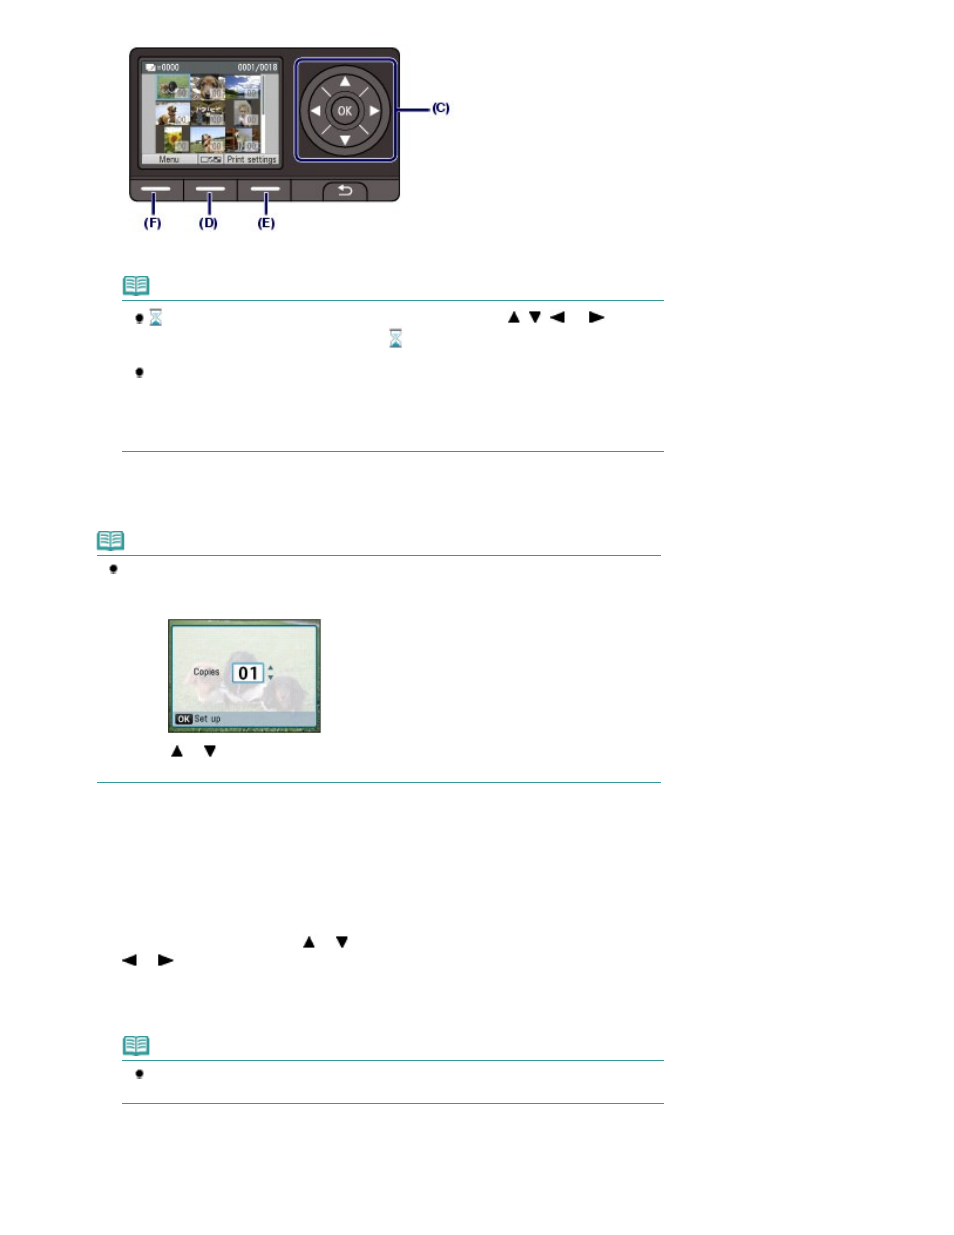
(2)
Use the Numeric buttons to specify the number of copies.
Note
may appear on the LCD while reading photos. If you use the
,
,
, or
button (
Scroll Wheel
) to display the photo while
appears on the LCD, the desired photo may
not be selected.
If you press the center Function button (D), the screen will switch to the full-screen
display. You can also specify the number of copies on this screen.
If you press the center Function button again, the screen will switch to the trimming
screen. You can crop photos.
See
Other Useful Functions
.
(3)
Repeat the procedures of (1) and (2) to specify the number of copies for each
photo.
Note
If you select a photo for which the number of copies is not specified (copies "00") and press
the
OK
button, "01" is set for the number of copies and the screen to change the number of
copies will appear.
Use the
or
button (
Scroll Wheel
) or the Numeric buttons to specify the number of
copies, and press the
OK
button to return to the screen in (1).
4.
Start printing.
(1)
Press the right Function button (E) to select Print settings, and confirm the
page size, media type, print quality, etc.
Here we confirm that 4"x6" (10x15cm) is selected for Page size and the type of loaded photo paper for
Type.
To change the settings, use the
or
button (
Scroll Wheel
) to select the item to change, and use the
or
button to select an option. After confirming or changing the settings, press the
OK
button to
return to the photo selection screen.
See
Basic Operation on the Settings Screen
and
Changing the Settings
.
Note
You can specify Photo fix or Print date on the print settings screen.
See
Changing the Settings
.
(2)
Confirm the number of sheets to be used for printing the selected photos.
Page 60 of 1127 pages
Printing Photos Saved on the Memory Card / USB Flash Drive