Rendering multiple grades for each shot – Apple Color 1.5 User Manual
Page 400
Rendering Multiple Grades for Each Shot
Each shot in your Color project uses one of up to four possible grades. As you work, you
have the ability to freely change which grade is used by any shot, switching among
different looks as necessary during the development of the program’s aesthetic.
You also have the ability to render each of a shot’s grades individually, or together. This
way, whenever there’s a scene where the client might approve one of four different looks,
you can hedge your bets by rendering all versions.
Color keeps track of which grade is currently selected when you send that project back
to Final Cut Pro, or when you use the Gather Rendered Media command, and makes sure
that the appropriate render file is used.
Each rendered grade is numbered. For example, if you rendered two different grades in
a QuickTime-based project for shot number 1, the subdirectory for that shot would have
two shots, named 1_g1.MOV and 1_g2.MOV, with the number coming immediately after
the g indicating which grade that file corresponds to.
To render multiple grades for a single shot
1
Move the playhead to a shot you want to render, and choose the first grade you want to
render out for that shot.
2
Select that shot, click the Render Queue tab, then click Add Selected to add that shot to
the Render Queue.
3
Change the grade used by that shot to the next one you want to render.
4
Click Add Selected again to add that shot to the Render Queue a second time.
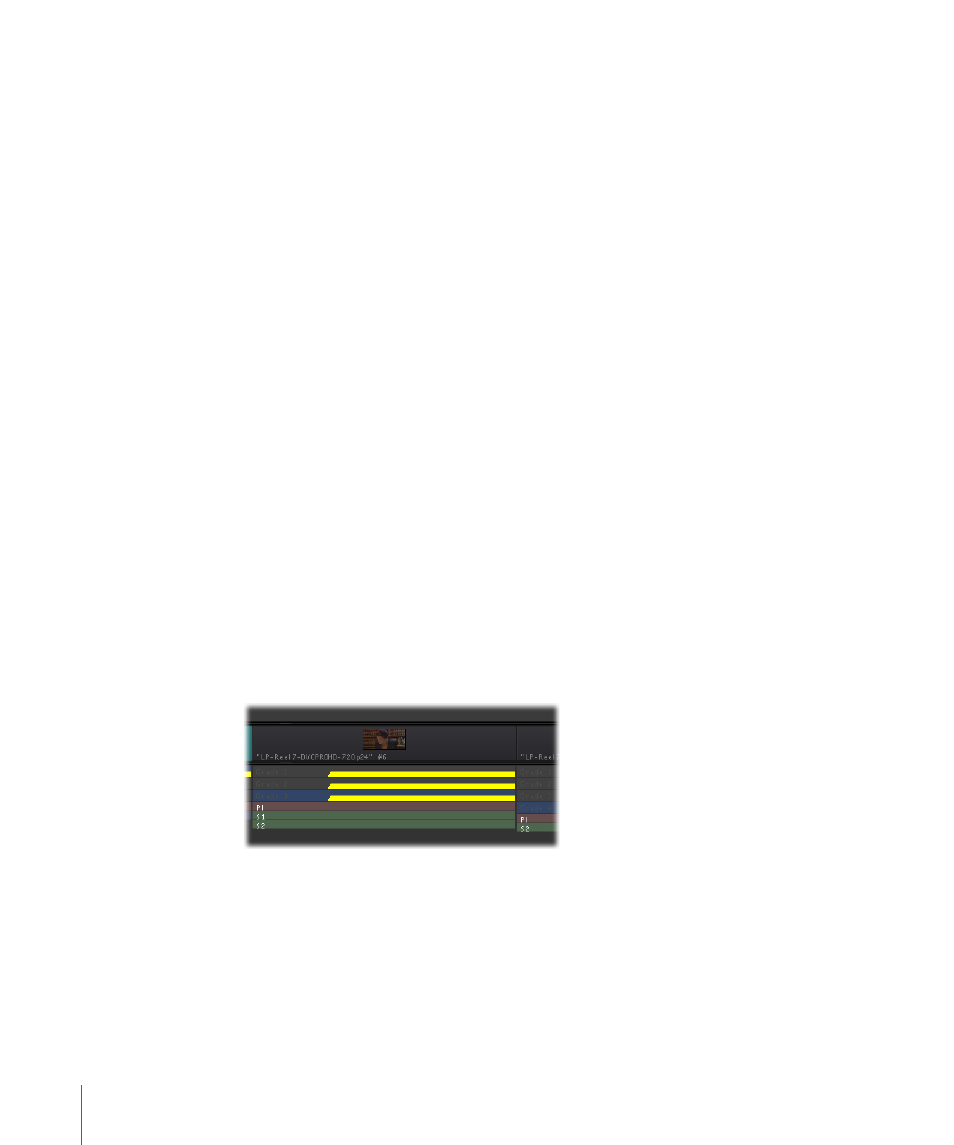
Every grade that’s queued for rendering appears with a yellow render bar over the grade
bar in the Timeline.
400
Chapter 17
The Render Queue