Selecting the current shot, Timeline playback – Apple Color 1.5 User Manual
Page 166
Selecting the Current Shot
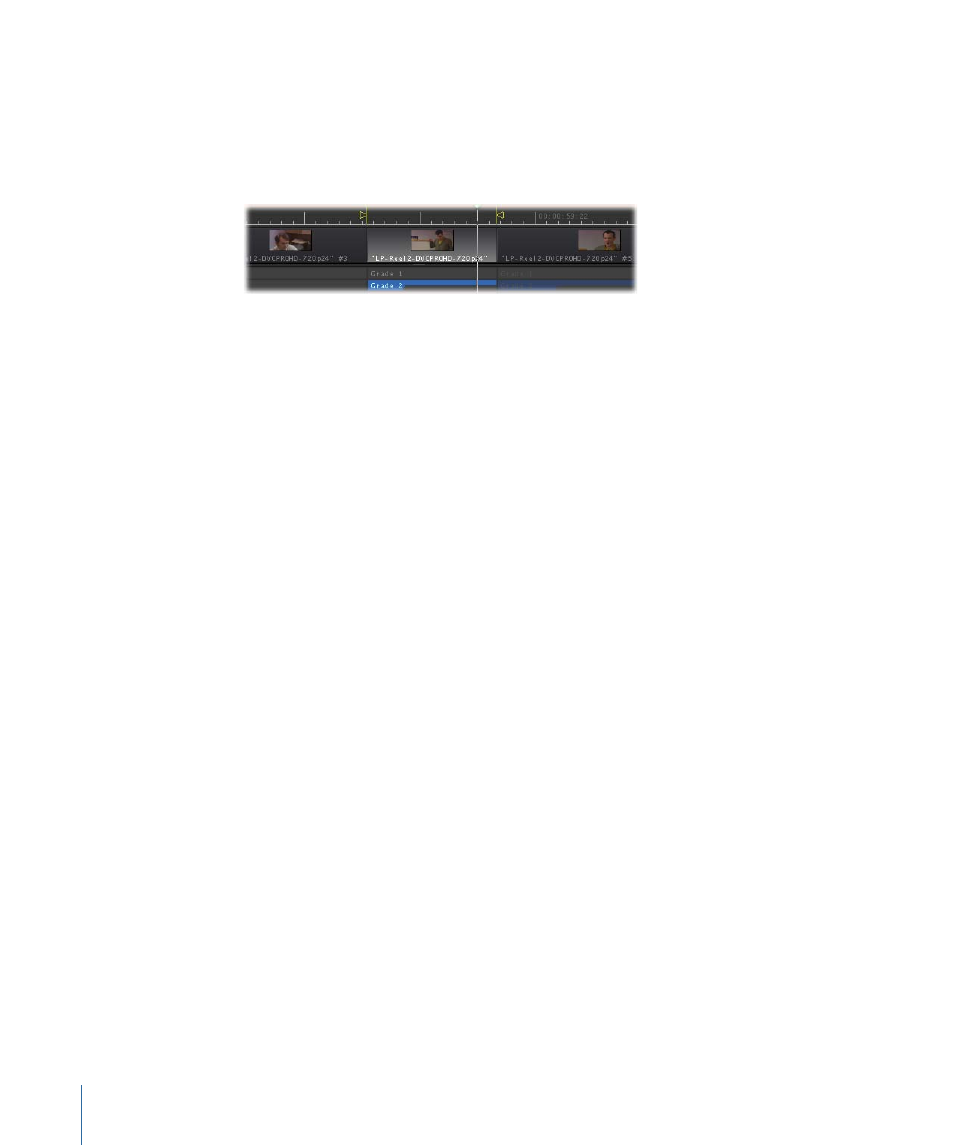
Whichever shot you move the playhead to becomes the current shot. The current shot is
the one that’s adjusted whenever you manipulate any of the controls in the Primary In,
Secondary, Color FX, Primary Out, or Geometry room. There can only be one current shot
at a time. It’s the only one that’s highlighted in light gray.
As you move the playhead through the Timeline, the controls and parameters of all rooms
automatically update to match the grade of the current shot at the position of the
playhead.
If there is more than one shot stacked in multiple video tracks at any point in the Timeline,
the topmost shot becomes the current shot except in the following two cases:
• Shots on hidden tracks cannot become the current shot. If there’s a superimposed shot
that doesn’t let you expose the settings of a shot underneath, you can hide the
superimposed track.
• Offline shots are invisible, and any shots appearing underneath in the Timeline
automatically have their settings exposed in the Color interface.
To make a shot in the Timeline the current shot
Do one of the following:
µ
Double-click any shot in the Timeline.
µ
Move the playhead to a new shot.
Note: When you double-click a shot, the Timeline moves so that the shot is centered in
the Timeline, and it becomes the current shot.
Timeline Playback
In general, the purpose of playback in Color is to preview how your various corrections
look when the shot you’re working on is in motion or how the grades that are variously
applied to a group of clips look when they’re played together. For this reason, playback
works somewhat differently than in applications like Final Cut Pro.
166
Chapter 7
Timeline Playback, Navigation, and Editing