Stage 1: adjusting the contrast of the image, Stage 2: adjusting the color balance of the image, Stage 3: adjusting the saturation of the image – Apple Color 1.5 User Manual
Page 209
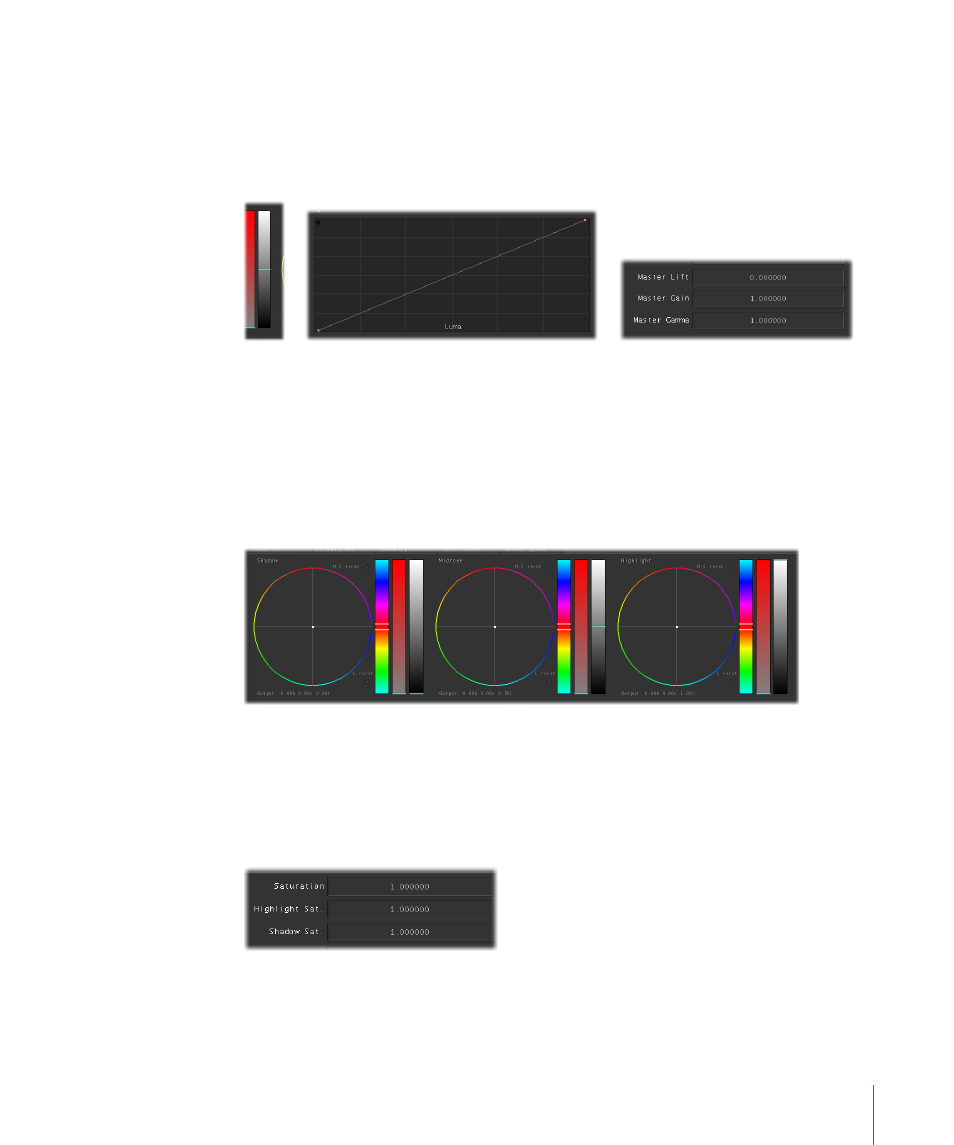
Stage 1:
Adjusting the Contrast of the Image
Most colorists always begin by correcting the contrast of an image before moving on to
adjusting its color. This adjustment can be made using the primary contrast controls, the
Luma curve control, and the Master Lift, Master Gain, and Master Gamma controls in the
Basic tab.
Stage 2:
Adjusting the Color Balance of the Image
Once the black and white points of the image have been determined, the color balance
is tackled. Fast adjustments to the color balance in the shadows, midtones, and highlights
can be made using the primary color balance controls. More detailed adjustments can
be made using the red, green, and blue curves controls, and specific numeric adjustments
can be made using the Red, Green, and Blue Lift, Gamma, and Gain controls in the
Advanced tab.
Stage 3:
Adjusting the Saturation of the Image
Once you're happy with the quality of the color, you can make adjustments to raise or
lower the saturation, or intensity, of the colors in the image. The Saturation, Highlight
Sat., and Shadow Sat. controls in the Basic tab let you adjust the overall saturation or only
the saturation within specific tonal regions.
209
Chapter 9
The Primary In Room