Apple Color 1.5 User Manual
Page 377
2
Drag the playhead in the Timeline through the tracked range of the shot, and identify
keyframes that stick out incorrectly, or that drift from the proper direction of the subject’s
motion.
3
Drag the offending control point in the preview area so that it better fits the overall
motion path.
You can drag any control point in the motion path to a new position, not just the keyframe
at the position of the playhead.
If there’s a shot in which the motion is too difficult to track automatically, you might try
manually tracking the feature. You can turn on the Manual Tracker option either to correct
mistakes in an automatically tracked motion path, or you can use manual tracking on its
own to create an entire motion path from scratch.
To manually track a feature
1
Move the playhead to the shot you want to track.
2
Open the Tracker tab in the Geometry room, and do one of the following:
• Click an existing tracker in the Tracker list to modify it.
• Click New to create a new motion path from scratch.
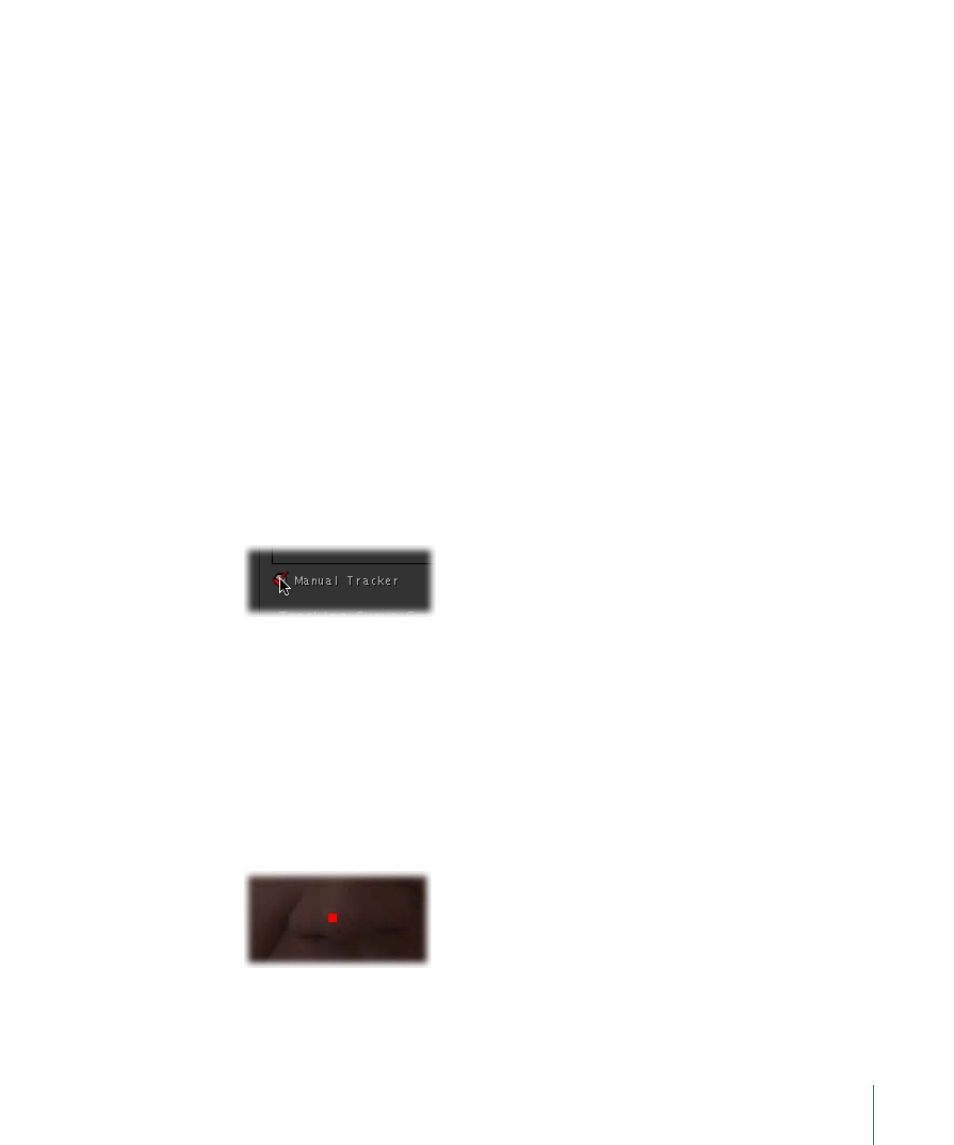
3
Click Manual Tracker to enter Manual Tracking mode.
When you turn on manual tracking, the onscreen tracker control disappears.
4
Move the playhead to the first frame of the range you want to track, then click Mark In.
5
Now that everything’s set up, simply click a feature in the preview area that you want to
track.
For example, if you were tracking someone’s face for vignetting later on, you might click
the nose. Whatever feature you choose, make sure it’s something that you can easily and
clearly click on, in the same place, on every frame you need to track.
Each click creates a keyframe manually, and then advances the playhead one frame.
6
Click the same feature you clicked in the previous frame, as each frame advances, until
you reach the Out point, or the end of the shot.
377
Chapter 15
The Geometry Room