When do you need a lut – Apple Color 1.5 User Manual
Page 156
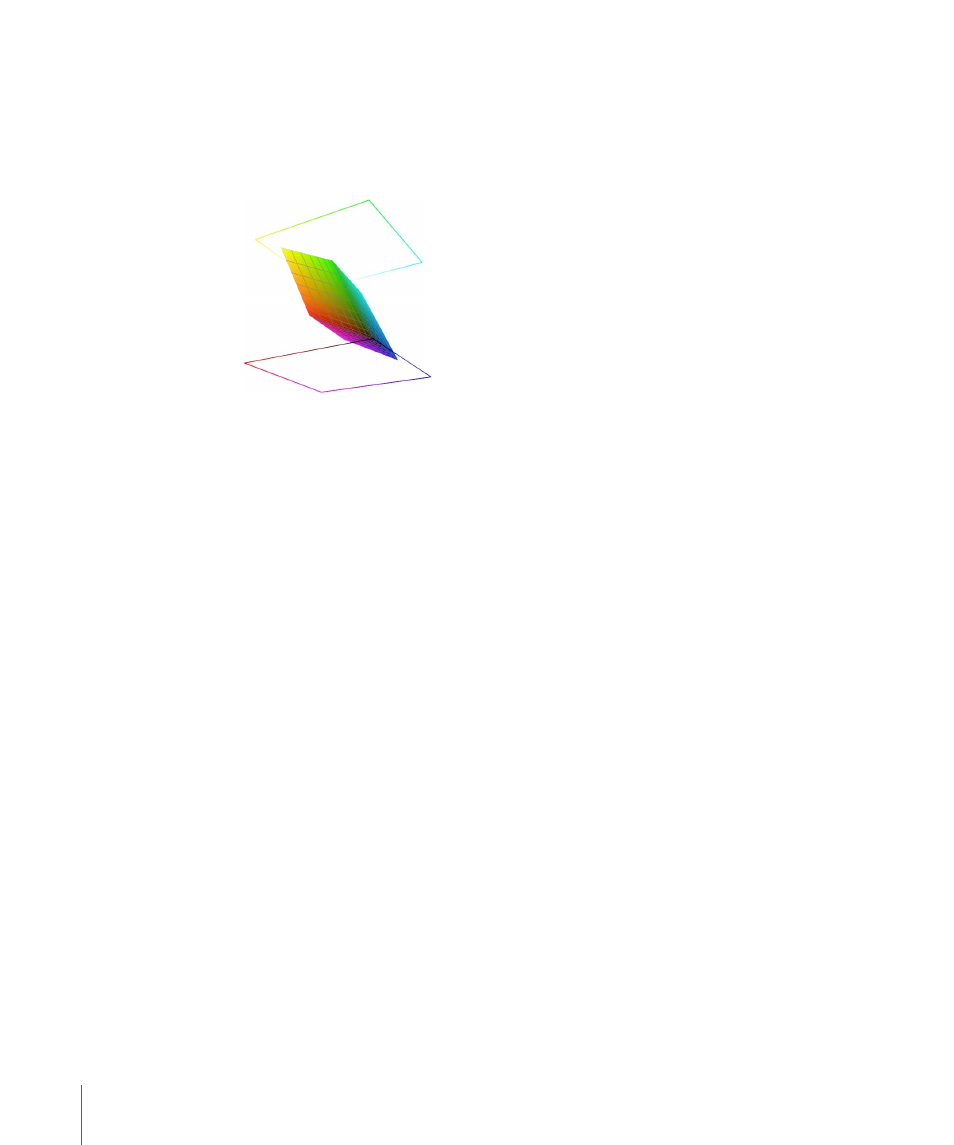
Each corner of the cube represents a different mix of the R,G,B tristimulus values that
represent each color. The black corner is (0,0,0), the opposing white corner is (1,1,1), the
blue corner is (0,0,1), the red corner is (1,0,0), and so forth. The RGB color cube is an
idealized abstraction, however. Actual display devices appear with much different shapes,
defined by their individual gamut and chromaticity.
To accurately transform one device’s gamut to match that of another involves literally
projecting its gamut into a 3D representation and then mathematically changing its shape
to match that of the other device or standard. This process is referred to as characterizing
a device and is the standard method used by the color management industry. Once
calculated, the method of transformation is stored as a 3D LUT file.
Once a device has been characterized and the necessary LUT has been calculated, the
hard computational work is done, and the LUT can be used within Color to modify the
output image without any significant impact on real-time performance.
When Do You Need a LUT?
The following examples illustrate situations in which you should consider using LUTs:
• If you’re matching multiple displays in a facility: LUTs can be useful for calibrating multiple
displays to match a common visual standard, ensuring that a program doesn’t look
different when you move it to another room.
• If you’re displaying SD or HD video on a nonbroadcast monitor: You can use a LUT to
emulate the Rec. 601 (SD) or 709 (HD) color space and gamma setting that’s appropriate
to the standard of video you’re viewing.
• If you’re displaying video or film images using a video projector: You can use a LUT to
calibrate your device to match, as closely as possible, the gamut of the broadcast or
film standard you’re working to.
• If you’re grading images destined to be printed to film: You can use a LUT to profile the
characteristics of the film printing device and film stock with which you’ll be outputting
the final prints, in order to approximate the look of the final projected image while you
work.
156
Chapter 6
Monitoring Your Project