Apple Color 1.5 User Manual
Page 375
In many cases, the In and Out points will include the whole shot. However, if the feature
you’re tracking is not visible or only moves for a small portion of the shot, you may want
to set In and Out points only for that section of the clip. If the In point was incorrectly
placed, you can always move the playhead to the correct frame and click Mark In.
3
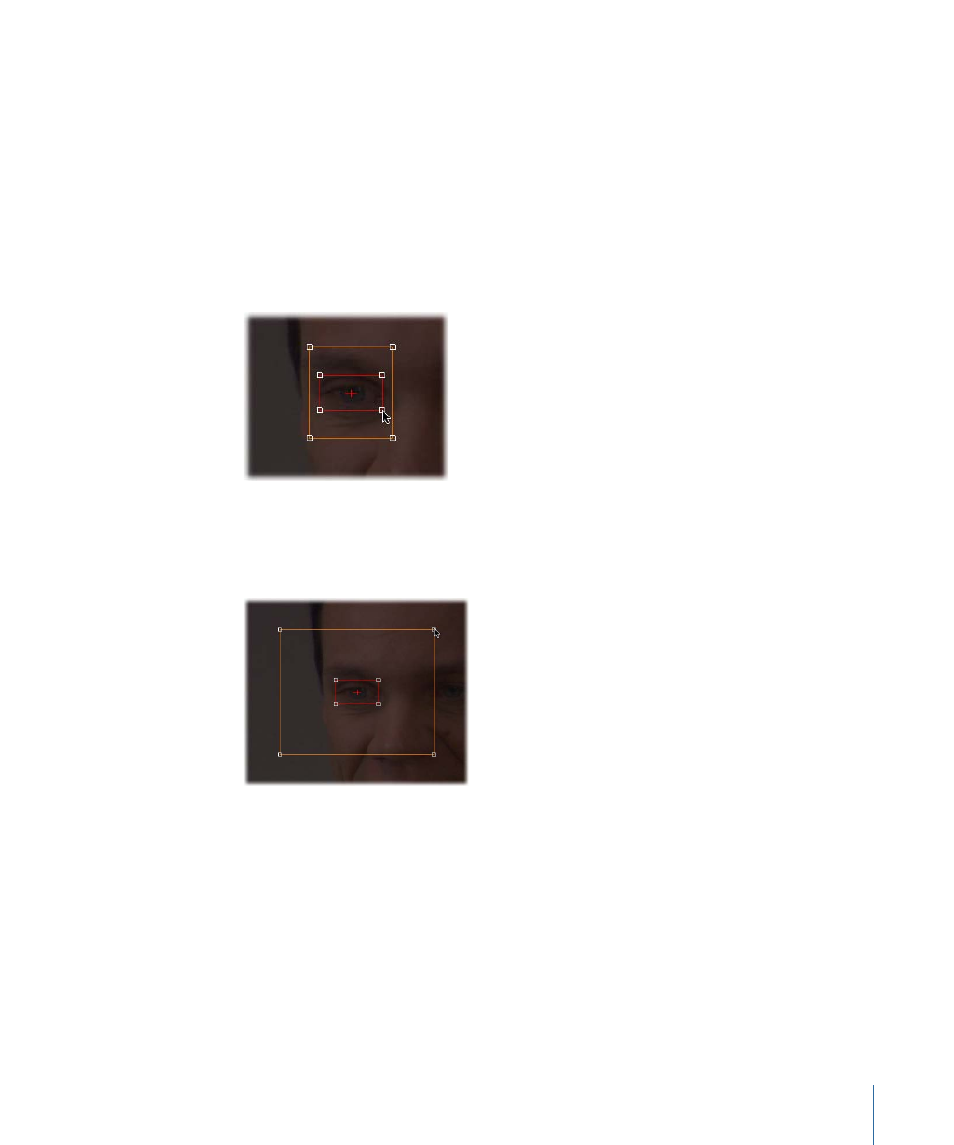
Drag anywhere within the center box of the onscreen control to move it so that the
crosshairs are centered on the feature you want to track.
In this example, the Reference Pattern box is being centered on the man’s eye.
4
Adjust the handles of the inner box (the Reference Pattern box) to fit snugly around this
feature.
The bigger the box, the longer the track will take.
5
Next, adjust the outer box to include as much of the surrounding shot as you judge
necessary to analyze the shot.
Tip: For a successful track, the feature you’ve identified using the Reference Pattern box
should never move outside the search region you’ve defined as the shot proceeds from
one frame to the next. If the motion in the shot is fast, you’ll want to make the outer box
larger, even though this increases the length of time required for the analysis. If the
motion in the shot is slow, you can shrink the Search Region box to a smaller size to
decrease the time needed for analysis.
6
Move the playhead to the last frame of the range you want to track, then click Mark Out.
375
Chapter 15
The Geometry Room